- Secure order
- Easy return shipment
- Service-Hotline 03 69 61 69 10
Instructions No. 4131
Difficulty: Beginner
Working time: 1 hour
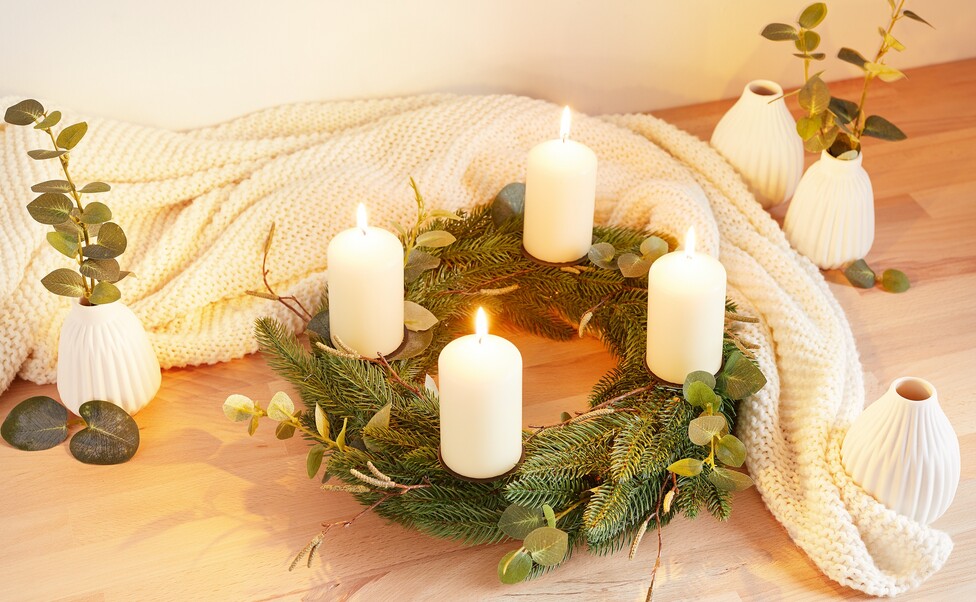
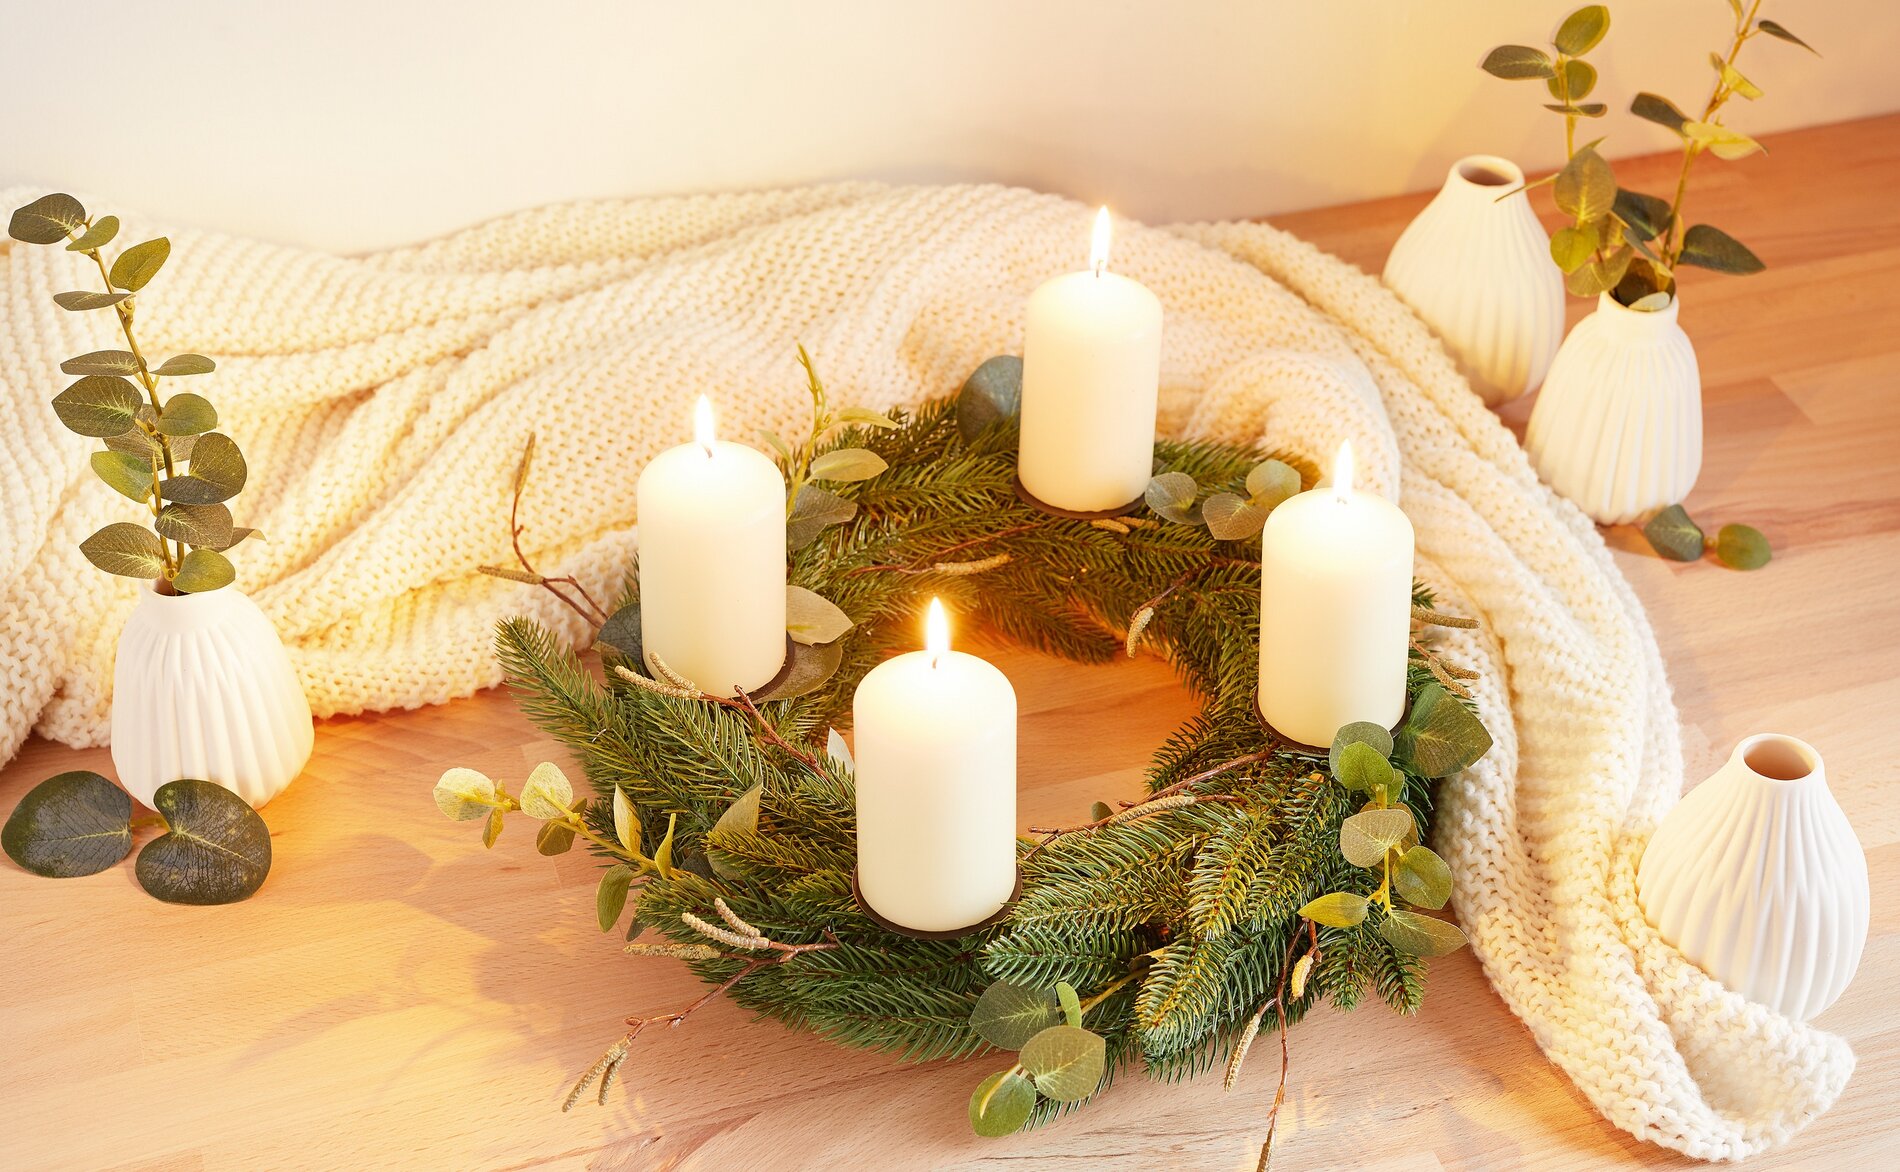
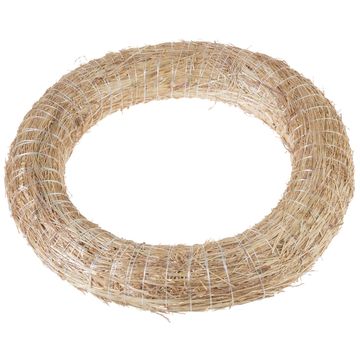
Step 1: Incorporate the fir picks—for volume and that classic Advent look. Insert the fir picks all around the straw wreath. Work in one direction so that the branches “flow” like a wreath and don’t look messy. Then secure the picks with U-shaped clips. U-shaped clips are U-shaped fasteners that you press into the straw wreath to anchor the branches firmly so nothing slips out of place.
Step 2: Add " eucalyptus " and birch twigs in between—for structure and lightness Now place " eucalyptus " between the fir branches. The round leaves bring a sense of calm and a modern, natural touch to your Advent wreath. In between, insert individual birch twigs. They create delicate lines and give the wreath more depth. Make sure to let some of the ends stick out slightly—this brings the arrangement to life without making it look chaotic.
Step 3: Insert the “ kandelaar ” – to keep the candles steady Insert the “ kandelaar ” into the wreath. Press them in deep enough so they sit securely. This step is important because the “ kandelaar ” keeps the pillar candles at a distance from the greenery and provides a secure, level surface.
kandelaar. Step 4: Arrange the pillar candles—the final touch for your Advent wreath Place the cream-colored pillar candles on the “ ” Check from all angles to ensure the candles are evenly spaced and the wreath looks balanced. If necessary, adjust individual twigs or leaves until the candles stand freely and nothing can come too close to the flame.
Finish: Check the wreath’s appearance and prepare it for the Advent season Rotate the Advent wreath all the way around and check to see if any straw is visible. Simply fill small gaps with an additional fir branch or with eucalyptus, which you can secure with a safety pin.
If you’re looking for even more ideas for Advent wreaths, straw wreath decorations, and festive candle arrangements, you’ll find the perfect craft supplies and seasonal decorations to get creative with in our online shop.