- Secure order
- Easy return shipment
- Service-Hotline 03 69 61 69 10
Instructions No. 3286
Difficulty: Beginner
Working time: 3 Hours


Step 1: Preparing the materials
Before you get started, make sure you have all the materials you need to hand. A well-prepared workplace ensures a smooth process and prevents unnecessary interruptions.
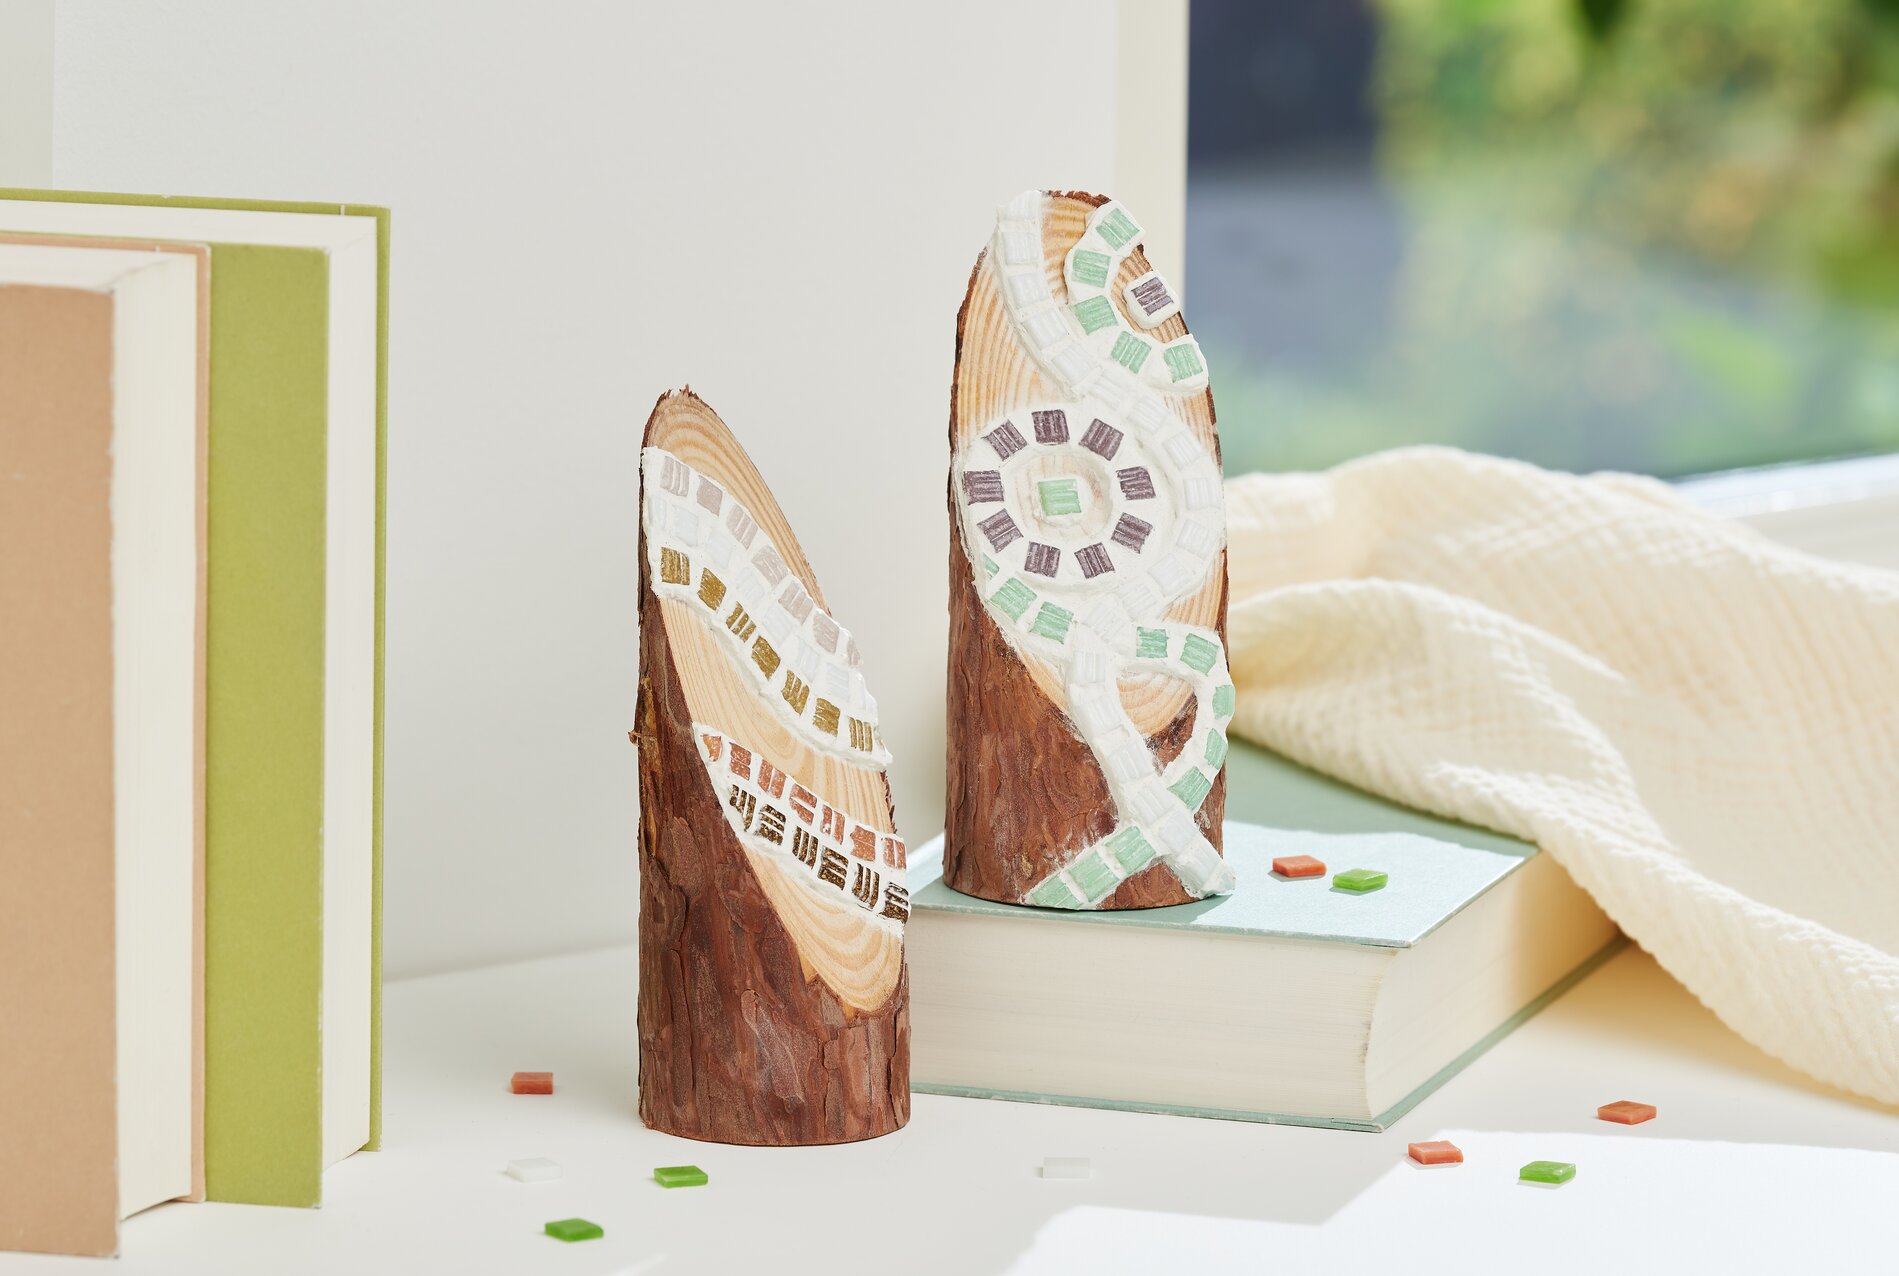
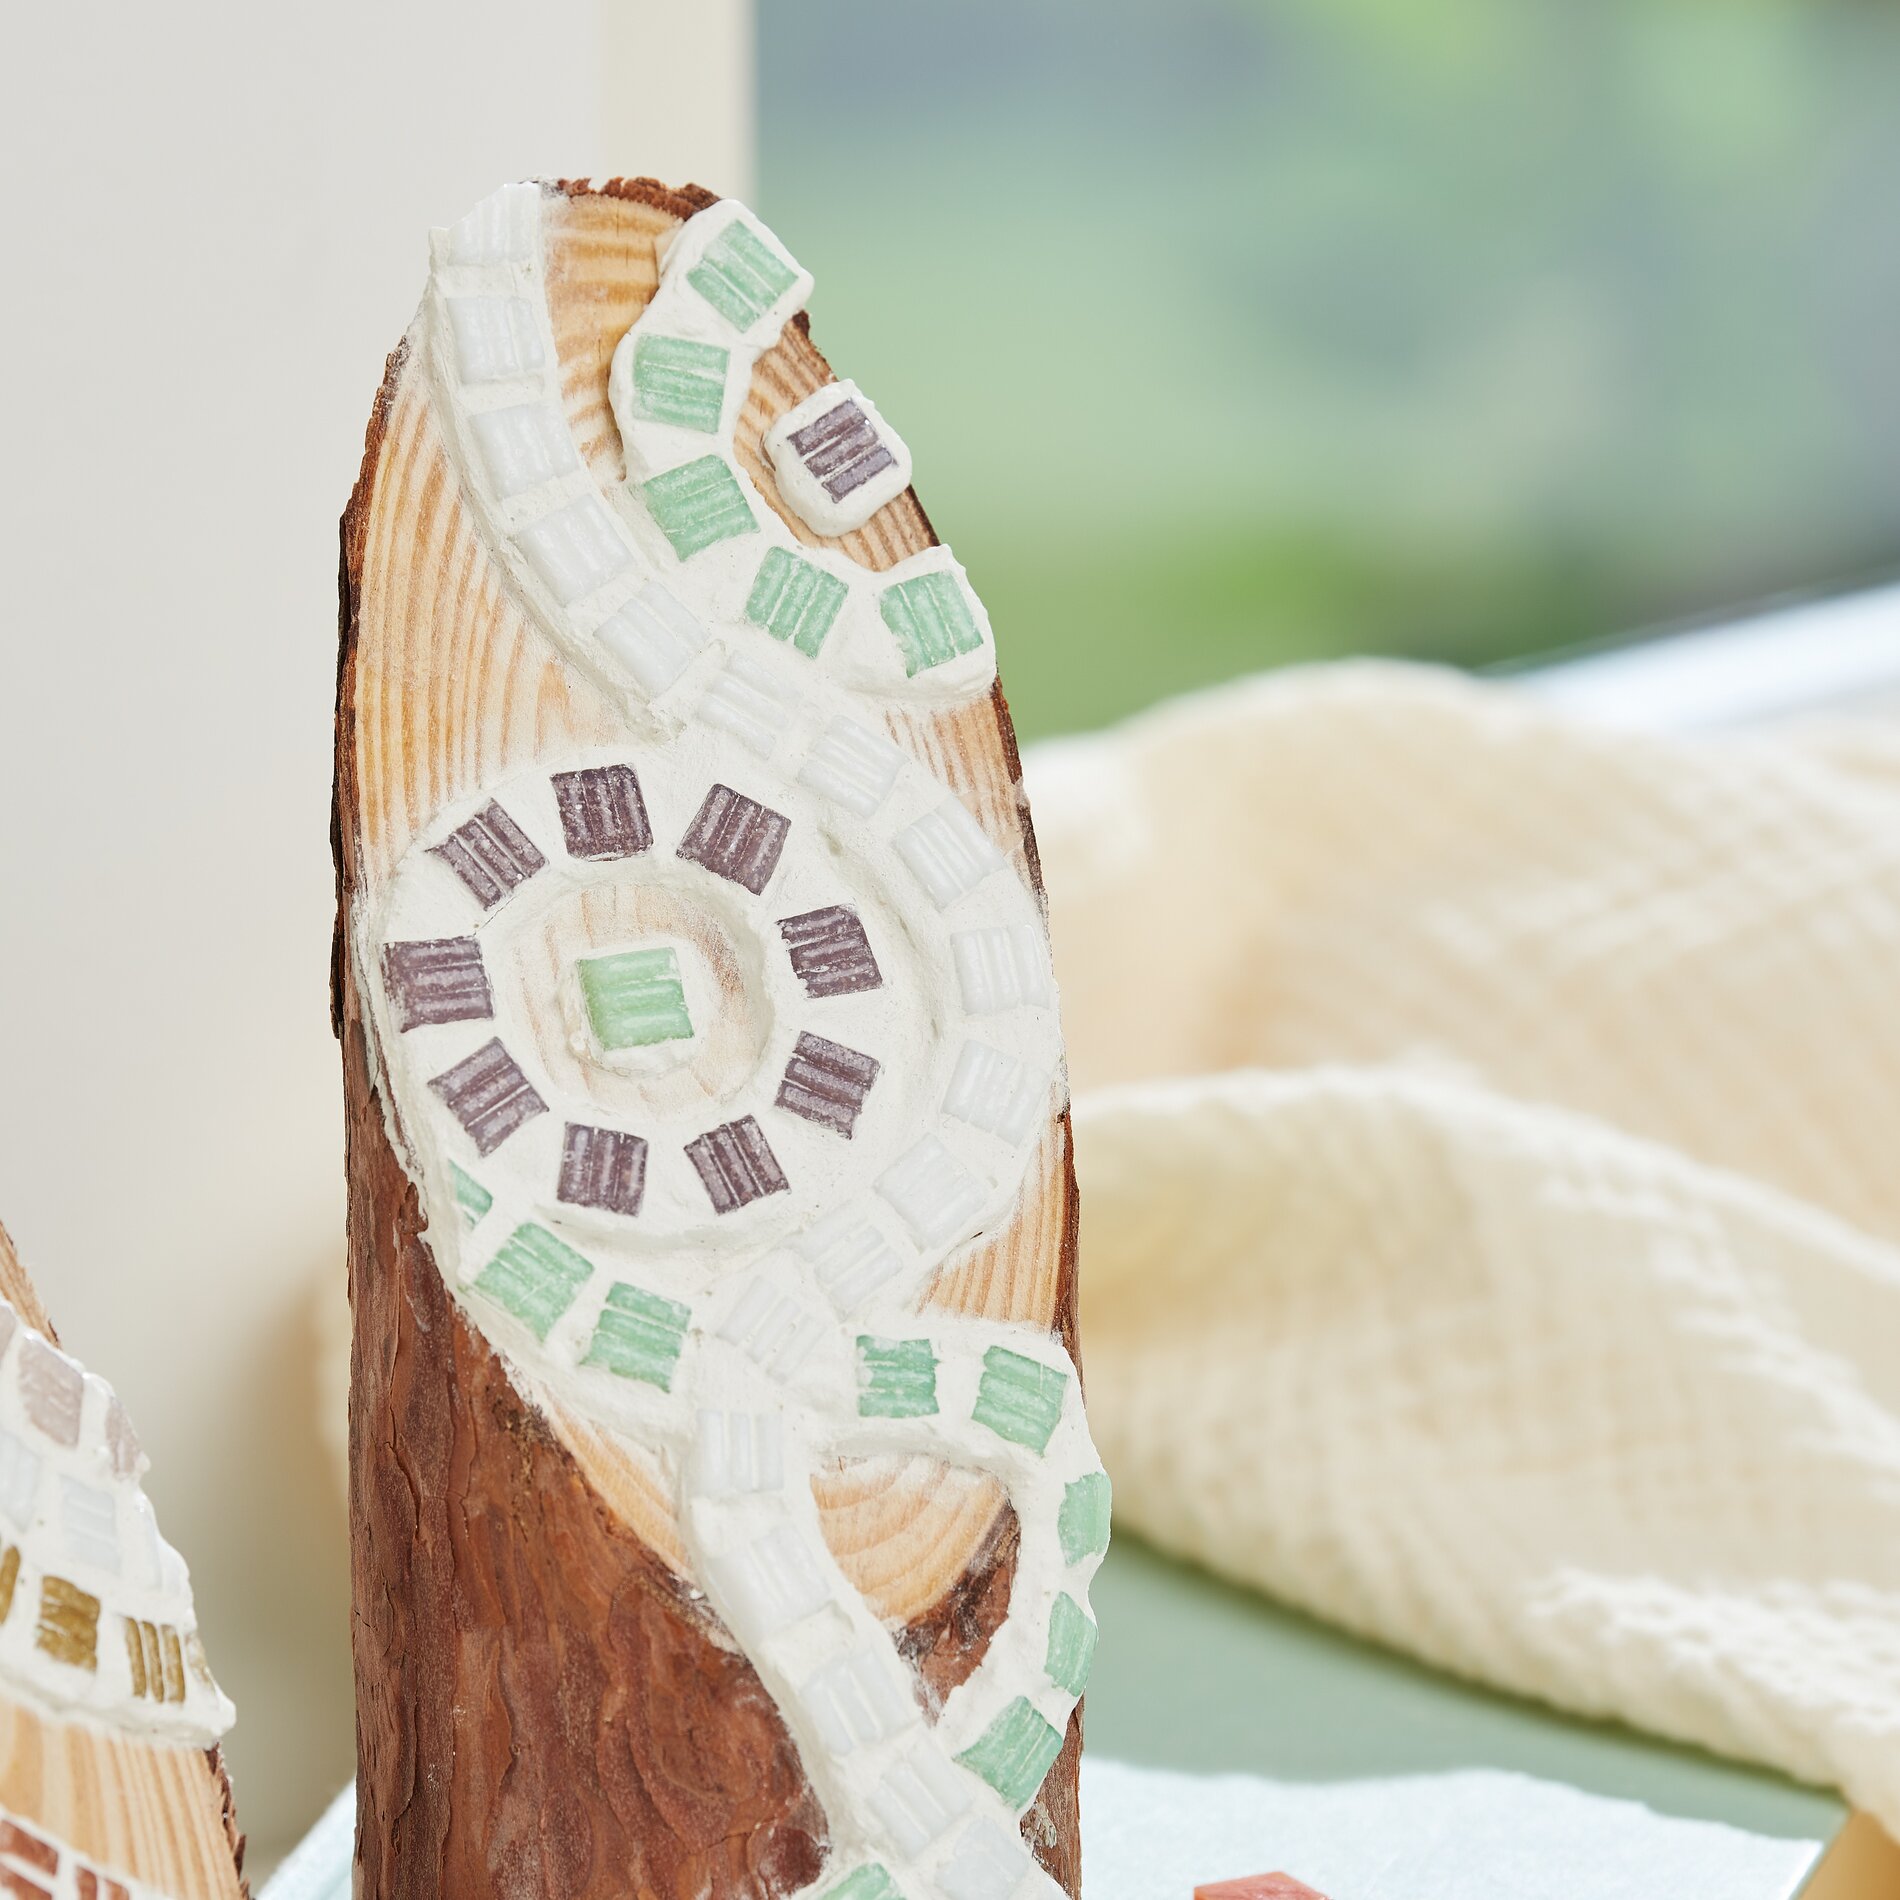
Step 2: Glue on mosaic stones
Start by gluing the glass block-mosaic stones to the pine logs using assembly adhesive. Be creative and design a pattern that you particularly like. You can use mosaic tongs to cut the mosaic stones to size. This will help you to break the stones into the desired shape. Don't forget to always wear safety goggles when cutting to protect your eyes from possible splinters. Once you have attached the stones, allow the glue to dry thoroughly before continuing.
Step 3: Mix joint filler
Mix the mosaic-joint filler according to the instructions on the pack. The joint filler ensures that the mosaic pieces remain firmly in place and that the overall look is harmonious.
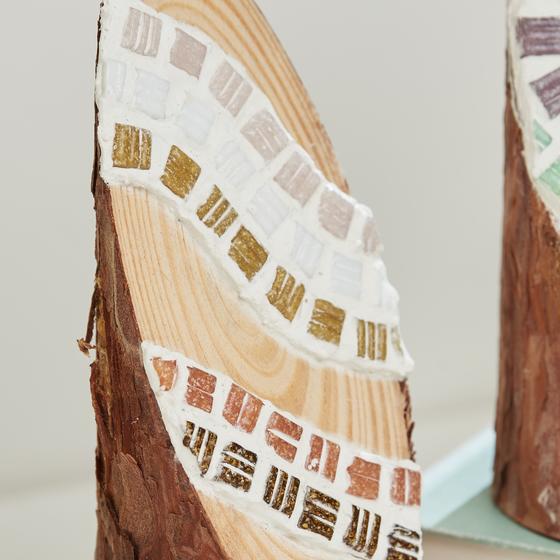
Step 4: Apply the joint filler
Apply the mixed joint filler to the mosaic using a spatula . Make sure that all joints are well filled. you can carefully remove any excess joint filler with a damp sponge. The mosaic stones is cleaned at the same time.

Step 5: Drying process
Allow the joint filler to dry thoroughly. This phase requires a little patience, but is crucial for the longevity of your mosaic.
Step 6: Applying the grout finish
Finally, apply a grout finish to the mosaic. This seals the designed surface and protects it from dirt and moisture, ensuring that your work of art will be enjoyed for a long time.