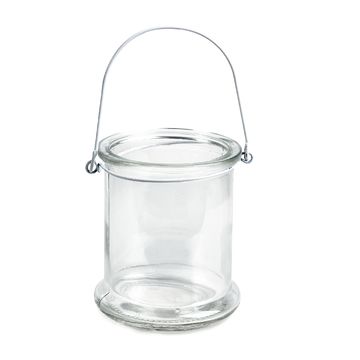
wind light Prepare for engraving
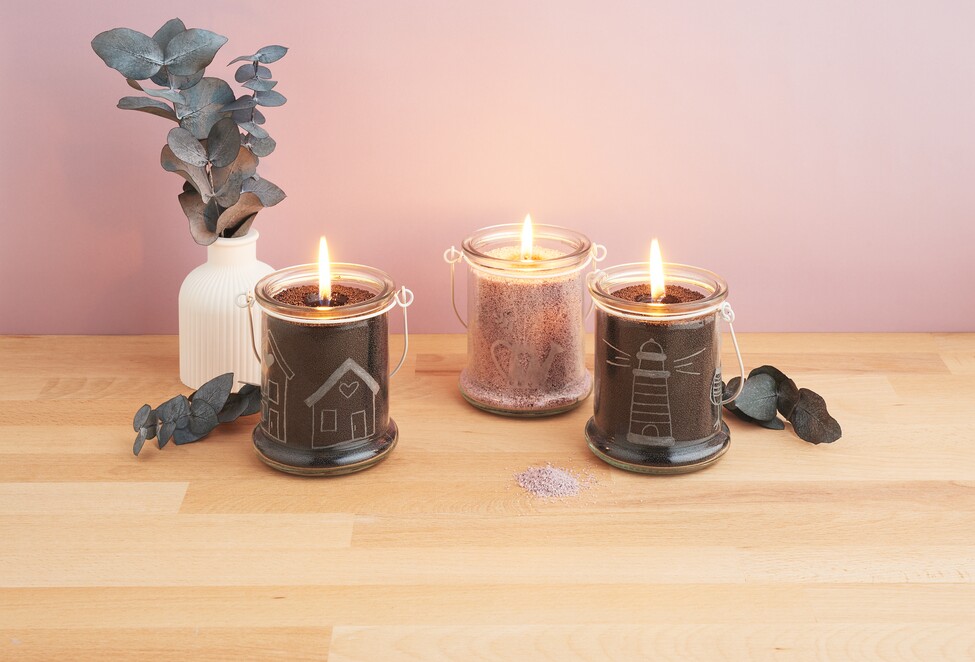
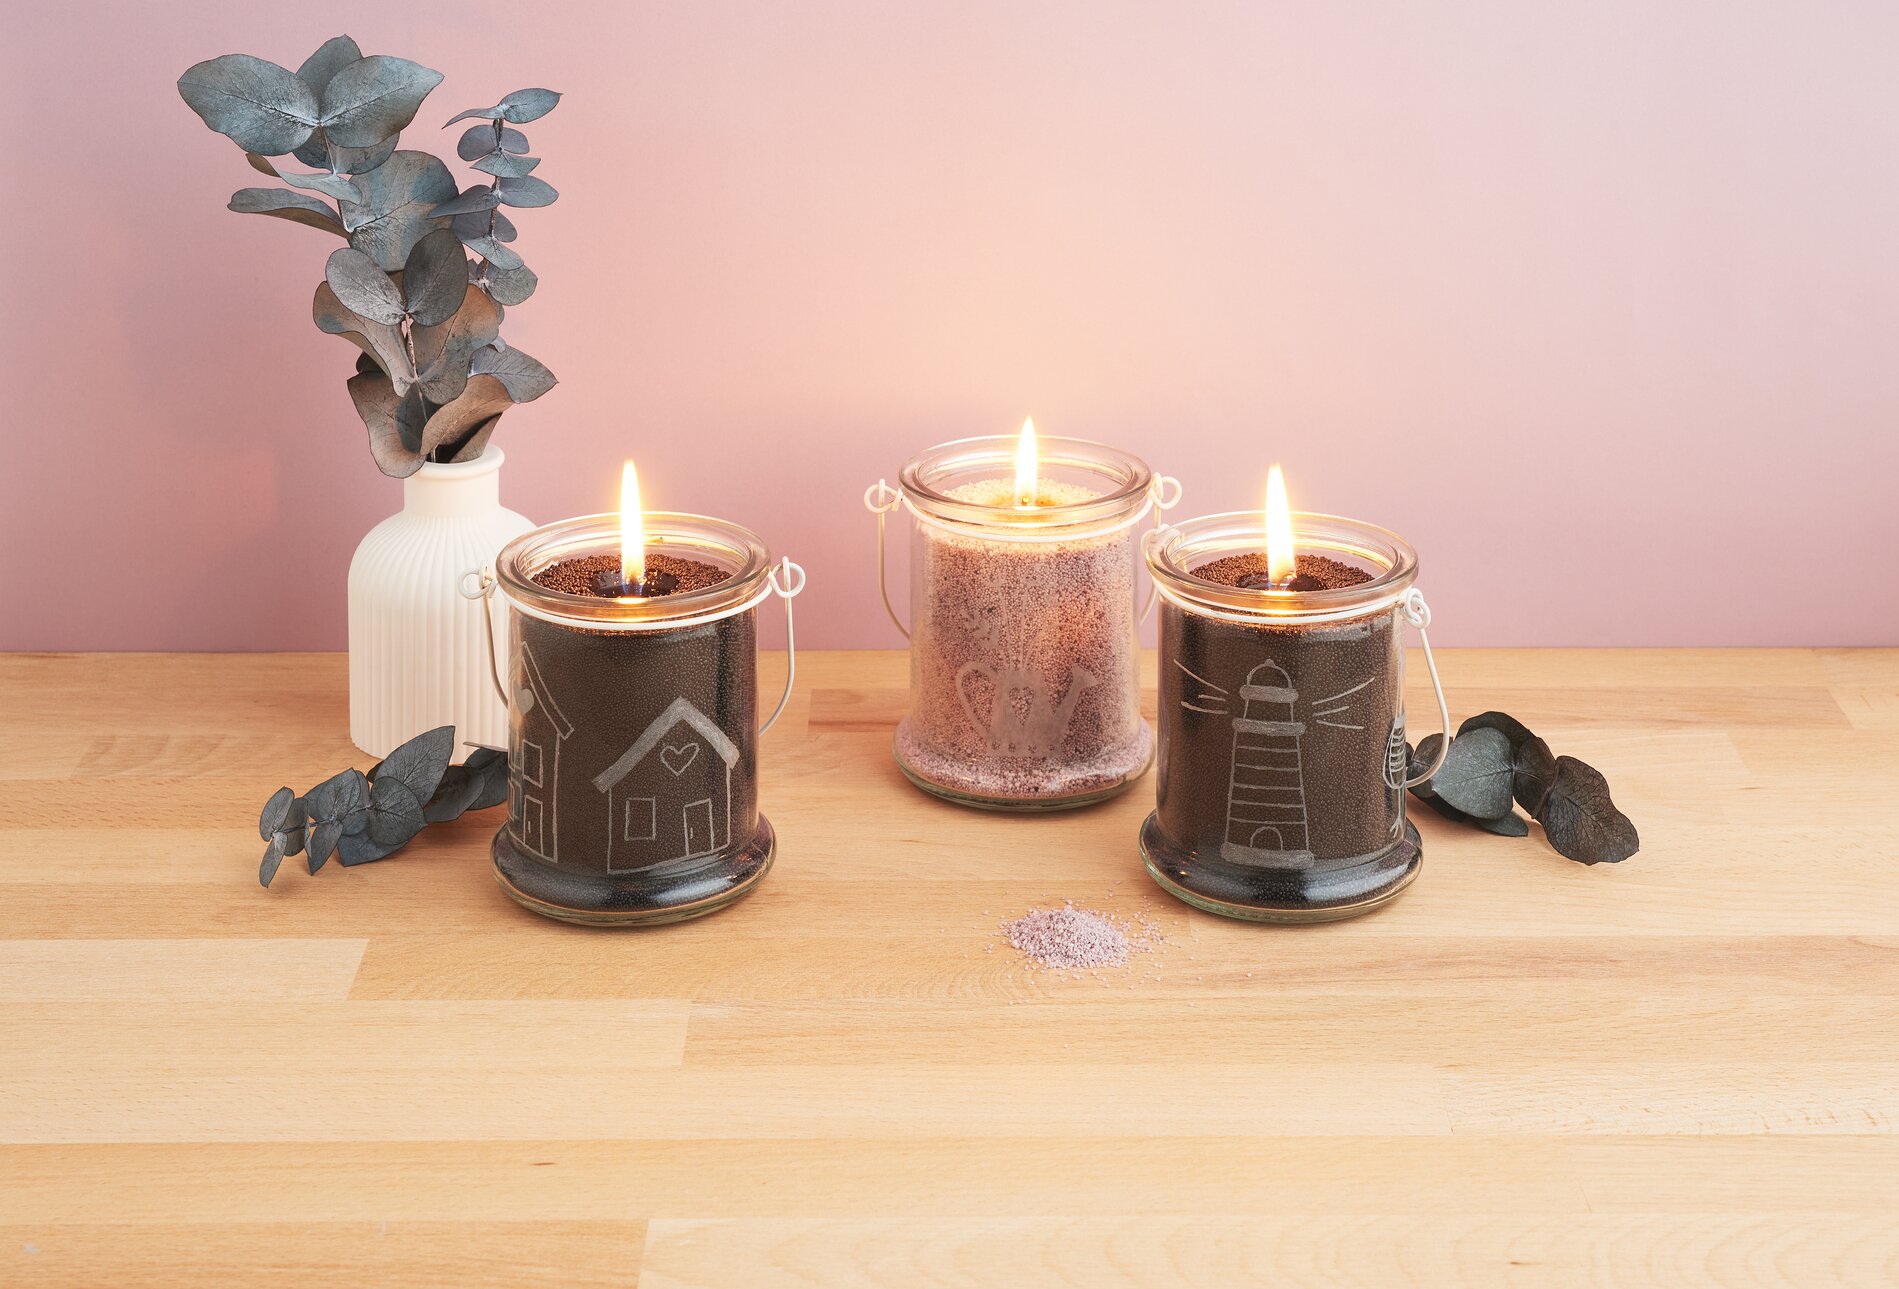
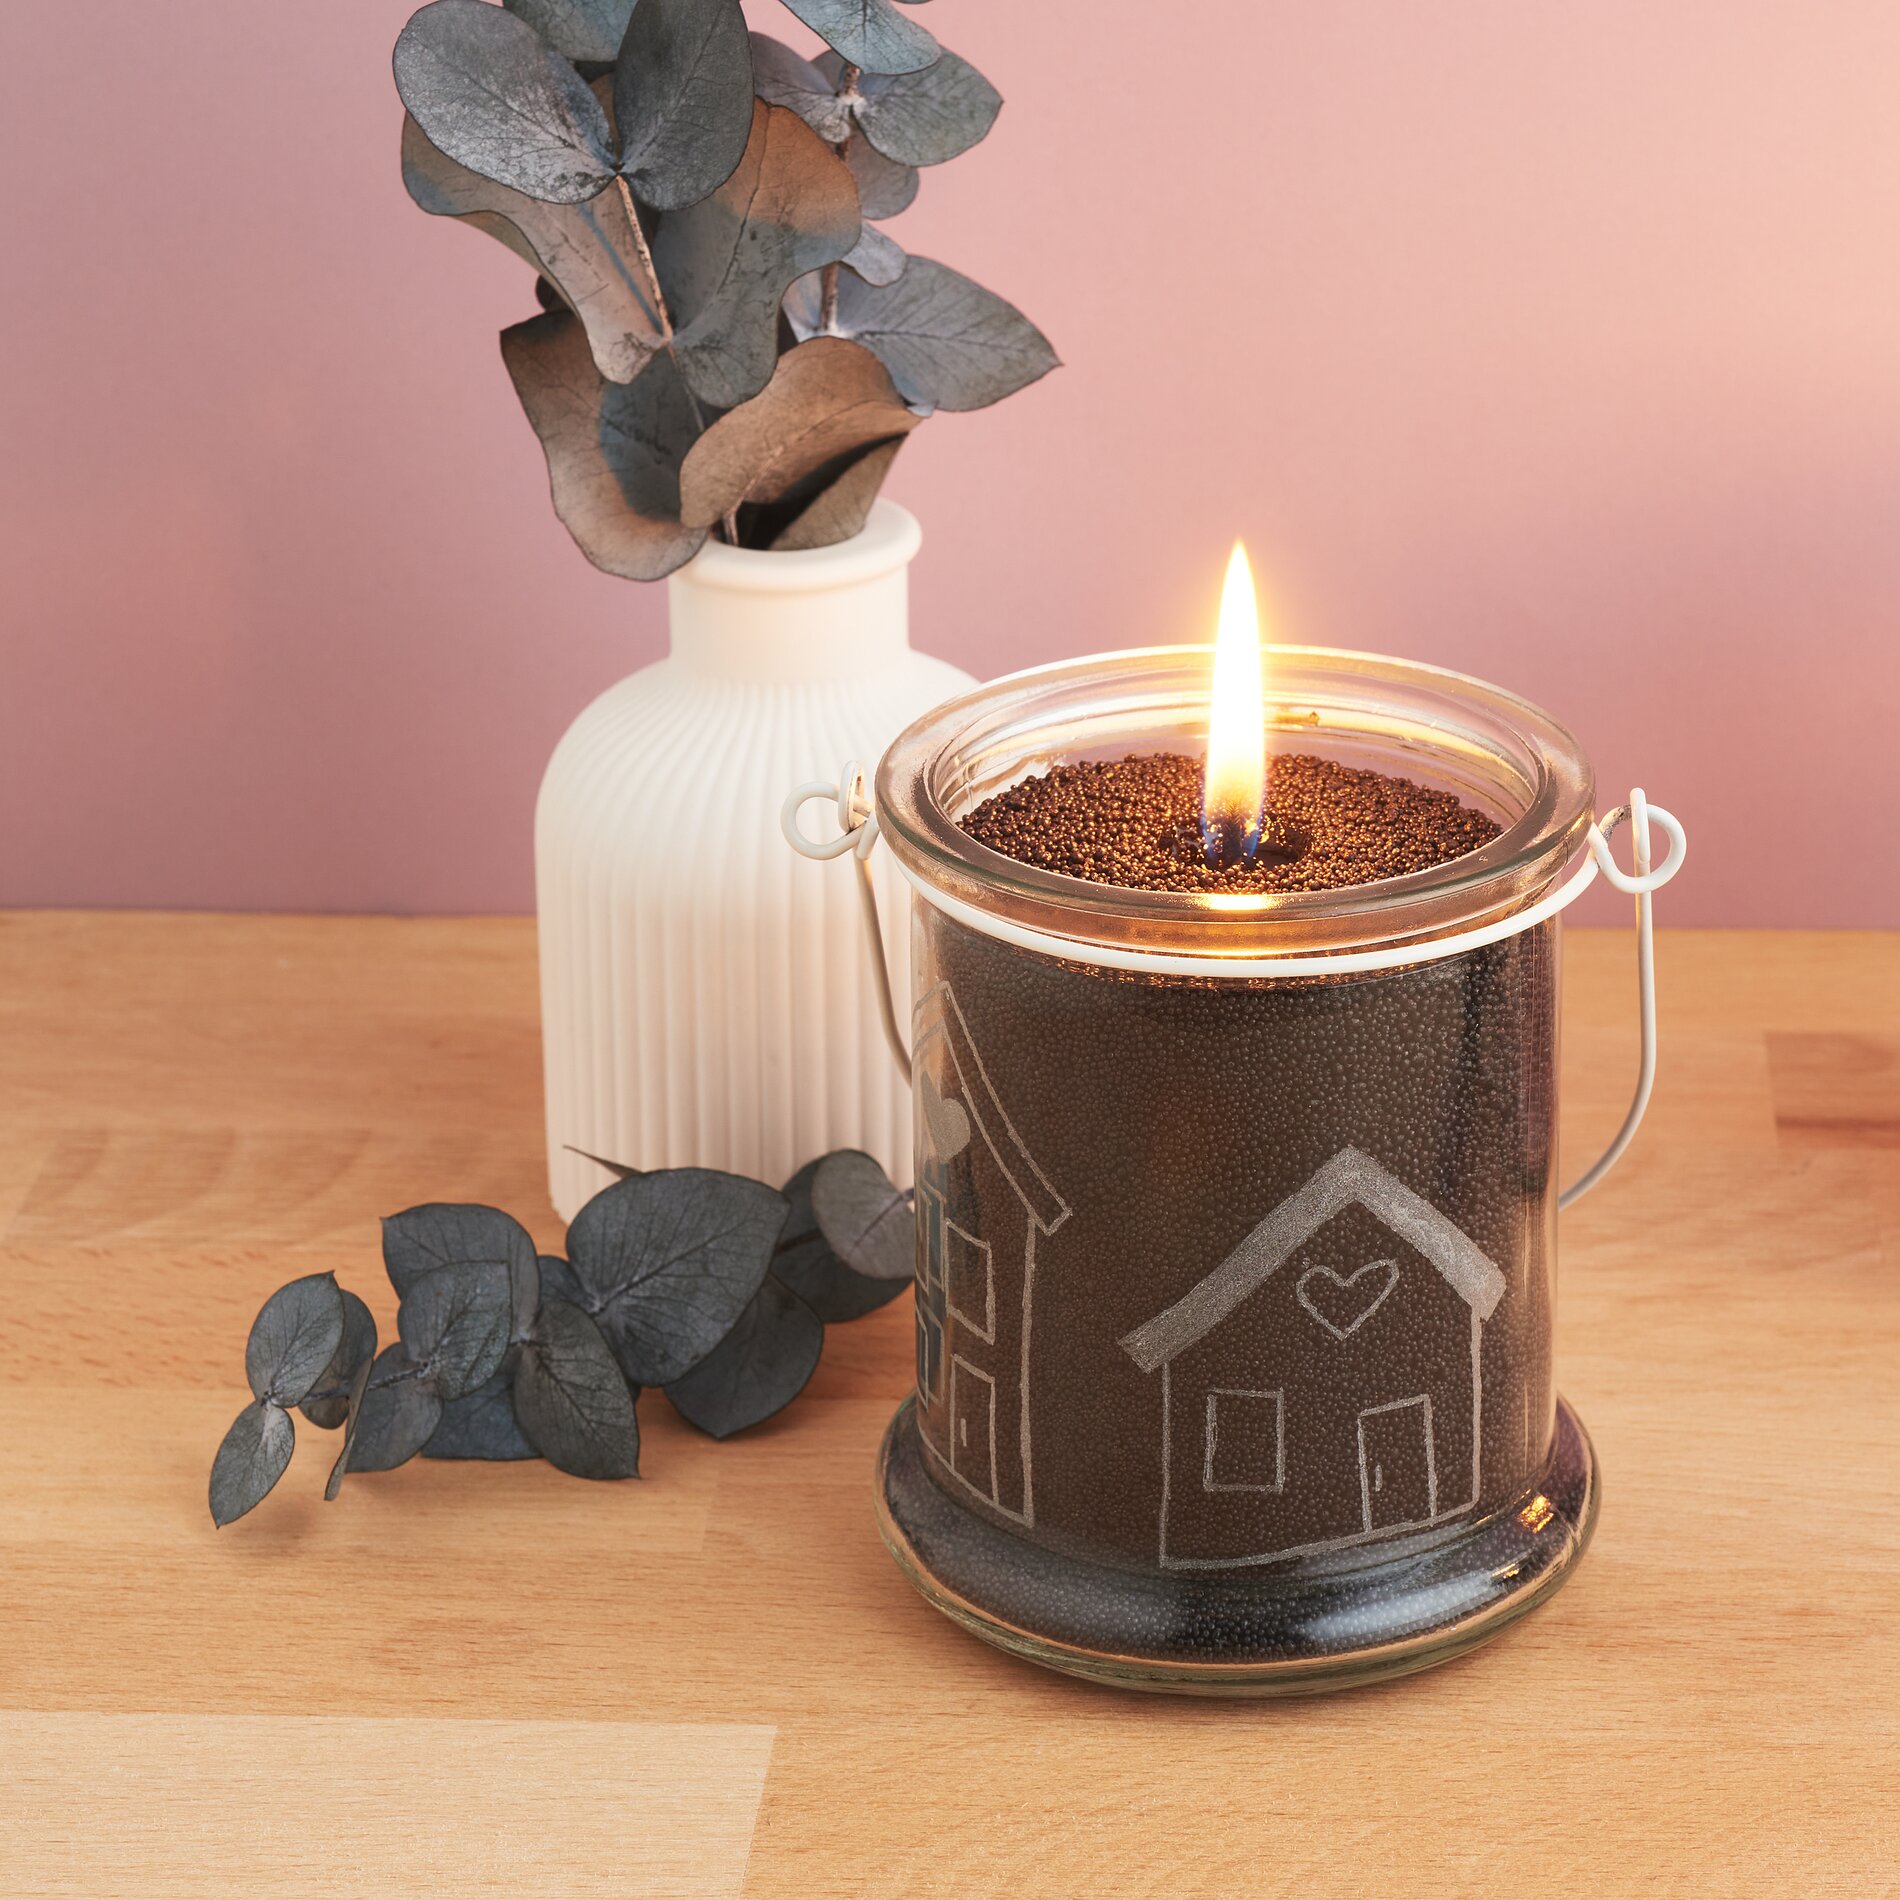
For this DIY-project, start by designing the glass. The engraving gives it a high-quality look and turns a simple “ wind light ” into a real eye-catcher. Clean the glass thoroughly so that no dust or grease residue interferes with the design.
Download the design template for this idea. Then transfer your desired design onto the glass. To do this, cut out your design and place it inside the glass. Trace the lines with a non-permanent marker or engrave the outlines directly from the template.
You can do the engraving with the engraving pen. Be sure to wear safety goggles for protection. The engraving process slightly roughens the surface of the glass, giving the design a matte finish. Work slowly and with light pressure to ensure the lines are clean and even.
Filling the Candle Sand Correctly
Once the engraved wind light is finished, fill it with candle sand. Candle sand consists of fine wax granules and is ideal for custom candle projects. Carefully pour the sand into the glass until the desired height is reached. It looks especially decorative when different colors are layered.
To ensure the candle burns evenly later, gently smooth the surface. Then place the wick in the center of the candle sand. Make sure a sufficiently long piece of the wick protrudes from the sand so that the candle can be lit easily.
Discover Custom Design Options
With candle sand, you can create new designs time and time again. For seasonal decorations, you can use matching colors—for example, warm natural tones in the fall or light pastel colors in the spring. Small decorative elements on the rim of the glass or bows also give the wind light a personal touch.
The engraved glass also ensures that the candlelight creates a particularly atmospheric effect. The matte engraving produces beautiful light reflections, making the “ wind light ” a decorative highlight.