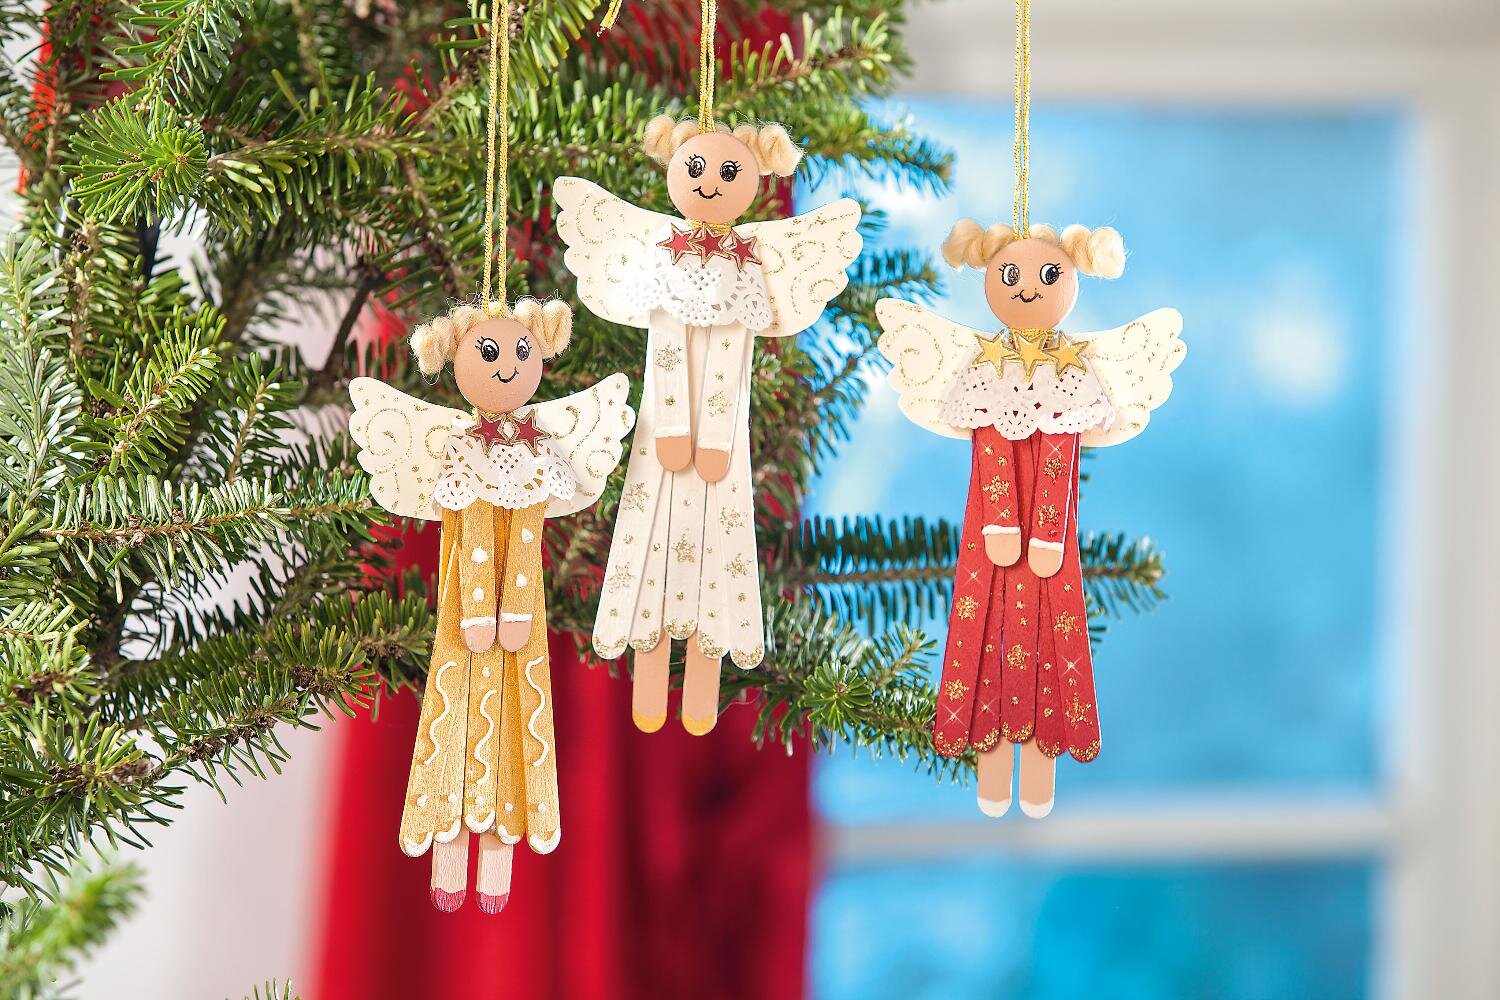
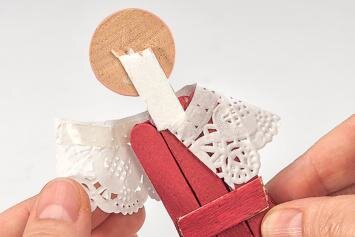
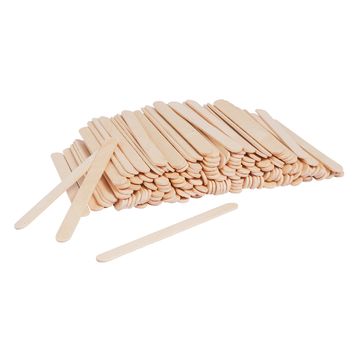
You can give the cute blonde Christmas angels to your friends or hang them on the Christmas tree. They are made of painted wooden sticks and have wings made of Paper. And here's how it works First you paint the wooden sticks and the boards. You need per angel - five coloured sticks - one skin coloured stick for the legs - one coloured stick with skin coloured ends for the arms. After drying, glue 3 coloured sticks together from behind with short pieces and two diagonally on top of them, this will be the dress. The short pieces you can easily cut with a side cutter. Stick one of these short pieces on as a neck and on top of it a plate as a head. Cut the stick for the arms in the middle and glue it on the dress. Divide the stick for the legs into two parts and glue them behind each other. Next, cut the lace paper in half and cut the pierced edge for the collar. Stick the tape-Ribbon on the edge and fix the collar around the dress. If the Paper is too long you can cut it off. On top of it you can add different stars. For this you stick relief stickers on Craft cardboard sheet, cut them out and then stick them on with tape-Ribbon Now you transfer the template for the wings onto embossed cardboard, cut it out and pull the embossed structure slightly with the glitter liner. To hang up the angels, wrap the golden Cord around your neck and fix it with some hot glue behind the board. Then you can also glue the wings with hot glue. Finally, you can decorate your angels with decorative snow liner and glitter liner, glue a piece of doll's braid on them and paint their faces with a fine felt-tip pen.
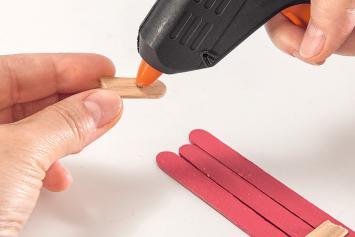
Carefully glue the Wooden sticks with the hot glue gun.