- Secure order
- Easy return shipment
- Service-Hotline 03 69 61 69 10
Instructions No. 4112
Difficulty: Beginner
Working time: 2 Hours 30 Minutes
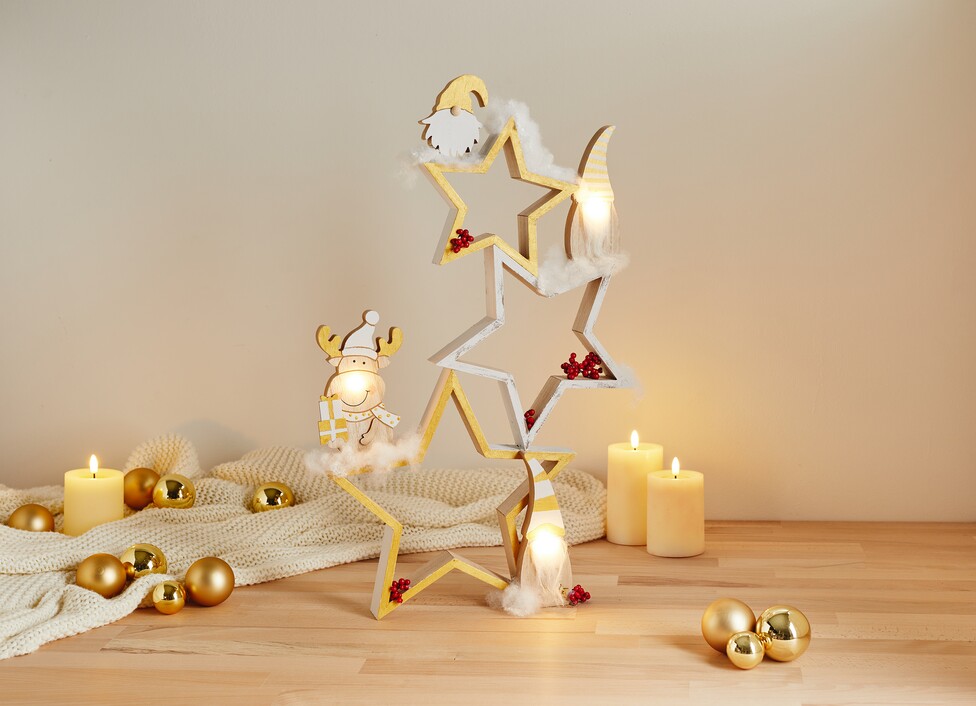
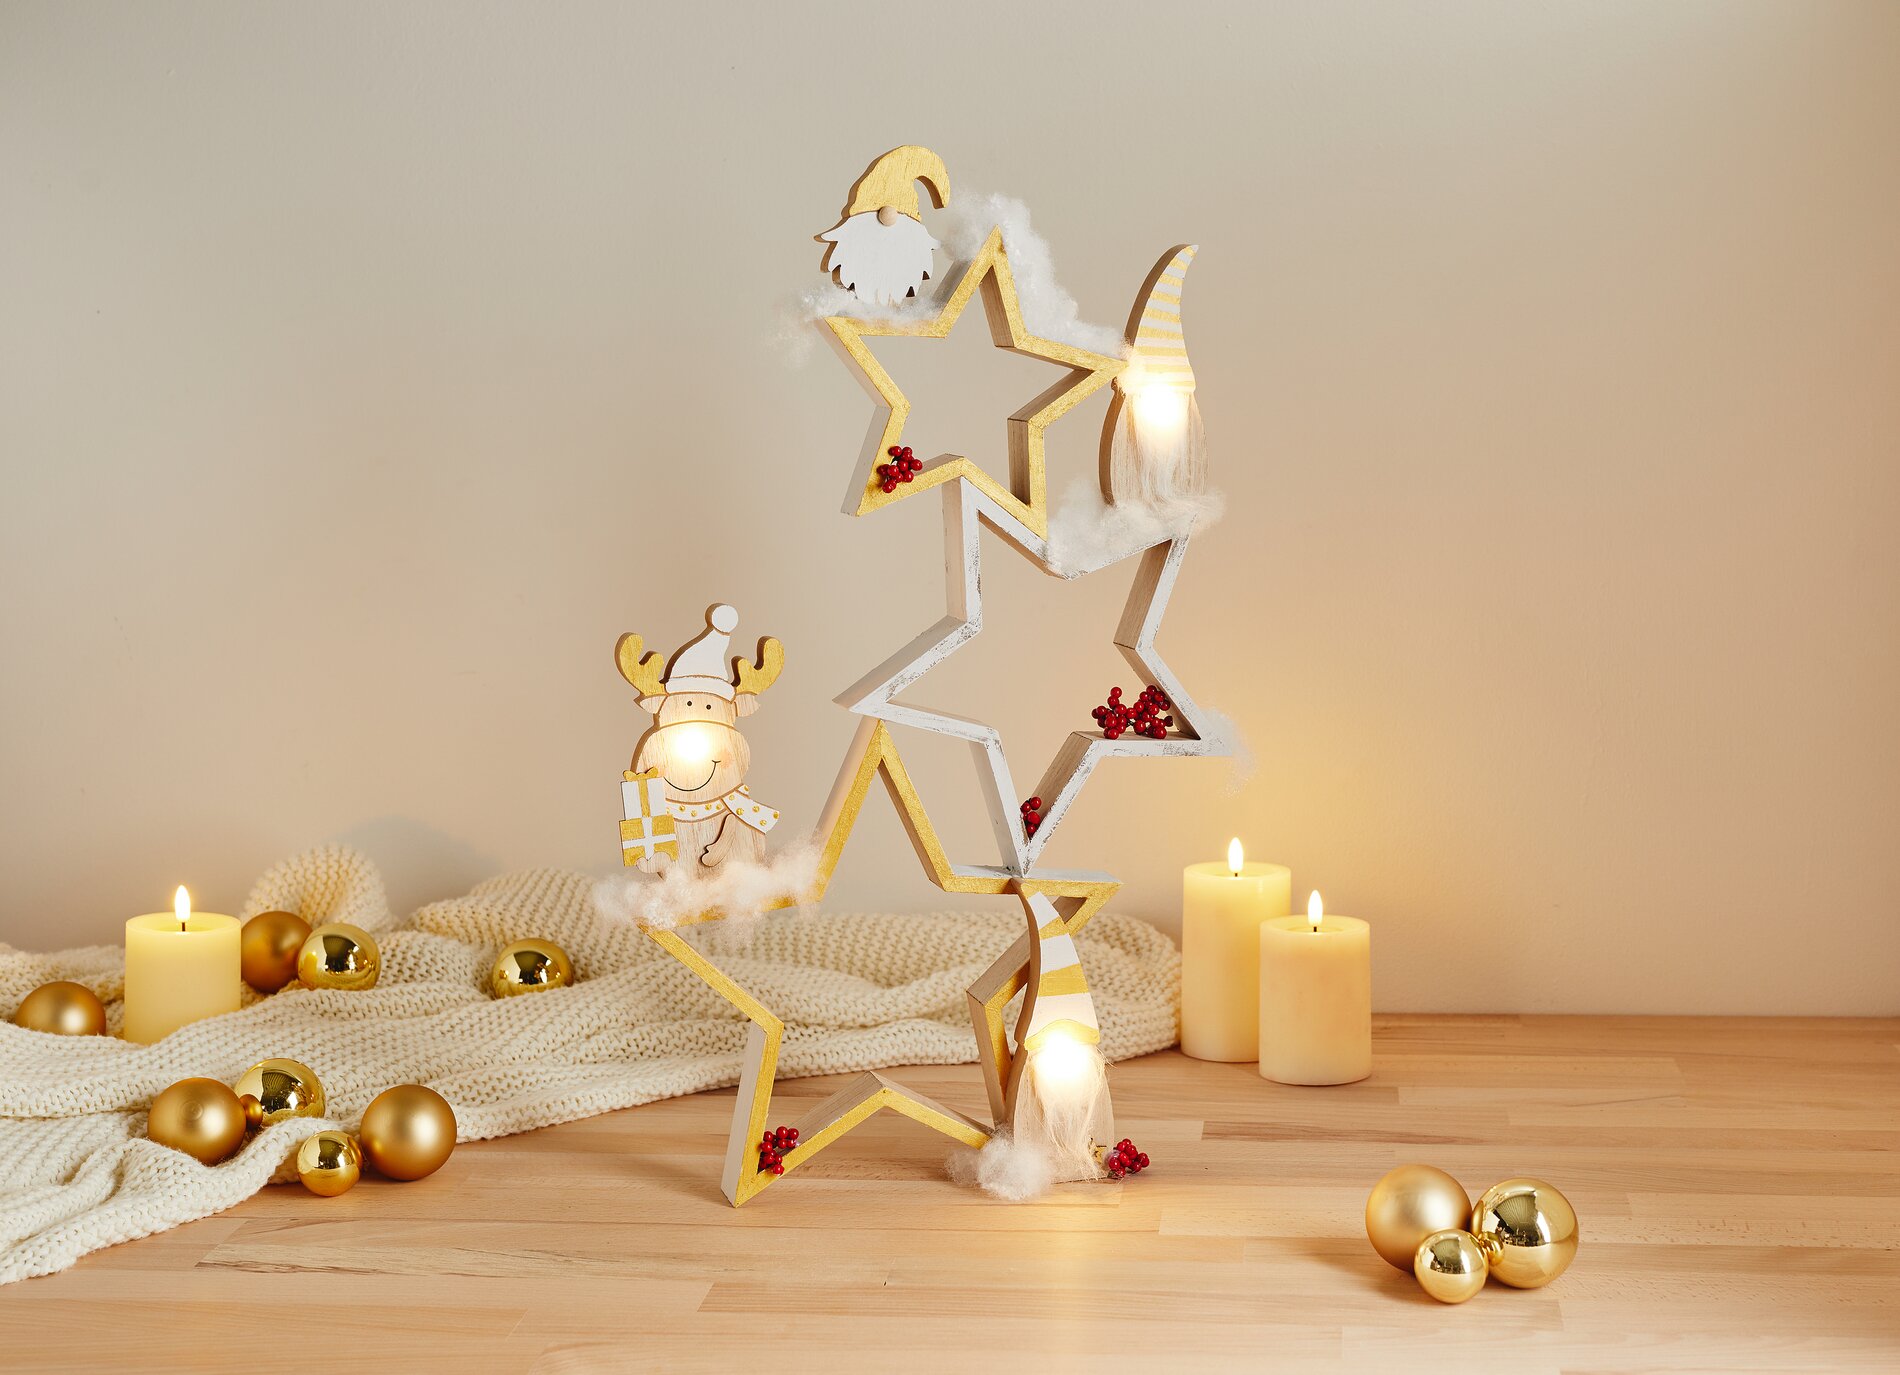
Step 1: Apply Chalky —for that signature matte look, paint the stars with Chalky paint. Work in thin layers so that the chalk colour dries nice and smooth and no brush strokes stand out. Let the first layer dry briefly and apply a second layer if needed. The reason behind this: An even, matte base creates a sense of calm around the christmas decoration and makes any metallic-accents stand out more.
Step 2: Highlight the figures—to complement the star arrangement. Paint the figures as well with Chalky paint so that everything looks like it’s part of a single design. You can intentionally make small details slightly lighter or darker to add more depth.
Step 3: Use acrylic metallic gold as highlights Add targeted accents to selected edges and surfaces with acrylic metallic gold . These metallic-accents give the Christmas decoration a festive character without making it look overloaded.
Step 4: Glue the stars together—for stability and a 3D look Glue the stars together using handicraft glue , aligning them to create the desired stacked look. Make sure the contact surfaces lie flat against each other so the structure stands securely. Wipe away any excess glue immediately before it dries. Let everything dry thoroughly—this is important to ensure nothing shifts when you decorate later.
Step 5: Add stuffing, berries, and figures Once the star structure is secure, use hot glue to attach figures, stuffing, and berries to and inside the stars. Hot glue sets quickly and holds securely, making it ideal for textured decorative elements. Place the stuffing like little islands of snow within the star frames to give the shapes a cozier look. Arrange the berries in small clusters as pops of color—this creates focal points that bring the arrangement to life.
Step 6: Finishing Touches—Harmonious “ christmas decoration ” for a Shelf, Table, or Windowsill Finally, check to make sure all elements are securely attached and that the arrangement is balanced: an eye-catcher at the top, some breathing room in the middle, and a calm finish at the bottom. If you’d like, you can lightly accentuate individual gold edges once more. This gives your “ DIY ” ( christmas decoration ) made of MDF wood stars an elegant, cohesive finish.
Now it’s your turn! If you’re looking for even more ideas for crafting “ christmas decoration ,” as well as matching colors, glue, and small decorative elements, browse our online shop and put together your next star combination to perfectly match your style.