- Secure order
- Easy return shipment
- Service-Hotline 03 69 61 69 10
Instructions No. 3549
Difficulty: Beginner
Working time: 1 hour 30 Minutes
With our detailed instructions, you can make beautiful Christmas tree-shaped soaps that are not only visually impressive, but also a wonderful treat for the senses. Whether as a festive decoration in your bathroom or as an individual gift for friends and family - your homemade Christmas tree soaps are guaranteed to draw admiration. Let yourself be inspired by the coziness of the Advent season and discover how easy it is to add your personal touch to these charming soap creations.
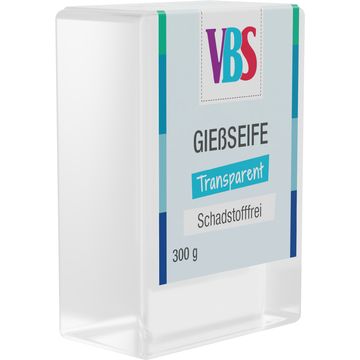
Step 1: Preparing the soap base
To start your project, cut the transparent soap base into small cubes. These are easier and more even to melt, which guarantees you a perfect result.
Step 2: Melting the soap
Pour the cubes of soap base into a universal melting pot and heat them slowly. Use a thermometer to check that the temperature does not exceed 60 degrees to ensure the quality of the soap.
Step 3: Adding fragrance and color
Now comes the exciting part. When the soap has completely melted, add your desired fragrance oil. You can also add a nourishing skin oil to make the soap extra pleasant for the skin . Then use green soap colour, to create the typical Christmas tree look. You can adjust the intensity of the color to your liking.
Step 4: Pouring into the fir tree mold
Now carefully pour the colored soap mixture into the silicone mould. Make sure to pour slowly to avoid air bubbles and to achieve a smooth surface. Leave the soap to harden for several hours. Even hardening is crucial for the appearance and durability of the soap.
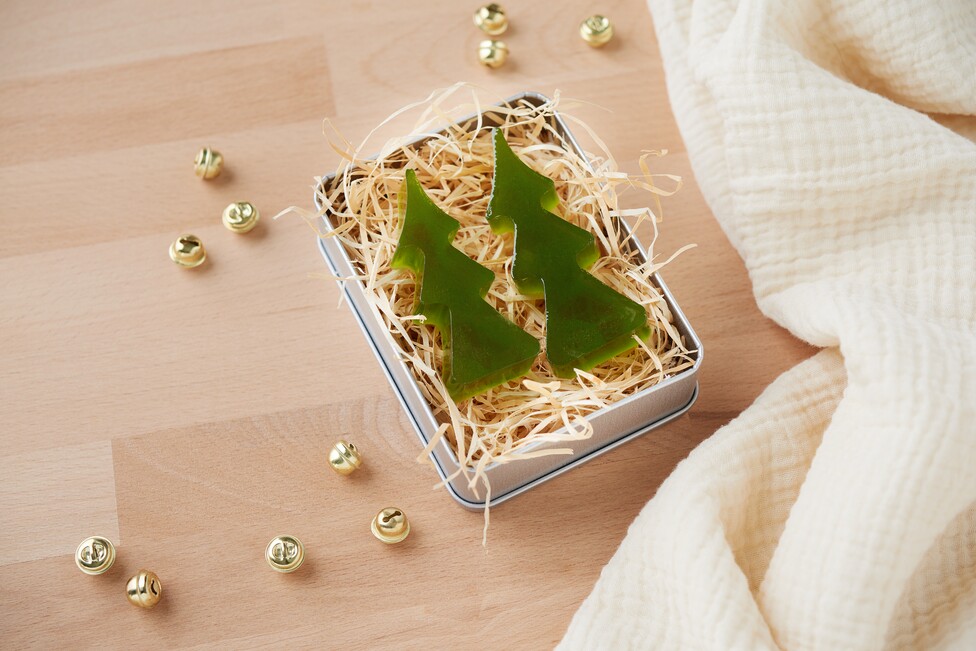
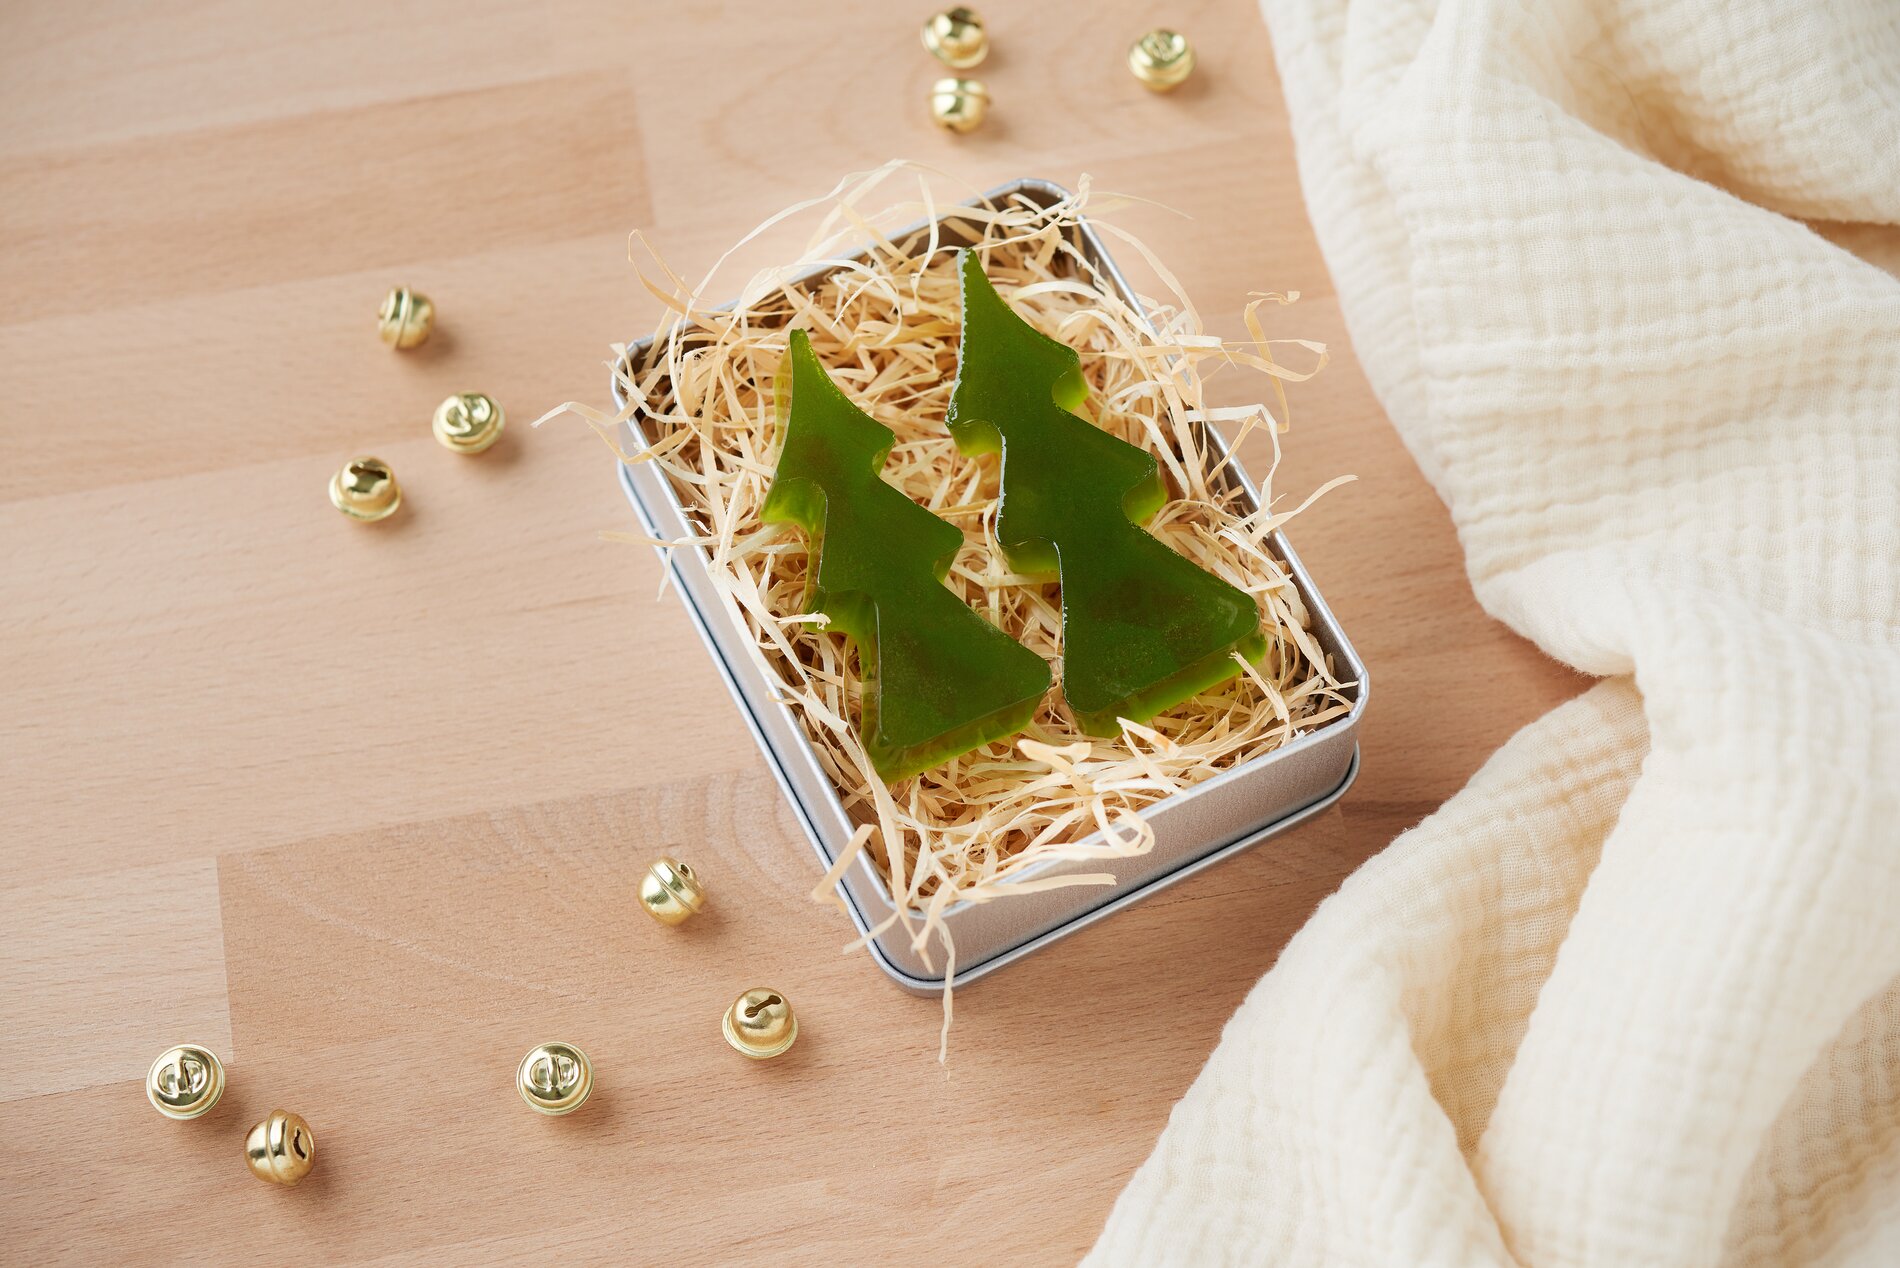
Step 5: Demolding and packaging
Once the soap is firm, carefully remove it from the Christmas tree-silicone mould. For a particularly attractive presentation, you can place the soap in a metal tin with a little wood wool . This pretty packaging protects the soap and makes it the perfect Christmas gift.
With these instructions, you can quickly create beautiful Christmas tree soaps that will bring a touch of Christmas into your home. Experiment with different fragrance and color combinations and let your creativity run wild!