- Secure order
- Easy return shipment
- Service-Hotline 03 69 61 69 10
Instructions No. 3550
Difficulty: Advanced
Working time: 1 hour 30 Minutes

Step 1: Preparing the soap base
First, you should cut the transparent and white soap into small cubes. This makes melting much easier as the surface area of the soap bars is increased and they can be heated more evenly. It is best to use a special soap such as the VBS Soap that is suitable for such creative projects.
Step 2: Melting the soap
Place the cut cubes of transparent soap in a universal melting pot. Heat the soap at a low temperature and check regularly with a thermometer that the temperature does not exceed 60 degrees Celsius. Too high a heat would affect the consistency of the soap and could reduce its quality.
Step 3: Refining the melted soap
Once the translucent soap is completely melted, you have the option to customize it according to your preferences. Add a few drops of scented oil to make the soap fragrant. You can also stir in a nourishing skin oil. Also use soap colour, to give your soap the desired color intensity. Make sure to mix the color well so that it is evenly distributed.
Step 4: Pouring the transparent layer
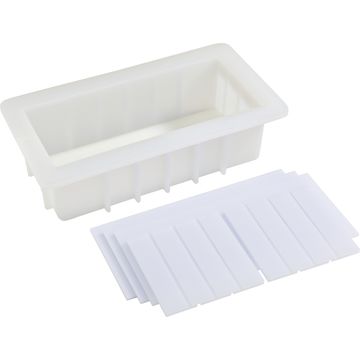
Carefully pour the colored translucent soap into a silicone mould. Be careful not to pour too much at once to avoid overflow. Allow the soap to set briefly before continuing with the next step.
Step 5: Repeat for the white soap
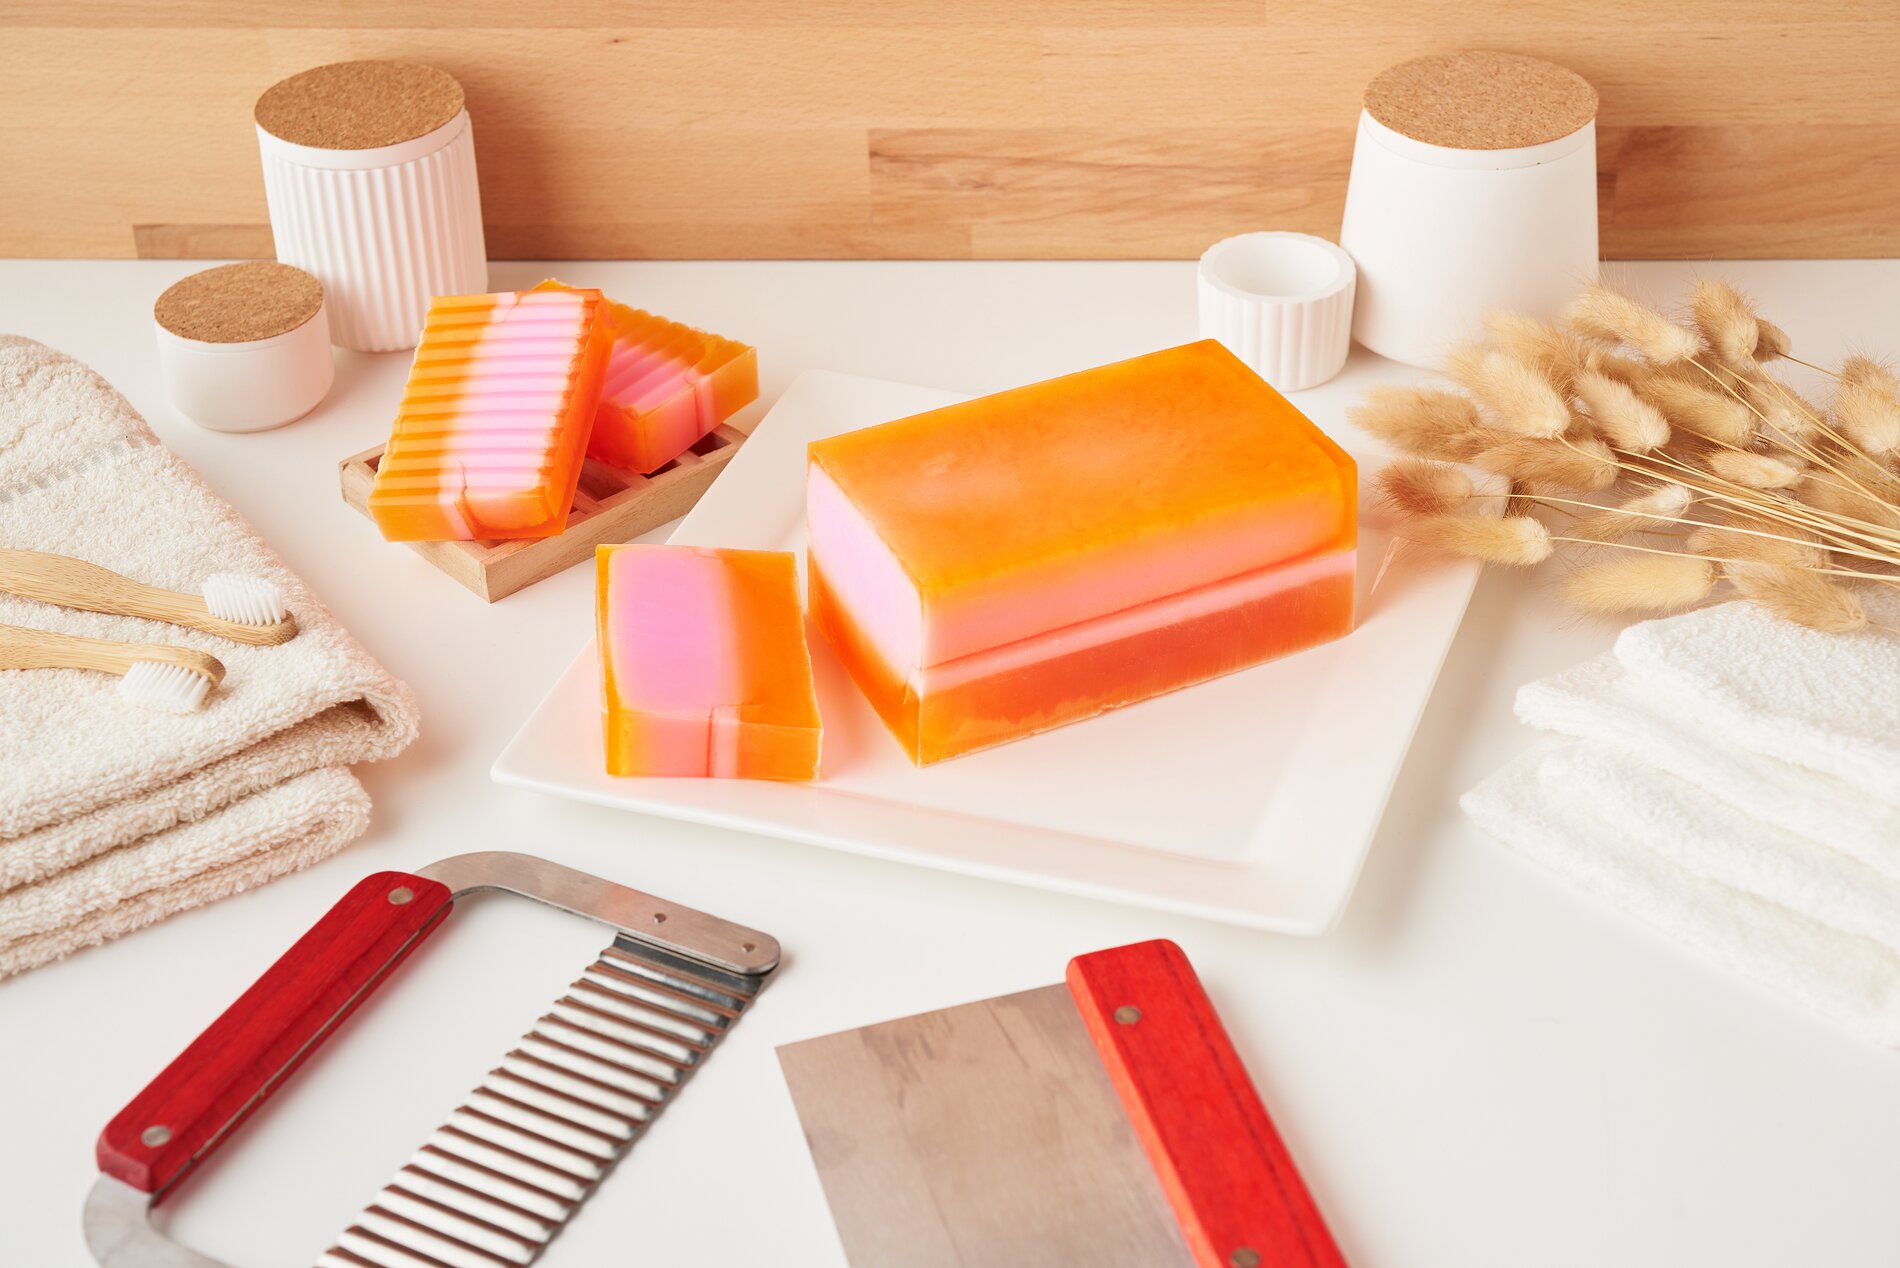
Now proceed as described above with the white soap. Melt it carefully, add fragrance and skin oils and color if necessary and then pour the white colored soap onto the transparent soap layer already in the mold. This layering creates an exciting visual effect and gives your soap that certain something.
Step 6: Hardening the soap
Allow the soap to harden completely in the silicone mould . This process can vary depending on the room temperature, but allow enough time.
Step 7: Cutting the soap bars
Once the soap has completely hardened, you can remove it from the mold. Use a soap cutter or a sharp knife to cut the soap to the desired thickness. Be careful and work precisely to get beautiful bars of soap!