- Secure order
- Easy return shipment
- Service-Hotline 03 69 61 69 10
Instructions No. 3370
Difficulty: Beginner
Working time: 1 hour 30 Minutes
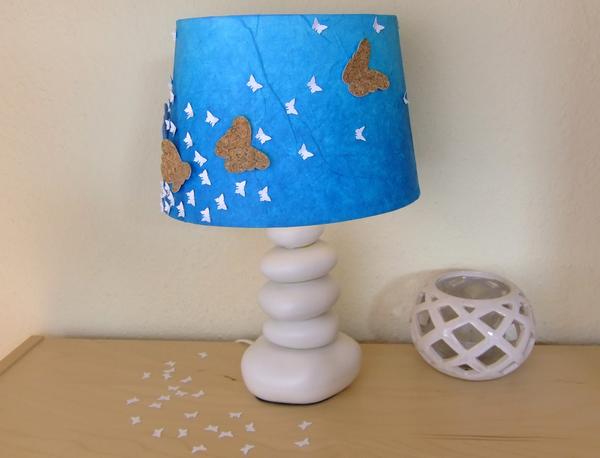
lampshade with butterflies - step-by-step instructions
Step 1 - Apply straw silk paper
First, cut a strip from the straw silk paper, that is slightly higher than the lampshade and reaches a little more than once around the shade in terms of length.
Apply a layer of napkins-varnish to the wing, place the straw silk paper on top and reinforce it with another layer of varnish. Be particularly careful when doing this, as the delicate silk can tear quickly when wet.
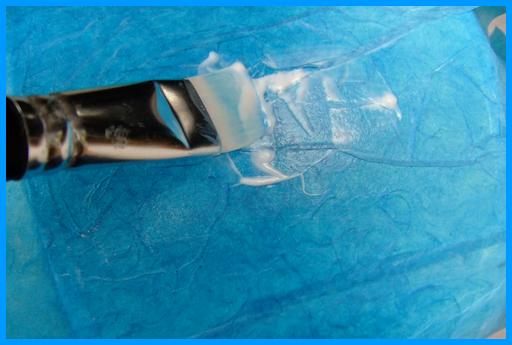
Now take care of the edges: cut the straw silk paper about 1 cm below the umbrella, glue it around the edge and repeat the varnishing process. Apply a coat of varnish, fold over straw silk paper and seal with varnish.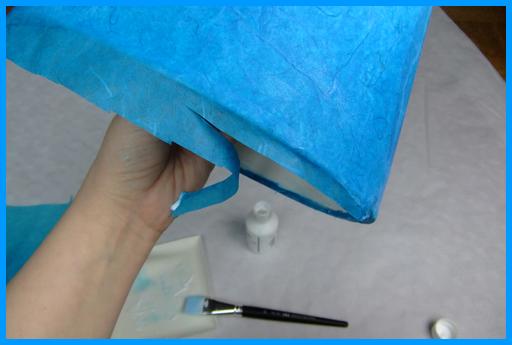
Step 2 - The swarm of butterflies
Take the motif punch and cut out approx. 80 butterflies from the white craft cardboard sheet . The wings can be folded slightly upwards for a three-dimensional effect.
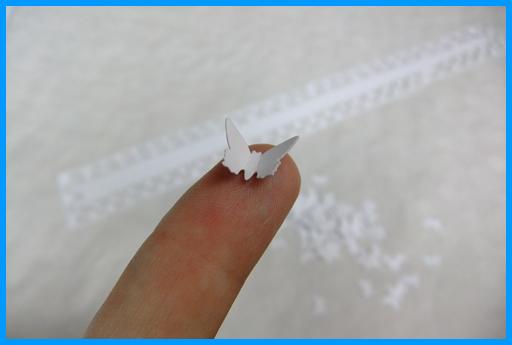
Now use the self-adhesive cork paper. Remove the backing paper and stick it onto the white craft cardboard sheet. Make templates for larger butterflies, cut them out of the reinforced cork paper and fold the wings for more expression.
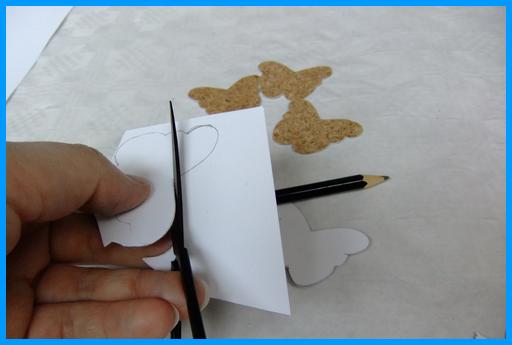
Step 3 - Arranging and gluing the butterflies
Now you can decide how you want the butterflies to fly. Start with the large butterflies and arrange them on the umbrella so that they are clustered at first and become increasingly lighter towards the top. Glue them in place with handicraft glue .
Attach the finished lampshade to a lamp base of your choice and enjoy your new eye-catcher.
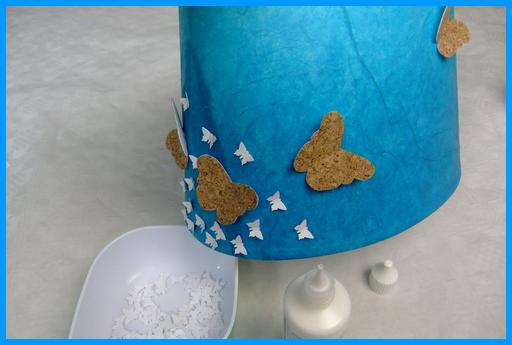
That's it! You now have a unique decorative lampshade, that is not only only a point of light in your home, but also an example of your creative power.
Do you want to get creative yourself? Visit our online store and discover the variety of our craft materials!