- Secure order
- Easy return shipment
- Service-Hotline 03 69 61 69 10
Instructions No. 3541
Difficulty: Beginner
Step 1: Prepare the paint
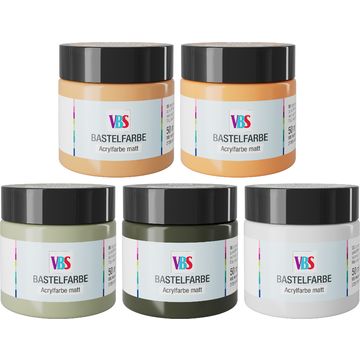
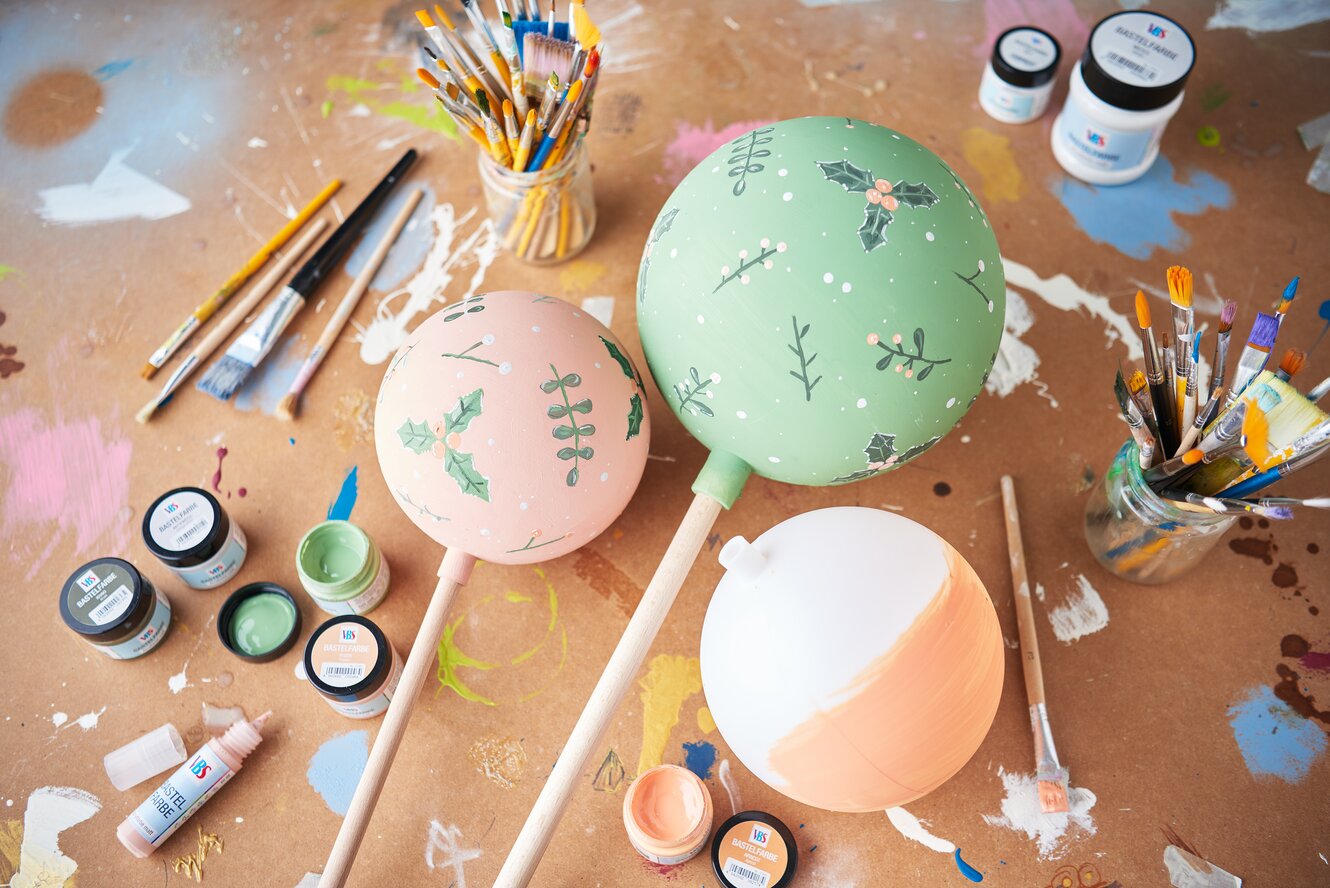
Pour some handicraft paint into a terracotta-saucer. This way, you can work comfortably with it and mix colors directly if necessary to create the exact shade that suits your garden.
Step 2: Cut paint sponge to size
Cut a paint sponge into smaller pieces - this gives you more control when applying the paint, especially on round or irregular surfaces.
Step 3: Prime the plastic ball
Dip the sponge into the paint and apply it evenly to the entire sphere. This primer ensures that subsequent layers of paint adhere better and the result is beautifully even.
Step 4: Leave to dry
Allow the paint to dry completely before continuing. This will prevent colors from running or mixing.
Step 5: Creative painting
Now comes the creative part: design your sphere in your own style! If you want to transfer a pattern, use our free template. Print it out, place graphite paper between the template and the ball and trace the contours - this will create a clean design.
Step 6: Details with bamboo skewers
For fine lines, dots or special accents, dip the tip of a bamboo skewer in paint and use it to paint precise details - perfect for a professional finish!
Tip: Mix colors like a pro
Use a paint palette to mix individual colors. This is guaranteed to turn your garden ball into a unique piece with character.
Step 7: Protection for outdoors
To ensure that your ball can withstand wind and weather, spray it with clear varnish. after drying. This protects the colors from UV rays and moisture and ensures long-lasting brilliance.
Step 8: Position the bauble
After drying, insert the beech round sticks into the openings of the sphere. They provide stability and help you to place your garden ball securely and decoratively in the flowerbed, on the lawn or between flowers.