- Secure order
- Easy return shipment
- Service-Hotline 03 69 61 69 10
Instructions No. 3326
Difficulty: Beginner
Working time: 2 Hours
Spring is just around the corner and with it comes Easter, which adorns homes with vibrant decorations. Colorfully decorated easter eggs, are particularly popular at this time of year and not only only look great, but are also very easy to make yourself. If you don't fancy brushes and paint, napkin technique is just the thing for you.
<img src="/tn.php?id=187601&width=900&height=600&templang=en" alt="Easily create your own Easter nest with polystyrene eggs and<protected> napkin technique" width="900" height="600" align="" hspace="" vspace="" class="">
This technique allows you to conjure up artistic, intricate patterns on the easter eggs even without artistic talent. Be inspired by our step-by-step guide and create your own masterpieces!
<img src="/tn.php?id=187585&width=600&height=450&templang=en" alt="easter eggs design with napkin technique " width="600" height="450" align="" hspace="" vspace="" class="">
easter eggs decorate with napkin technique
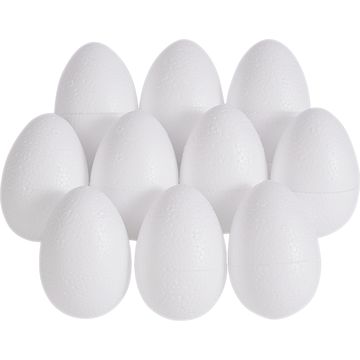
Step 1: Prepare easter eggs
Before you start, check your polystyrene eggs. They often have production-related burrs that you can easily remove with sandpaper . This ensures a smooth surface and makes it easier to apply the napkins.
Step 2: Prepare napkins
Take the napkins and separate the printed layer from the layers underneath. Sometimes the second layer only comes off after a little patience, but it is definitely there.
Step 3: Select motif and apply napkins
Choose a motif that you particularly like. To achieve a clean result, tear off the required pieces of napkin instead of cutting them. This ensures that the edges are less visible later. You can either start with a large piece and spread it out from the center or choose smaller pieces and apply them one by one.
<img src="/tn.php?id=187587&width=600&height=450&templang=en" alt="easter decoration with Easter eggs and napkin technique. easter eggs with napkin glue and napkins design" data-mid="187587" title="easter eggs napkin technique: napkins separate" width="600" height="450">
Step 4: Glue and dry
Apply the napkin varnish to the egg and then carefully apply the napkins . Make sure you allow enough drying time between the steps so that you don't accidentally remove the napkins again. A shashlik skewer can be useful to support the egg while you work.
Step 5: easter decoration - Building the nest
You can create a pretty nest for the perfect presentation of your easter eggs . Use a plastic plate and decorate it first with a layer of Iceland moss. Place the-willow decoration on top in the shape of a nest. Remember that binding wire can be useful to keep the willow in shape. Add small pieces of moss to give the nest a natural look. 
Final presentation
Once the easter eggs are completely dry and your nest is built, you can arrange the eggs in it. Your Easter decoration will be a real eye-catcher. Have fun crafting and trying it out!