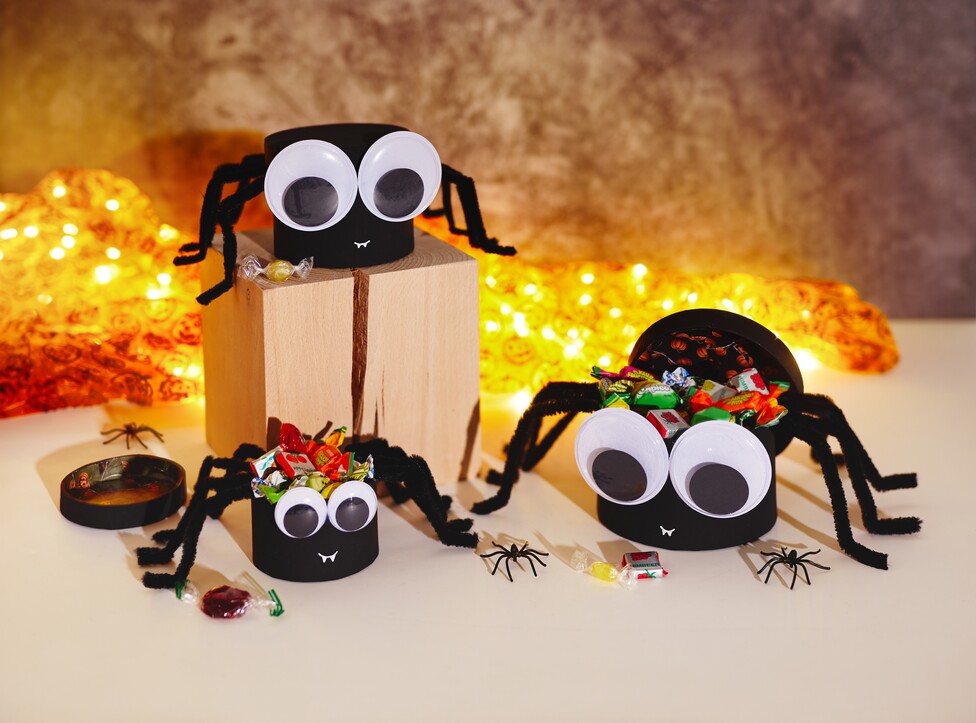
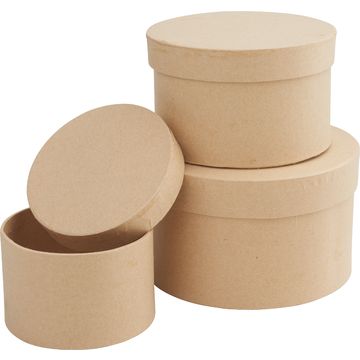
Make Spider-Themed Candy Boxes from Round Cardboard Boxes (Halloween) Choose the size from the round cardboard box set that fits your Halloween candy. This way, you can package small treats just as easily as a larger portion for your Halloween party. Also, gather the following materials: handicraft paint , black, Paper for scraps, napkin varnish, wobbly eyes, chenille wire , and a hot glue gun—and protect your work surface.
Step 1: Paint the cardboard boxes black
Paint the outside of each box and its lid evenly with black handicraft paint. The black base coat ensures that the spider will look like a single piece later on and that the eyes really stand out. Let everything dry completely so that nothing smudges as you continue working and the paint adheres properly in the next step.
Step 2: Line the inside with paper scraps
To make sure your cardboard boxes are spookily decorated on the inside as well, line them with Halloween-themed-Paper.
Tear the Paper into many small scraps. Torn edges look softer and conform more easily to curves than straight-cut edges. Coat the inside of your boxes with a layer of napkin varnish.
napkin varnish is both an adhesive and “ protective varnish ” in one: It secures the “ Paper ” and seals the surface so it stays sturdy later on.
Place the scraps one by one into the still-wet varnish and keep brushing napkin varnish over them until the inner surface is covered. Make sure no thick pools of glue remain so that everything dries evenly.
Step 3: Let it dry thoroughly
Let the box dry thoroughly again. This step is important so that the paper collage sets firmly and doesn’t become rough or come apart when you fill it with candy.
Step 4: Glue on the spider face
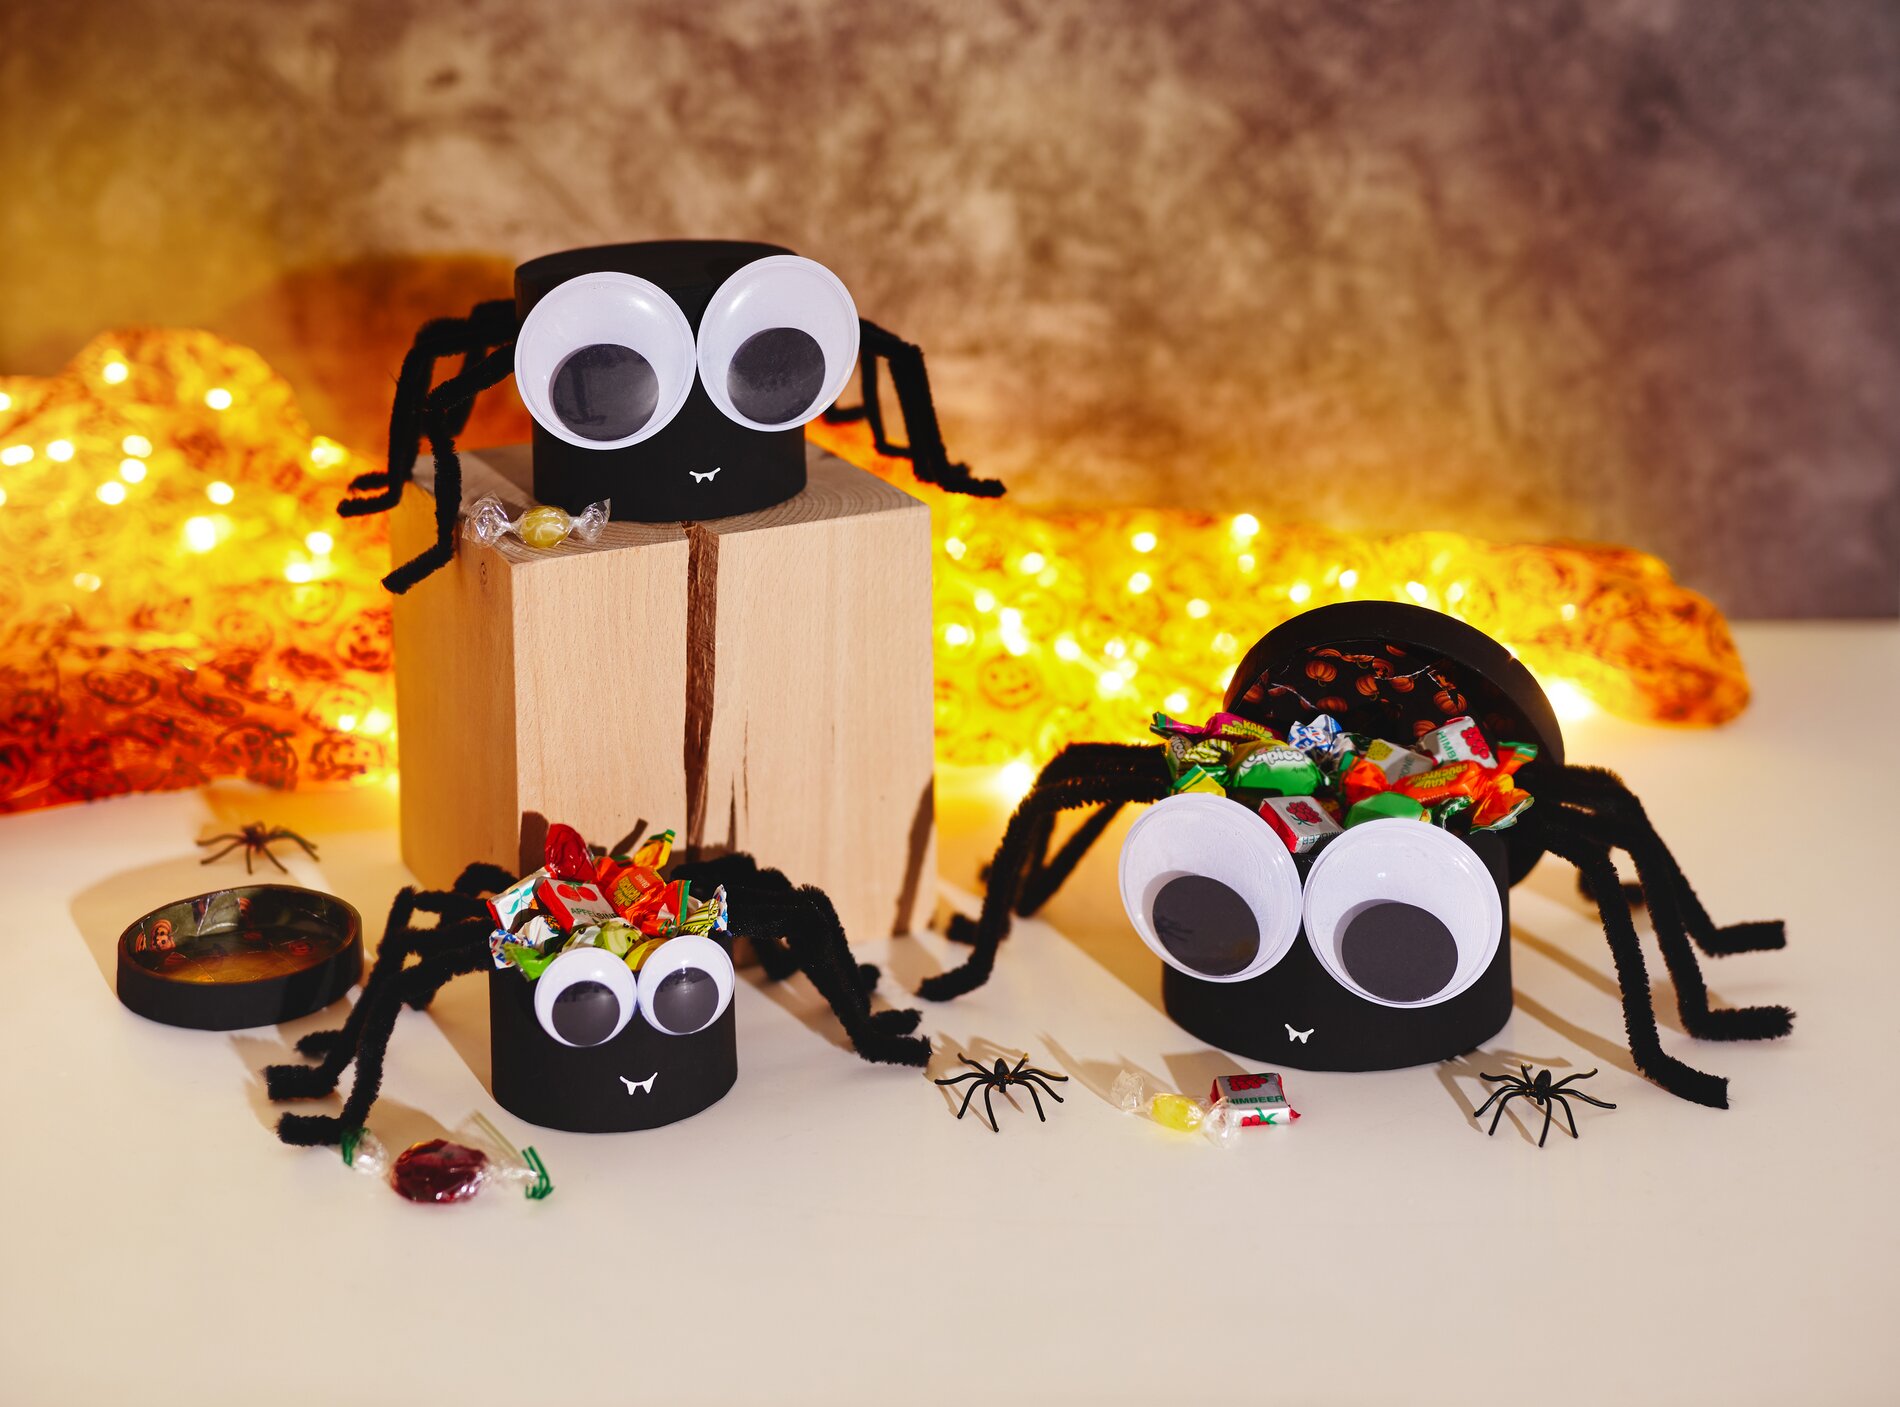
Use hot glue to attach the “ wobbly eyes ” to the front of the box. Position it slightly off-center or make it extra large if you want to create a cute Halloween spider. If you like, add a small mouth or little teeth using a piece of “ Paper ” or paint to give the face even more character.
Step 5: Attach the legs made from “ chenille wire ”
Attach four legs made of chenille wire to the bottom of the box on each side. Hot glue provides a quick and secure hold here. Bend the lower ends slightly to create little feet. This makes the spider box appear to stand “on its own two feet,” and the chenille wires look more lively instead of just sticking out straight.
Step 6: Fill and Decorate
Place the lid on and fill your finished Halloween candy boxes with candy. A mix of different sizes looks especially nice: This creates a little spider family for your fall table, as party favors for kids, or as decorations for your Halloween party.
Now it’s your turn
Make several spider boxes in different sizes and combine them as Halloween decorations and candy containers. You can find the right cardboard boxes, craft paints, napkin varnish, wobbly eyes , and chenille wire in the online shop—so you can plan your project right away and get started.