Step-by-step instructions for knitting with the knitting strip
1. Preparations: meetFirst, tie the beginning of your yarn to one of the two end pins of the knitting strip (pin on the narrow side).
2.
Preparing the cast-on In the first row, we prepare the cast-on stitches. To do this, place the knitting wool from right to left around the first peg, then guide the wool to the opposite peg - again from right to left, i.e. you place the yarn in the shape of a figure 8 around 22 pegs (1 peg is left out, otherwise the scarf will be too wide for the 25cm polystyrene ring). Repeat the process until you have "loops of 8" on the strip.
3.
Wrap the cast-off row For the cast-off row, repeat the process from step 2 to add a second layer of yarn over the existing loops.
4.
Knitting off the stitches Start at the last wrapped peg and hook into the respective stitch on the outside of the knitting strip each time you knit: Use the knitting hook to pick up the bottom stitch (cast-on row) and pull it over the top stitch (cast-off row).
5.
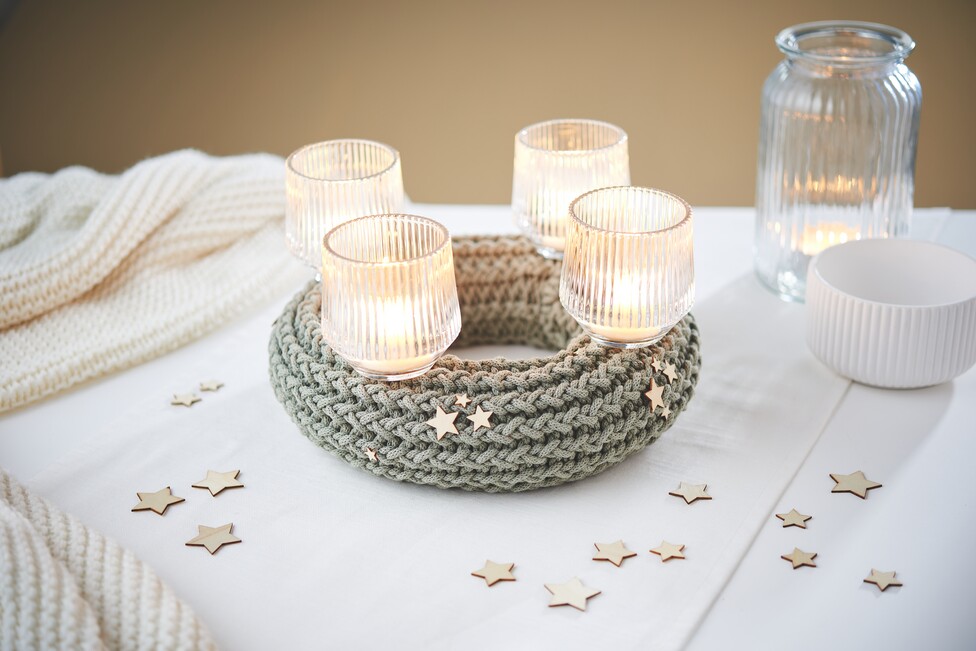
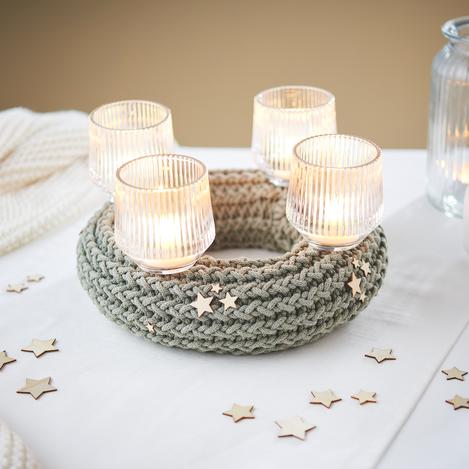
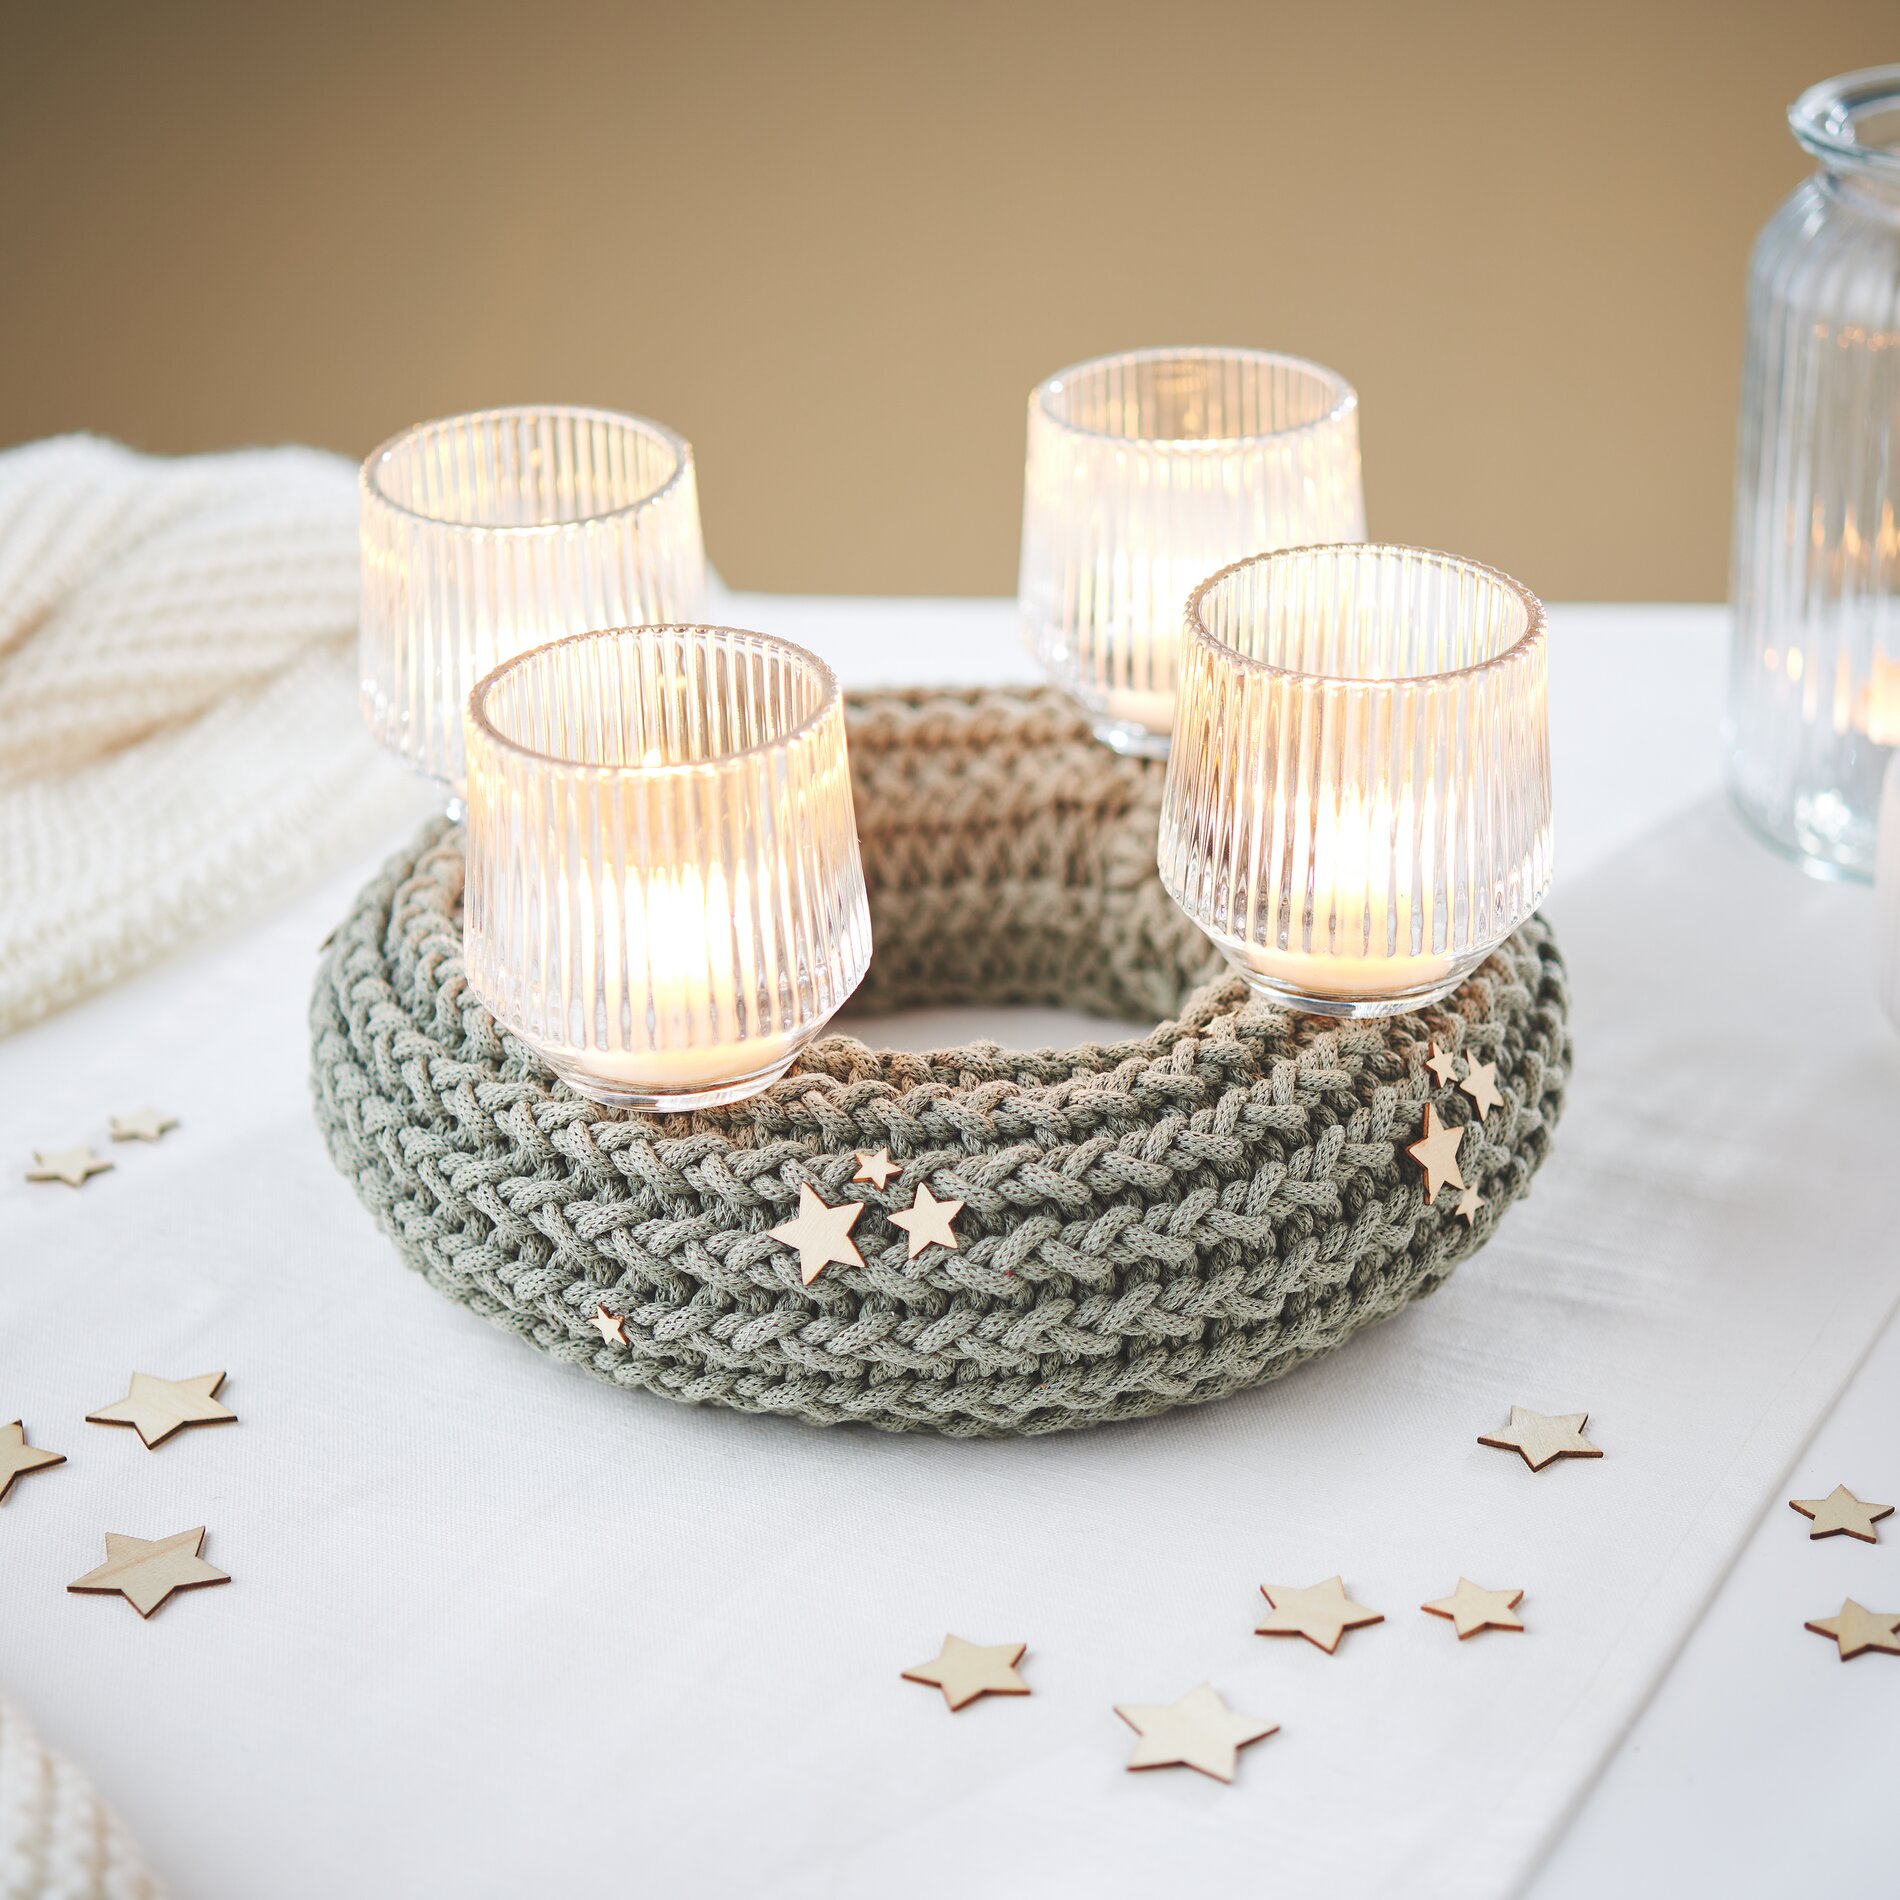
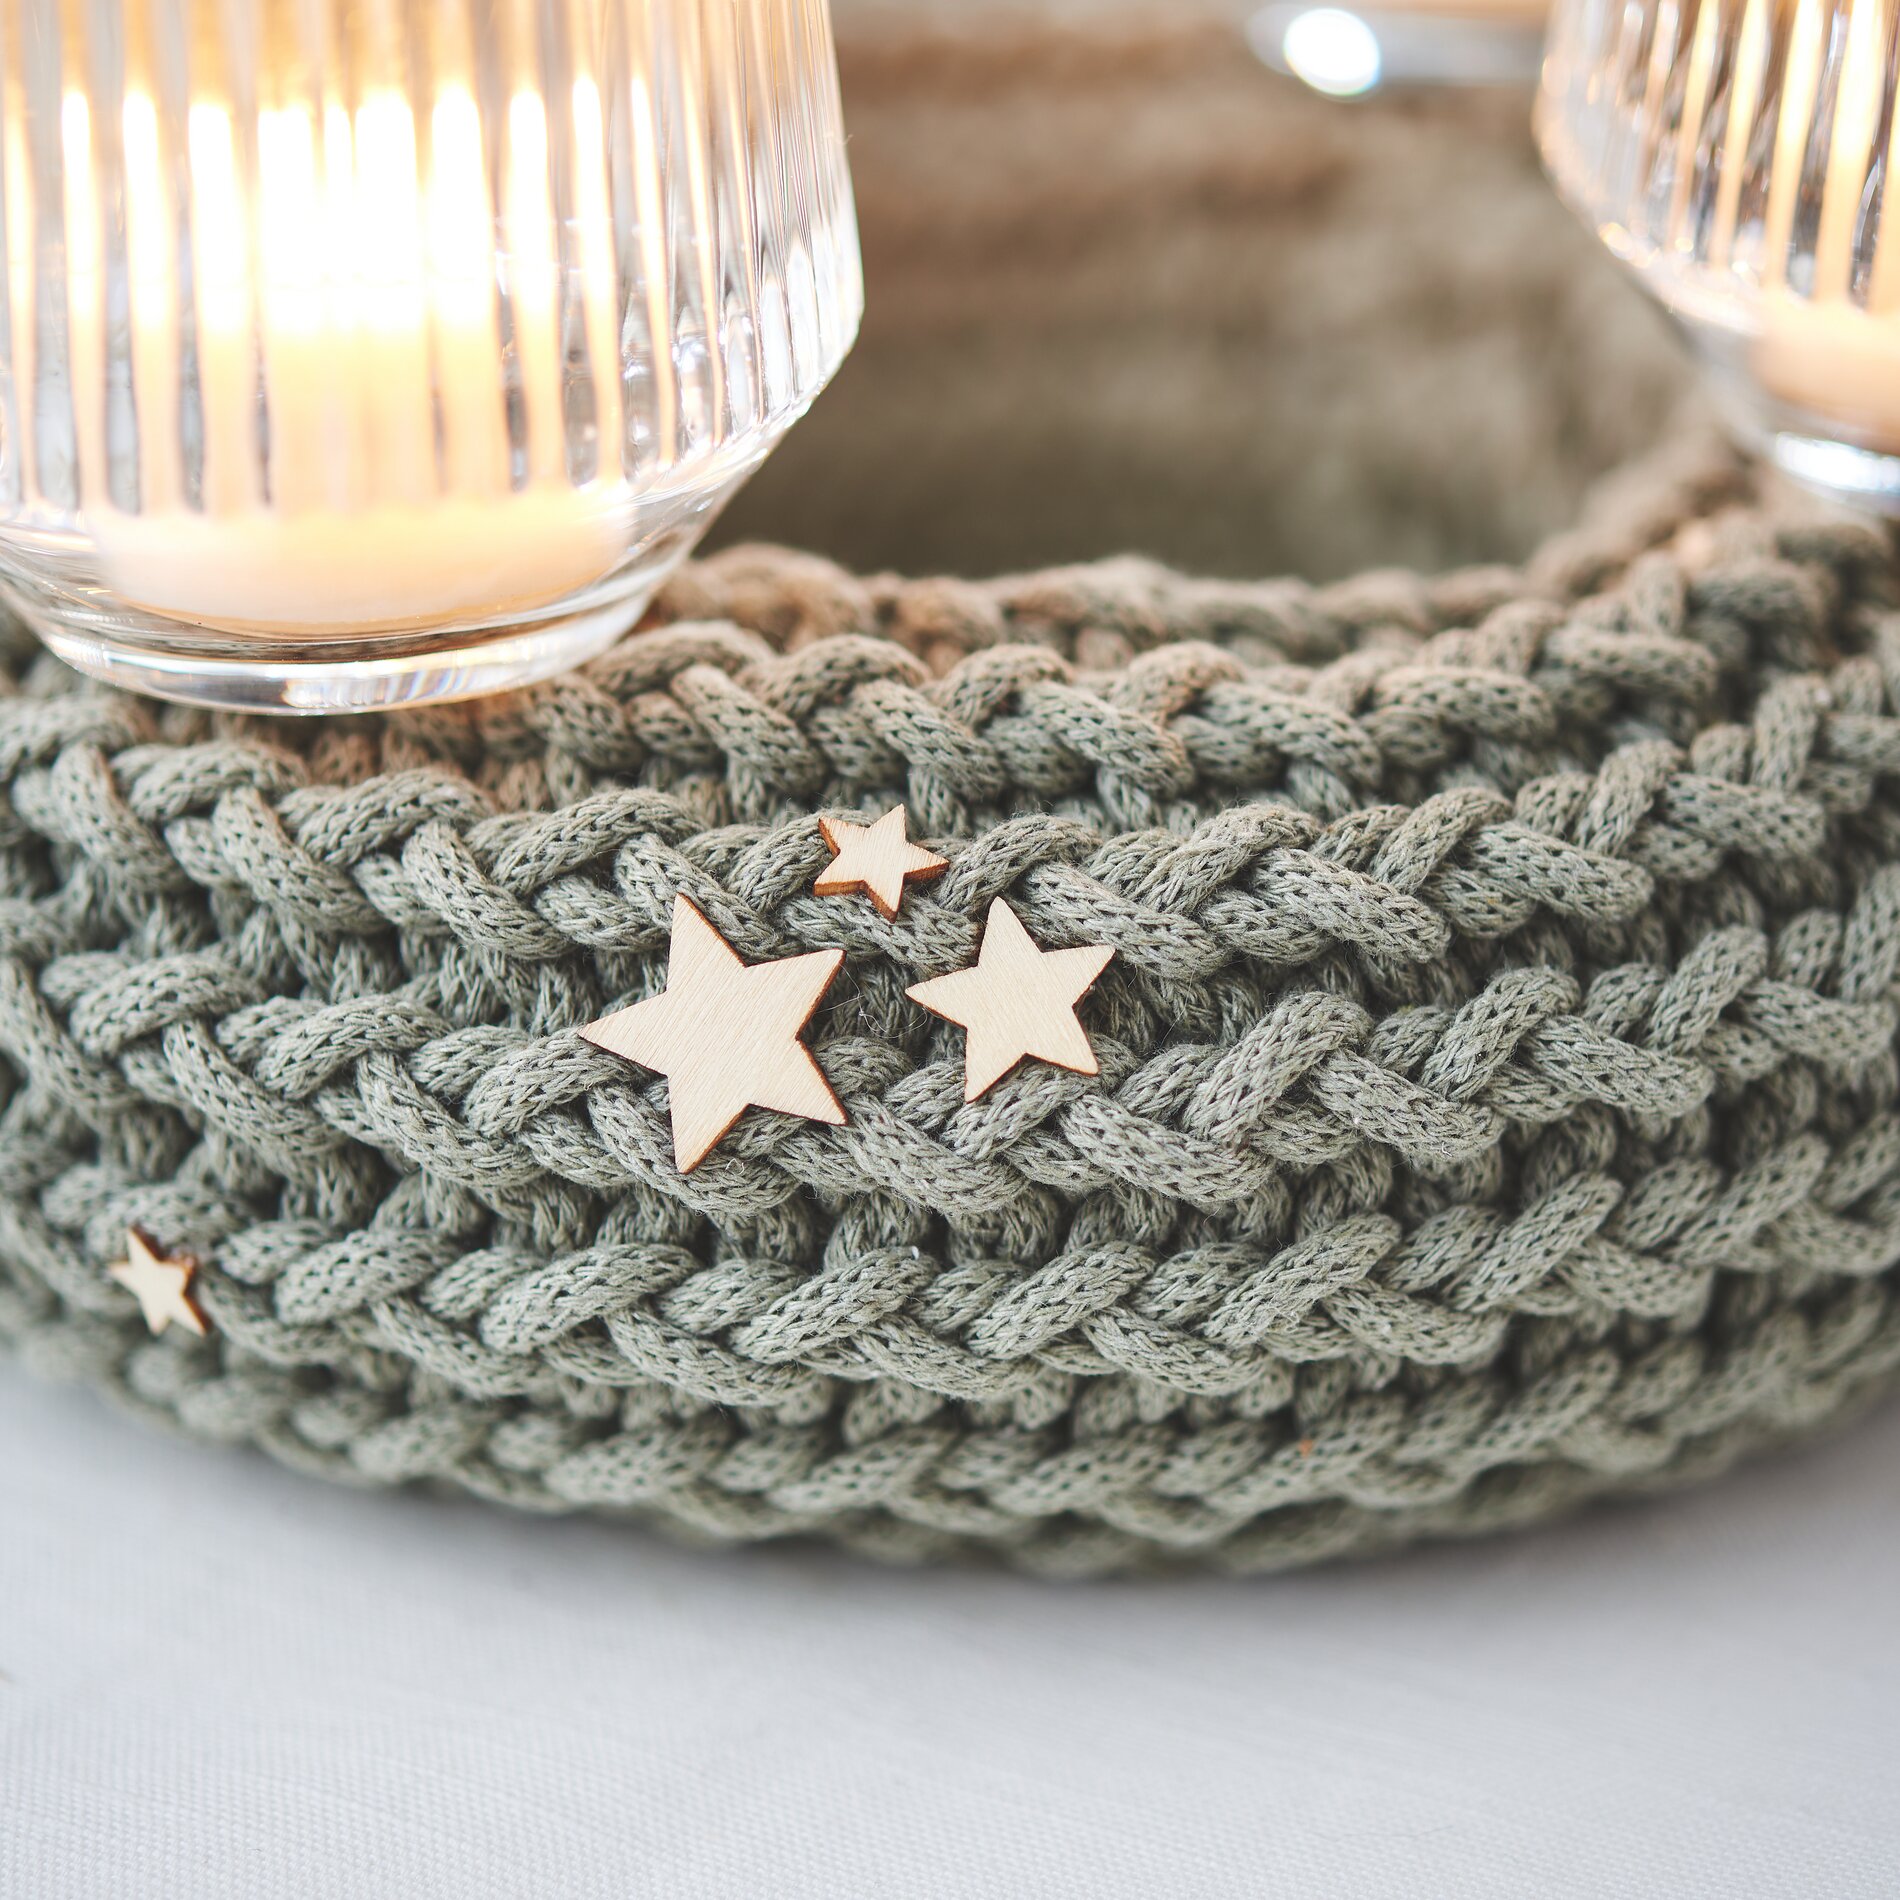
Continue knitting Wrap the next row as before, always in the "figure 8" pattern, and knit the stitches off. Continue this process until you have reached the desired length (we recommend approx. 74 cm for the cover of a 25 cm polystyrene ring).
Tip: Our
idea 3141 Knitting a scarf with the knitting strip contains detailed step-by-step photos that clearly explain how to knit with the knitting strip.