- Secure order
- Easy return shipment
- Service-Hotline 03 69 61 69 10
Instructions No. 3428
Difficulty: Advanced
Working time: 2 Hours
Step 1: Create a transparent base
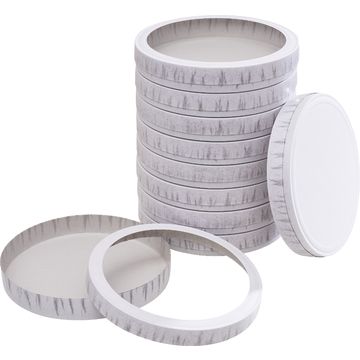
To make the base of your monster lantern, first cut the vellum paper to the desired width. Then use handicraft glue to carefully attach it around the cheese box. Make sure that the Paper is attached tightly and without folds so that the light shines through evenly later.
Step 2: Attach decorative strips
Take the contour scissors and cut out two strips of any thickness. These strips give the lantern stability and a decorative edge. Attach the strips to the top and bottom of the lantern using handicraft glue vellum paper.
Step 3: Transfer the templates
Cut out the templates provided. Use the Strich-Ex pen to transfer the shapes onto the black felt, intended for your monster's face. Repeat this step for the teeth on white craft cardboard sheet and for the eyes and hands on the rainbow-craft cardboard sheet.
Step 4: Create funny eyes
Twist two chenille wires in different colors and cut them in half. Glue a wiggly eye onto a colorful, cut-out circle and place it on top of one half of the chenille wire. Make two funny eyes in this way.
Step 5: Attach the eyes
Use the awl to create two small holes in the top front edge of the cheese box. Push the unglued ends of the chenille wires through, bend them over and attach them to the inside of the box using handicraft glue .
Step 6: Attach the lantern hanger
Use the awl to punch holes opposite each other in the middle of the cheese box. Bend the lantern bracket to fit and insert it through these holes. The bracket allows you to easily attach your lantern to a lantern rod later on.
Step 7: Attach the arms
To add the finishing touches to your monster look, bend the prepared arms slightly and glue them to the vellum paper, directly opposite each other using handicraft glue . This will make your lantern look alive.
Step 8: Design the face
Complete the face by gluing the teeth to the mouth made from felt and attaching it between the two arms on the lantern. This will give your monster a friendly or cheeky grin.
Step 9: Add decoration
Use pompoms and gemstones to add personal touches to your monster. Stick these onto the surface of the lantern using handicraft glue and decorate as you wish.
Step 10: Insert the light source
Now only is missing the light! Place a candle, a tea light or a battery-operated chain of light in your lantern. Please note that real candles can pose a fire risk, so LED tea lights or chains of lights are a safe and recommended alternative to light up the monster safely, making your monster light a real highlight in the dark.
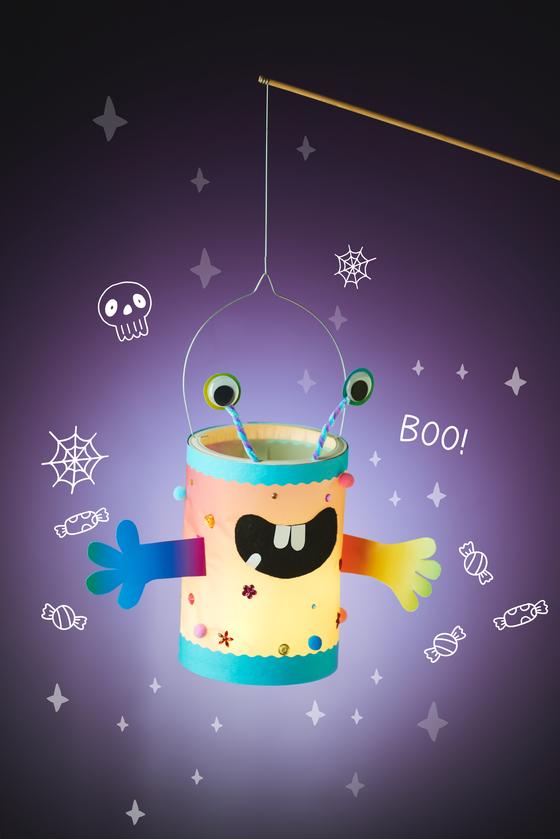
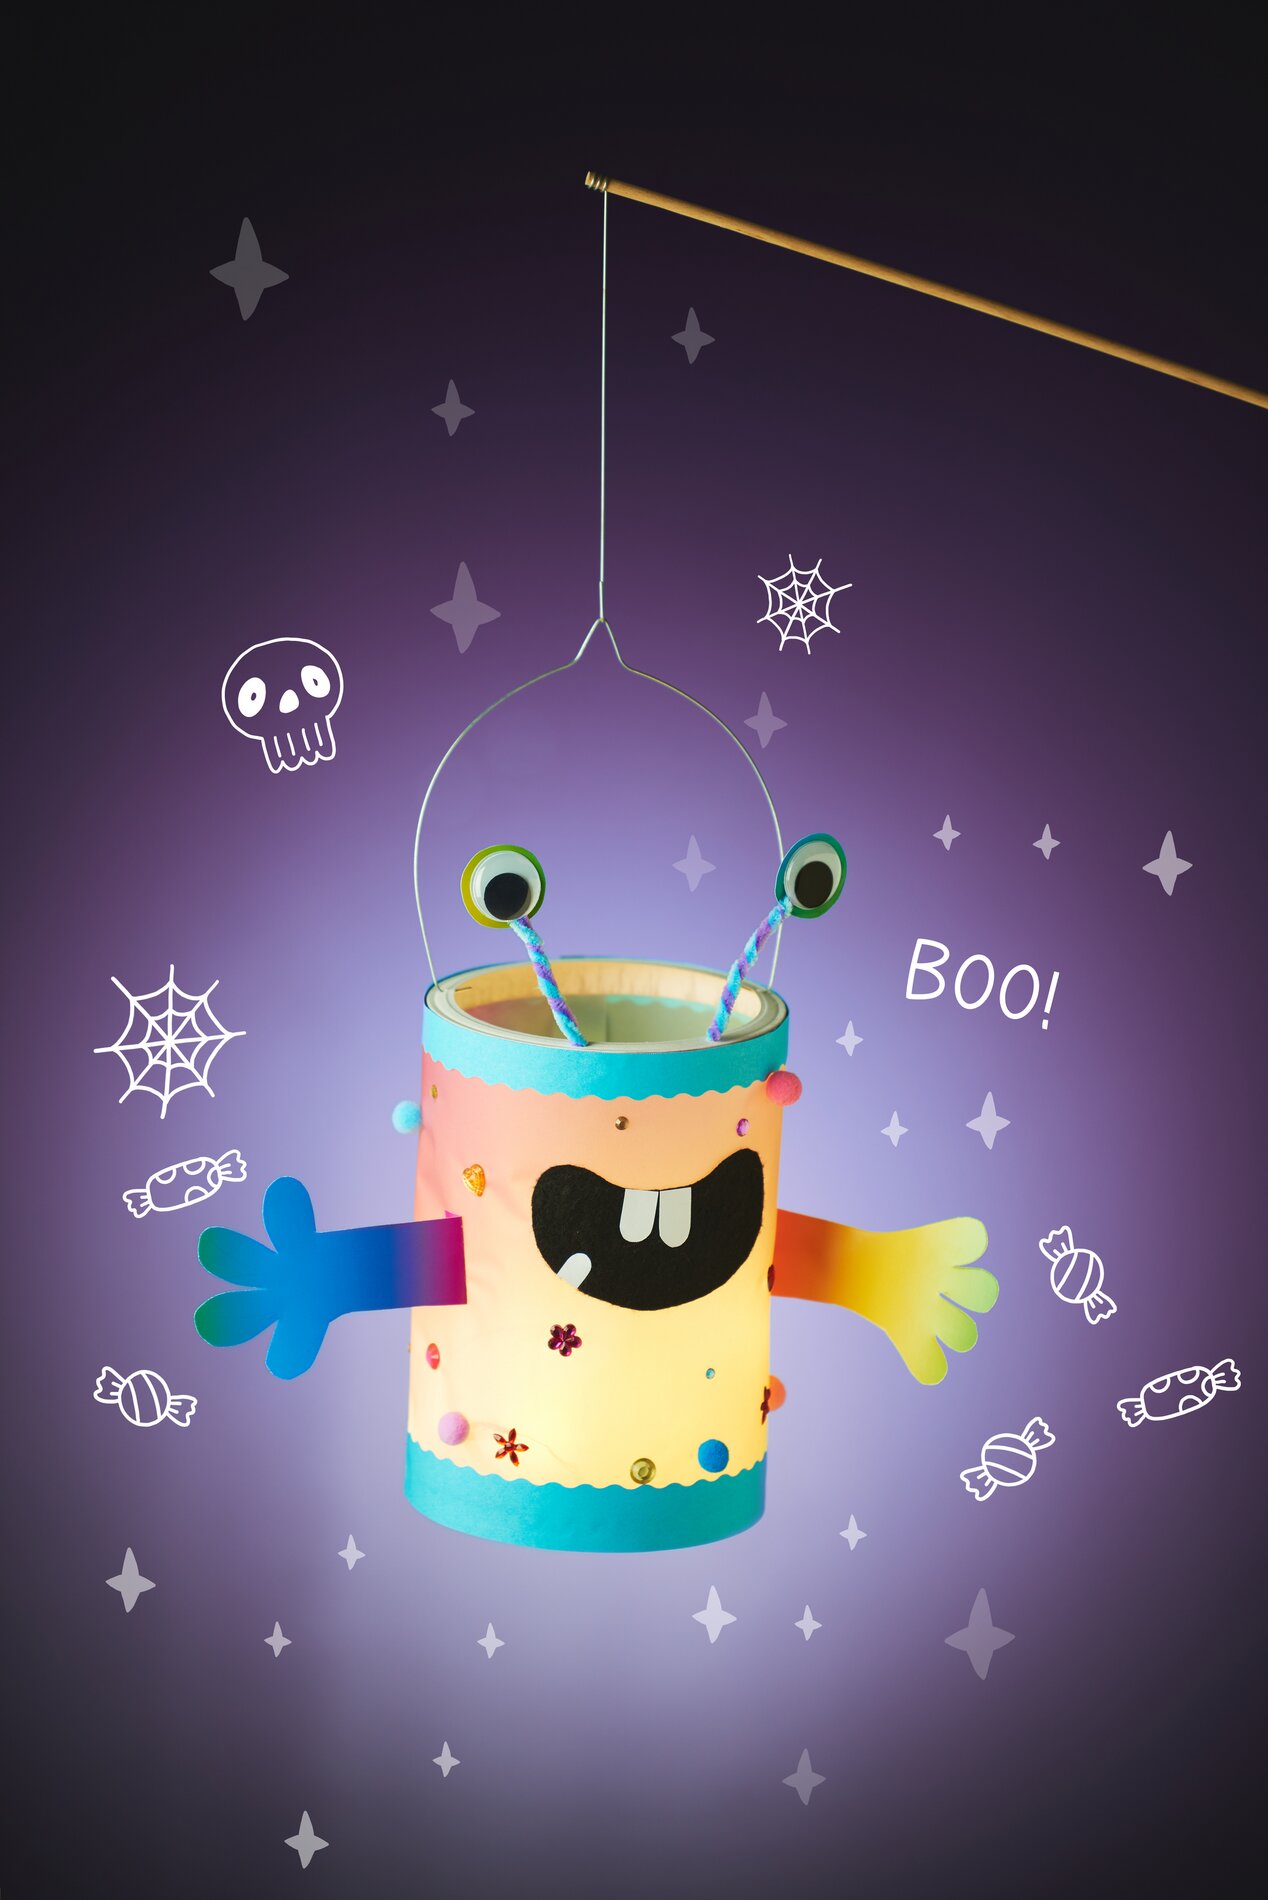
Now your monster lantern is ready for its grand entrance! Visit our online store to discover the best creative and craft materials and create lots more scary and funny monsters for your Halloween night. Have fun crafting and getting spooky!