- Secure order
- Easy return shipment
- Service-Hotline 03 69 61 69 10
Instructions No. 4056
Difficulty: Advanced
Working time: 10 Hours

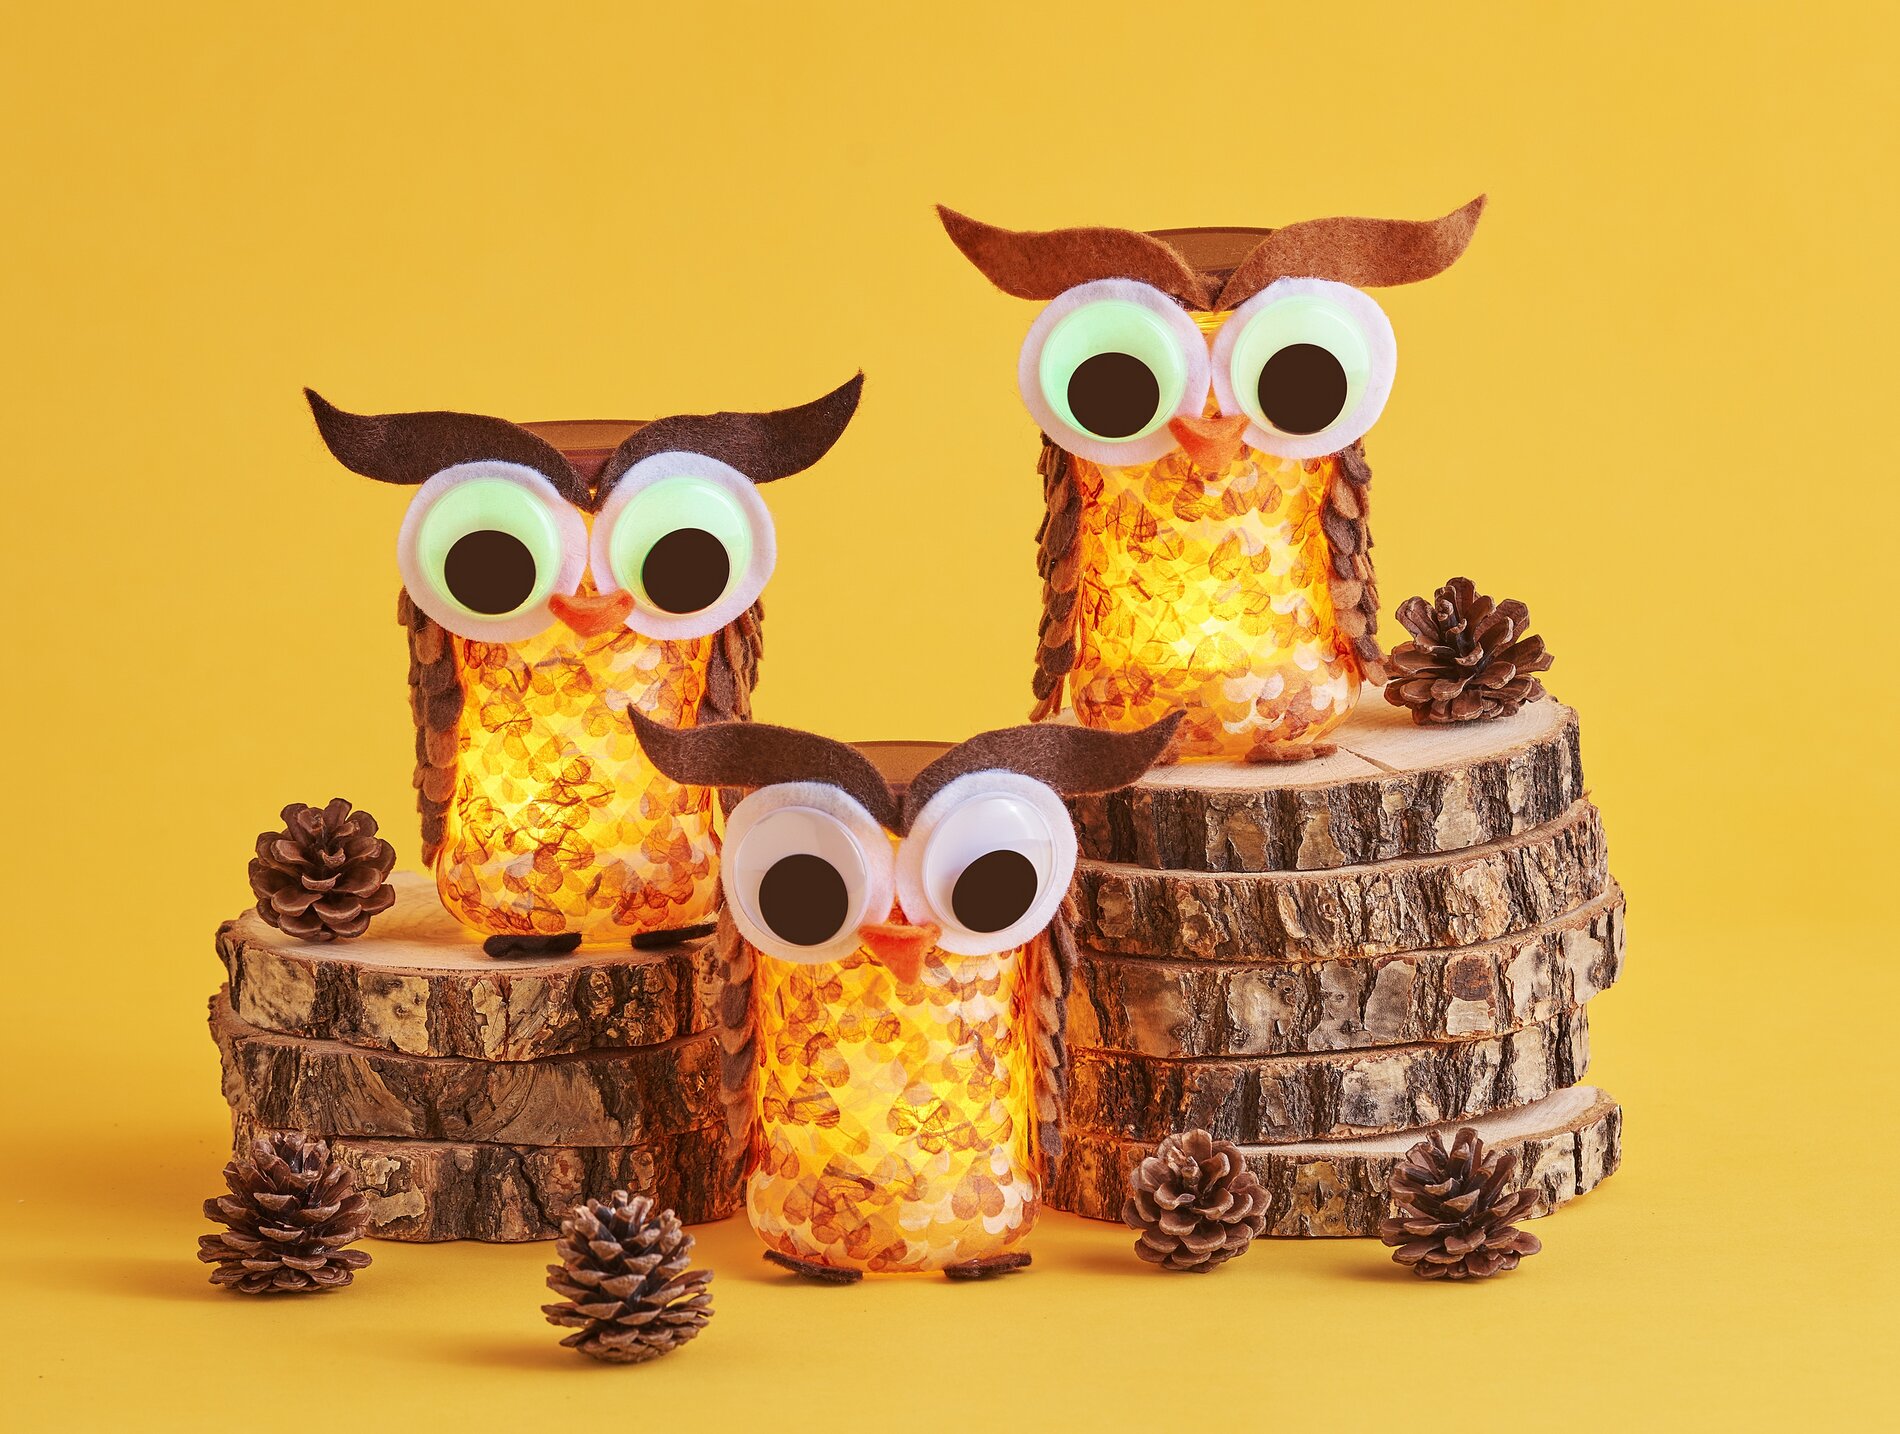
Decorate an "-wind light " Owl in a Screw-Top Jar with " straw silk paper "
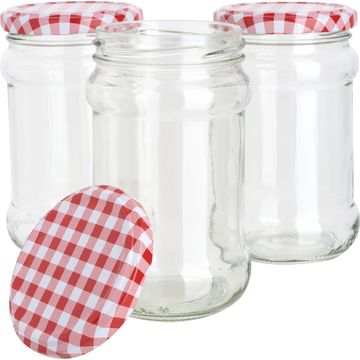
Clean the screw-top jar thoroughly and dry it well. This will ensure the napkin varnish adheres evenly later on, and your fall decoration will turn out beautifully clear and streak-free.
Punching out hearts: How to turn “ straw silk paper ” into feathery “Owlfeathers ”
Cut a strip of “ straw silk paper ” about 2 cm wide and fold it several times so you can punch multiple layers in one go. Now place a sheet of “ Paper ” on each side of the folded strip. The “ Paper ” stabilizes the “ straw silk paper, ” so the “ craft punch ” punches cleanly and nothing tears. Punch out hearts and repeat the process in several colors so that your glass will look vibrant and autumnal later on.
Decorating the Glass: Layer by Layer to Create a Warmly Glowing Owl Body
Lightly coat the bottom of the glass with napkin varnish. Place the first row of hearts upside down all the way around the base of the glass. “Upside down” is important because the tips of the hearts point upward, making them look like little feathers . Immediately apply another thin coat of napkin varnish directly to the hearts. This ensures they lie flush and become beautifully transparent as they dry. Work your way up row by row, letting the hearts overlap slightly each time. This creates a dense, even surface that will later softly diffuse the light from the LED candle or chain of light .
Transferring the Template: Felt Pieces for Wings, Eyes, Beak, and Feet
Print out the template and cut out the pieces. Transfer Template A onto light brown craft felt using a sublimation pen, then cut it out. A sublimation pen transfers well and ensures clean lines so that the shapes fit neatly later on. Transfer Template B multiple times onto light brown and dark brown craft felt and cut out the pieces as well. These pieces form the wing structure and add depth to your wind light.
Assembling the Wings: Layering for a Beautiful Look
Glue the pieces from Template B onto the wing base (Template A) using hot glue, starting from the bottom. The bottom of the wing is the area with the tip. Always align the lace of the attached felt pieces upward to create a “feather-like” look. Work row by row until the entire wing is covered. Repeat this for all wings. The overlapping effect makes the felt look more three-dimensional and pairs perfectly with the shimmering straw silk body.
Designing the Face: wobbly eyes, Eye Area and Owl Beak
Trace Template C onto white craft felt and cut it out. Glue the “ wobbly eyes, ” onto it to give the owl its characteristic, alert expression. Trace Template D onto craft felt of your choice and cut out the feet. For the beak, trace Template E onto orange craft felt and cut it out. Then trace Template F onto craft felt of your choice, cut it out, and glue the piece to the top of the eyes from the back. This element acts like an eyebrow and gives the owl character.
Assemble everything: Glue the owl to the glass and insert the light
First, position the wings on either side of the decorated jar and secure them with hot glue. Next, glue the eye area, beak, and the remaining facial parts in the center until the owl’s body looks balanced. Attach the feet at the bottom so that the shape appears to be “standing.” Finally, place an LED candle or a “ chain of light ” inside the jar. This transforms the screw-top jar into an autumnal “ wind light, ” that glows warmly and serves as a glass decoration for your table, windowsill, or sideboard.
Final touches for a particularly neat result
Let the “ napkin varnish ” dry completely before decorating or moving the “ wind light .” If any individual hearts are sticking out, apply a spot of varnish over them and press them down briefly. This keeps the surface smooth and ensures the light shines evenly through the straw silk paper.
Now it’s your turn
If you’d like to customize your owl “-wind light ,” combine different natural tones or use individual hearts as deliberate accents. In our online shop, you’ll find everything you need—from “ straw silk paper ” to craft felt and “ led-lighting ” for your fall lanterns.