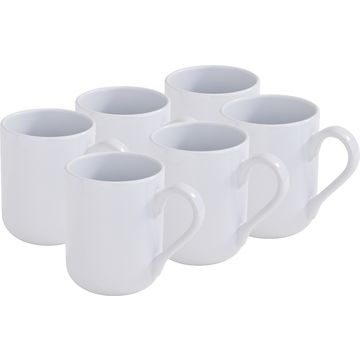
Design a Christmas Mug with napkin technique
First, clean the mug thoroughly so that the “ napkin technique ” design will adhere properly later. The surface must be completely dry and free of dust and grease; otherwise, the “ napkin varnish ” design may peel off or form bubbles as it dries.
Select and Prepare the Design
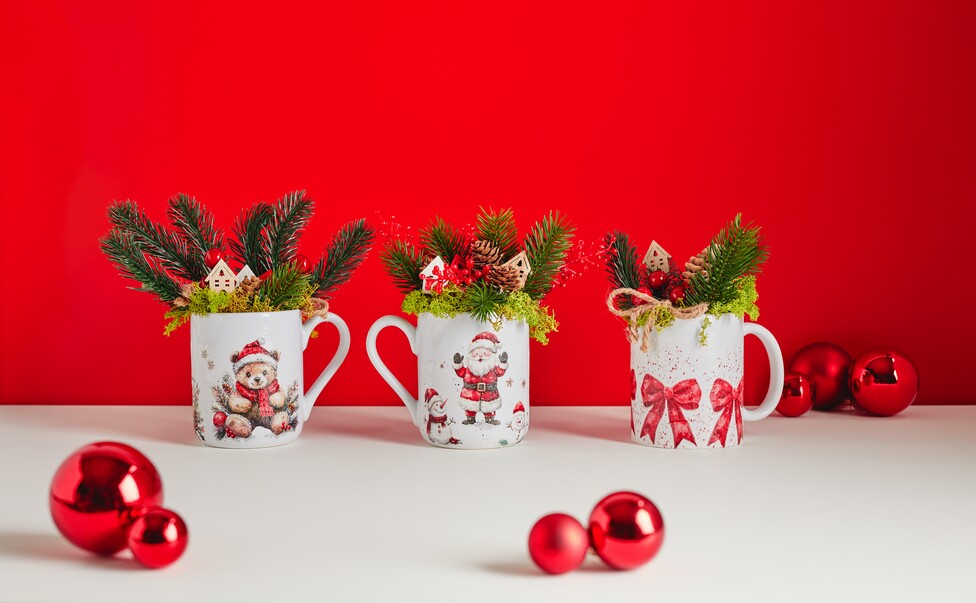
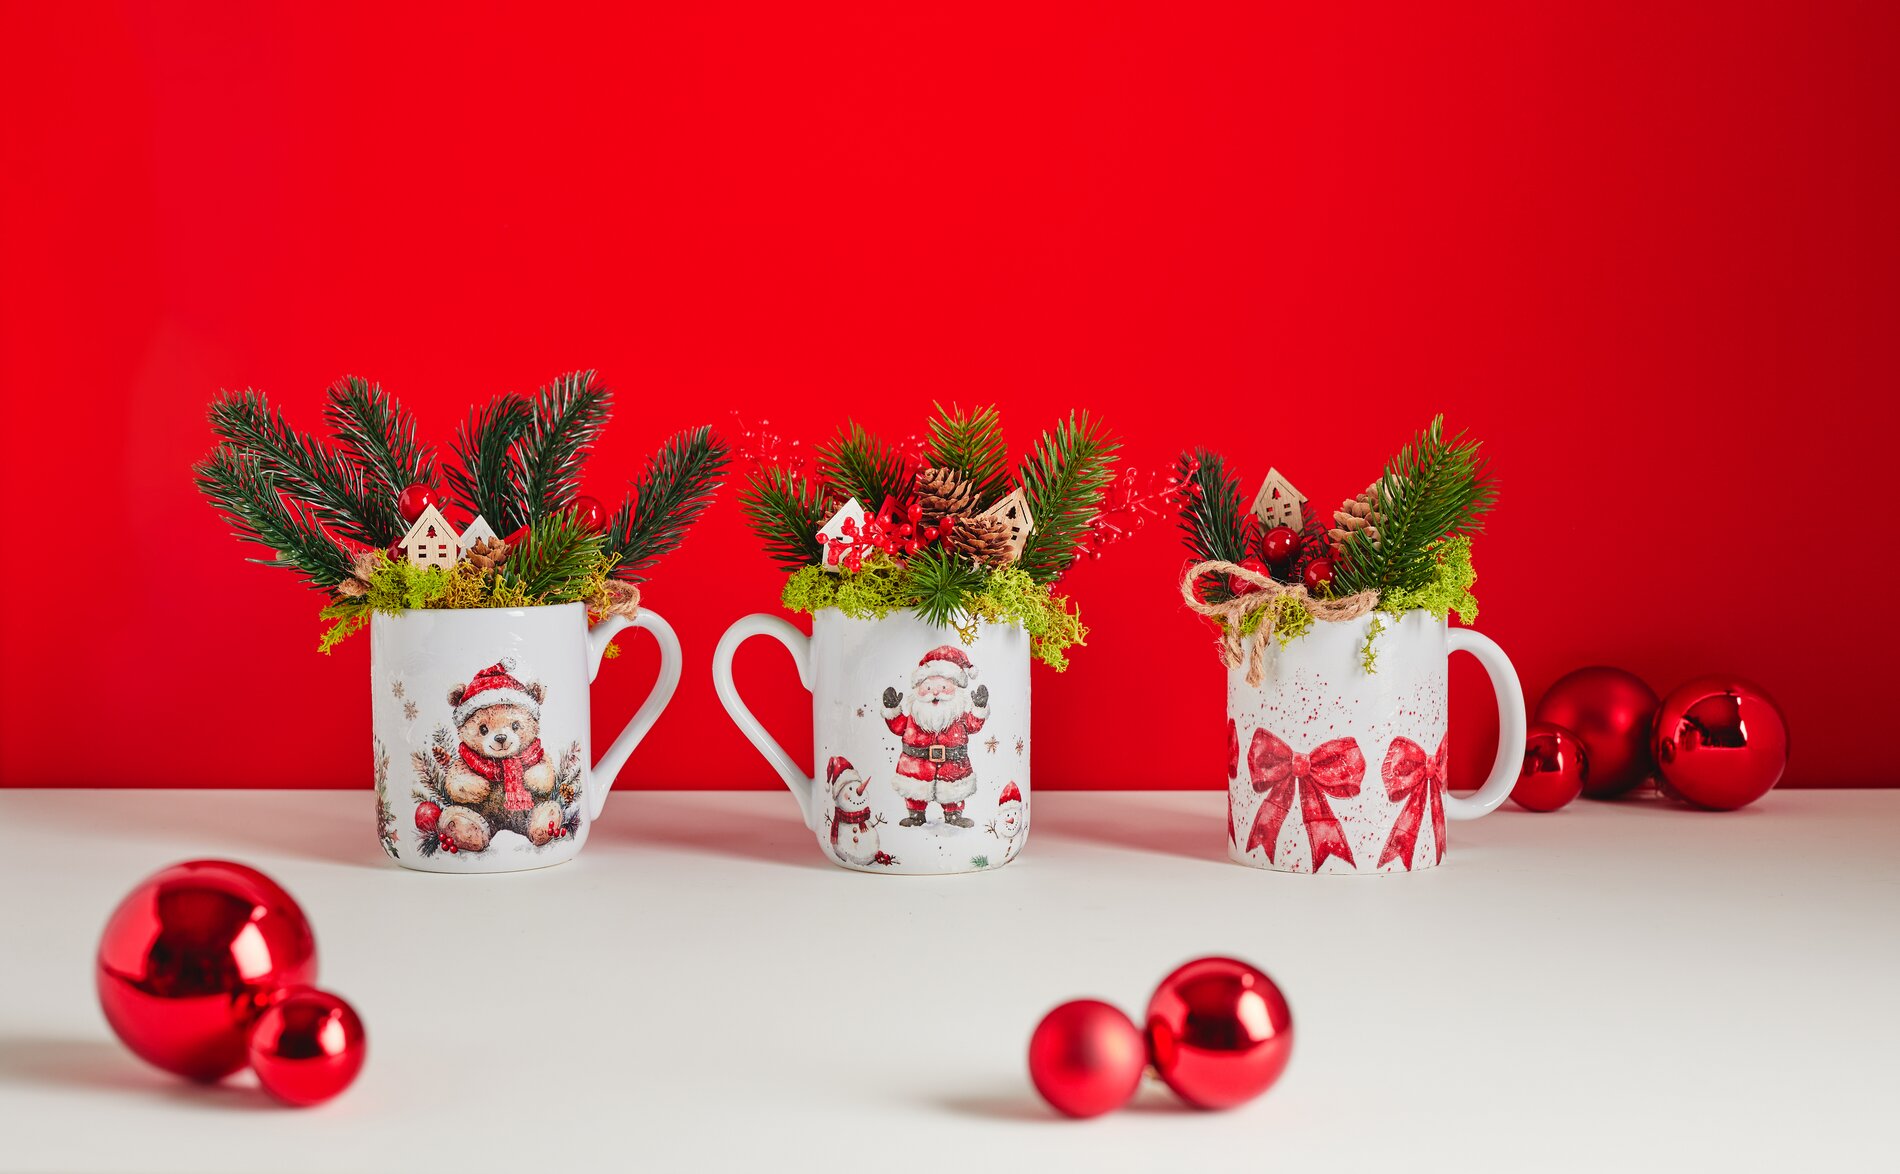
Choose a Christmas-themed napkin design that fits the shape of the mug well. You can either cut out the design neatly or tear it out carefully for a softer transition. Then peel off only the top, printed layer of the napkin —this thin layer is the one you’ll stick onto the mug.
Applying the Design: Using “ napkin varnish ” Correctly
Apply a thin coat of napkin varnish. to the area on the mug where you want your design to go. “Thin” is key here: Too much varnish will cause the Paper to wrinkle quickly. Carefully place the design on the cup and gently smooth it out from the center toward the edges to prevent wrinkles. Then brush another thin layer of “ napkin varnish ” over the design. This seals the printed layer and gives it a smooth, durable surface. Let everything dry completely.
Important: Leave the rim free! For mugs and vessels used for drinking, the rim must remain uncoated. Therefore, plan your design so that the upper rim area remains uncoated—this is more hygienic and better suited for everyday use.
Baking for a Durable, Dishwasher-Safe Surface
Once the glaze is completely dry, fire the mug in the oven at 140 degrees for about 5 minutes. This makes the glaze layer more durable. Once it has cooled, the mug is dishwasher-safe; it’s best to use the eco cycle to ensure the design stays beautiful for a long time.
Festive Mug Arrangement: Mini Decorations with moss, fir and Berries
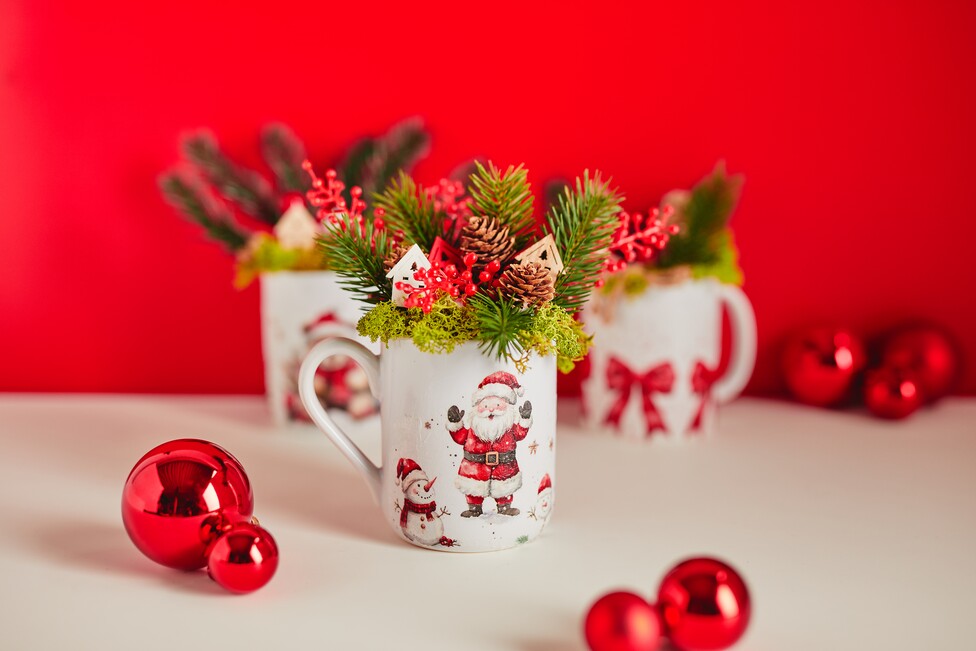
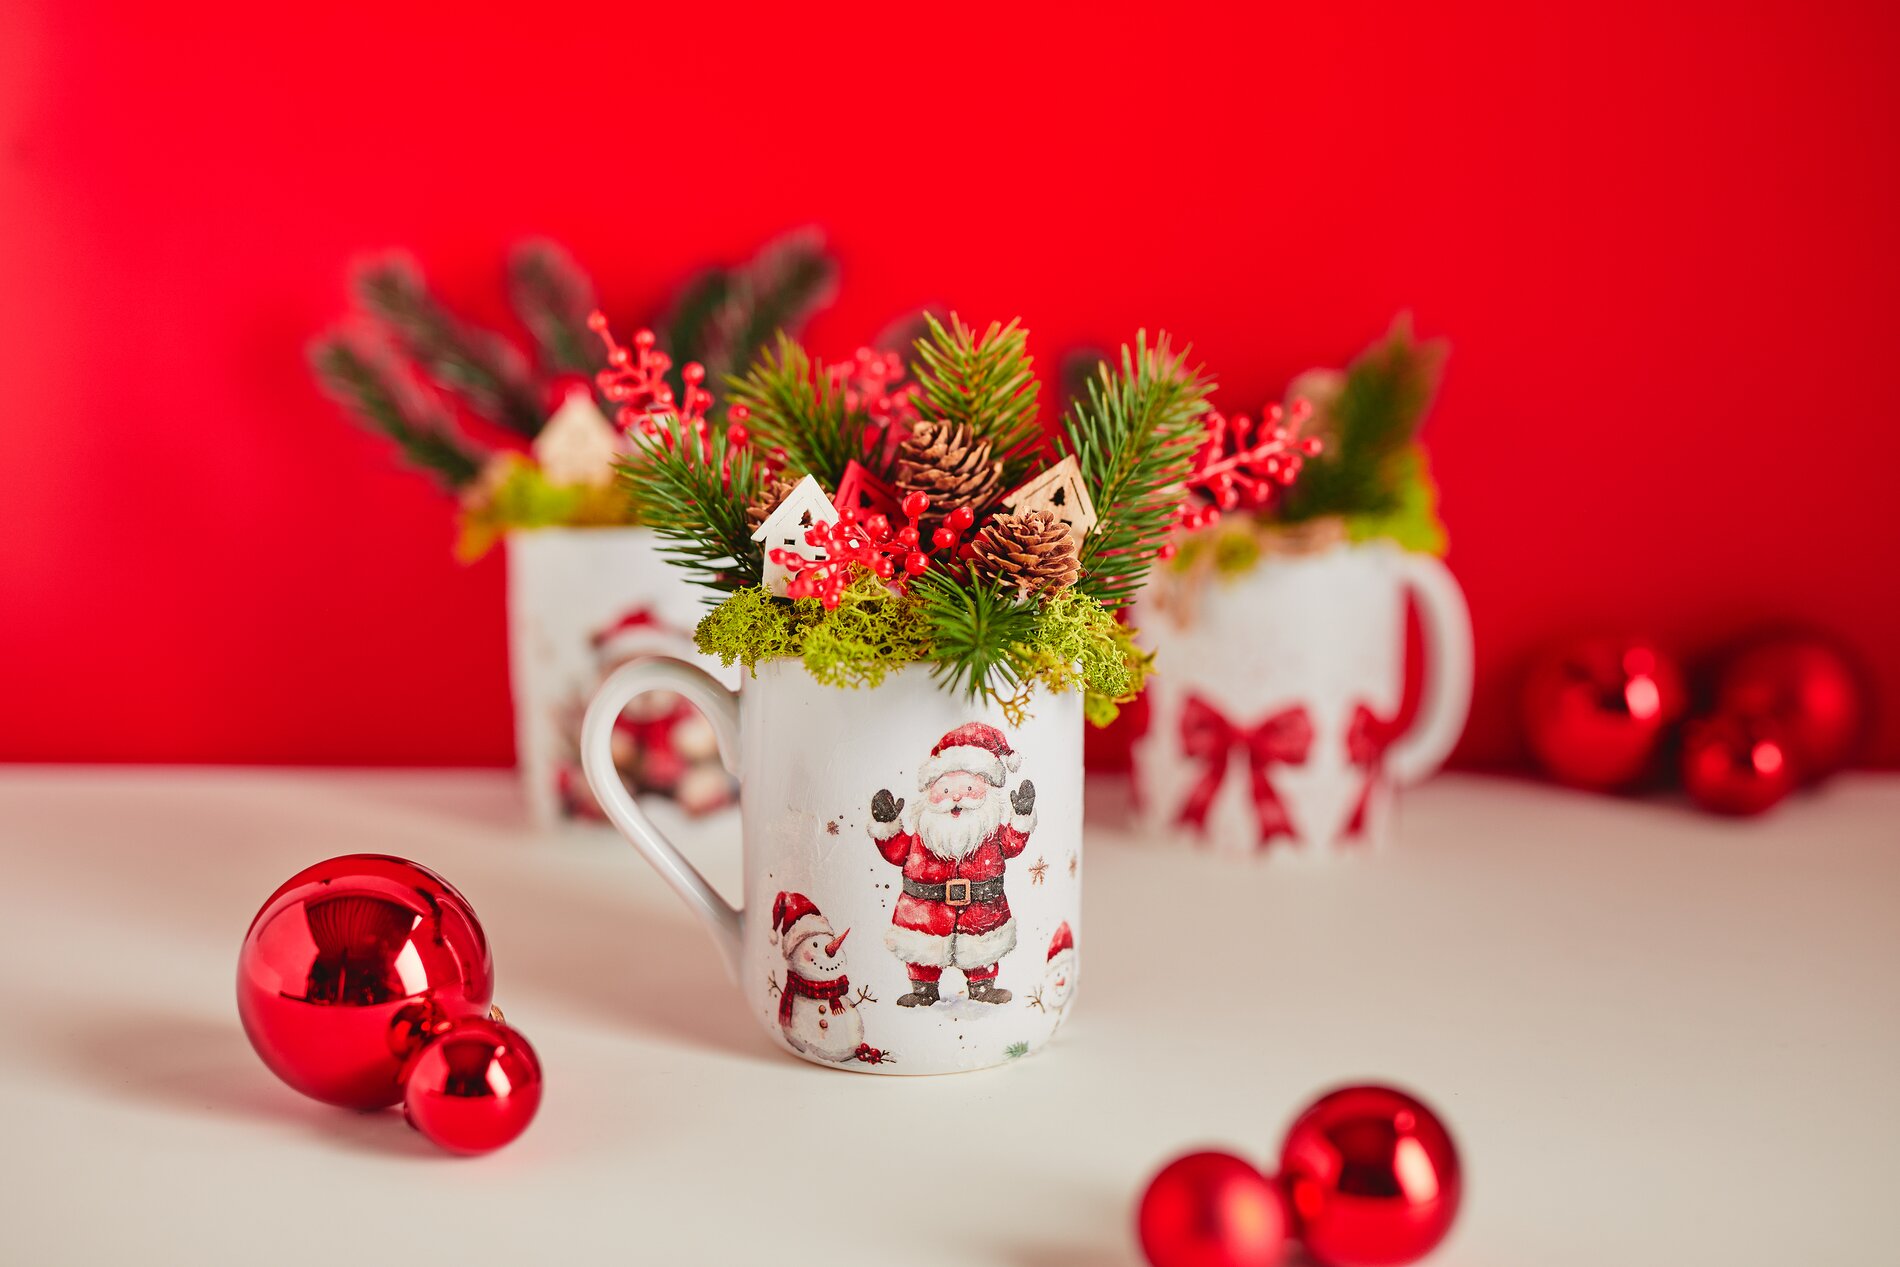
If you’d also like to turn the mug into a wintery decorative piece, fill it with flower arrangement foam. flower arrangement foam is a dimensionally stable material into which you can easily insert twigs and decorative elements without everything slipping around. Then cover the surface with moss, so that the flower arrangement foam becomes invisible. If necessary, secure the moss in specific spots with hot glue so it stays in place while you’re decorating.
Arrange and Balance the Decorations
Now insert pine branches into the flower arrangement foam. as a base. Then add berry branches and small scatter decoration as accents. Be sure to place the elements at different heights—this makes the arrangement look lively and not too compact. Finally, rotate the mug once all the way around and check that the decorations look harmonious from every angle.
Finish and Give as a Gift Let the adhesive dots and any hot glue spots cool briefly. Your Christmas cup is now ready at napkin technique —as a personalized gift, a table decoration, or a wintery eye-catcher on the windowsill. Browse the online shop for matching napkin designs and decorative elements to create your next Christmas-themed mug right away.