- Secure order
- Easy return shipment
- Service-Hotline 03 69 61 69 10
Instructions No. 3414
Creative photo projects: Transfer photos with photo transfer media
Don't frame only , but make more out of your favorite photos! With the photo transfer medium, you can create wonderful memories and personal gifts. Perhaps you're wondering what it's all about? This guide will tell you everything you need to know.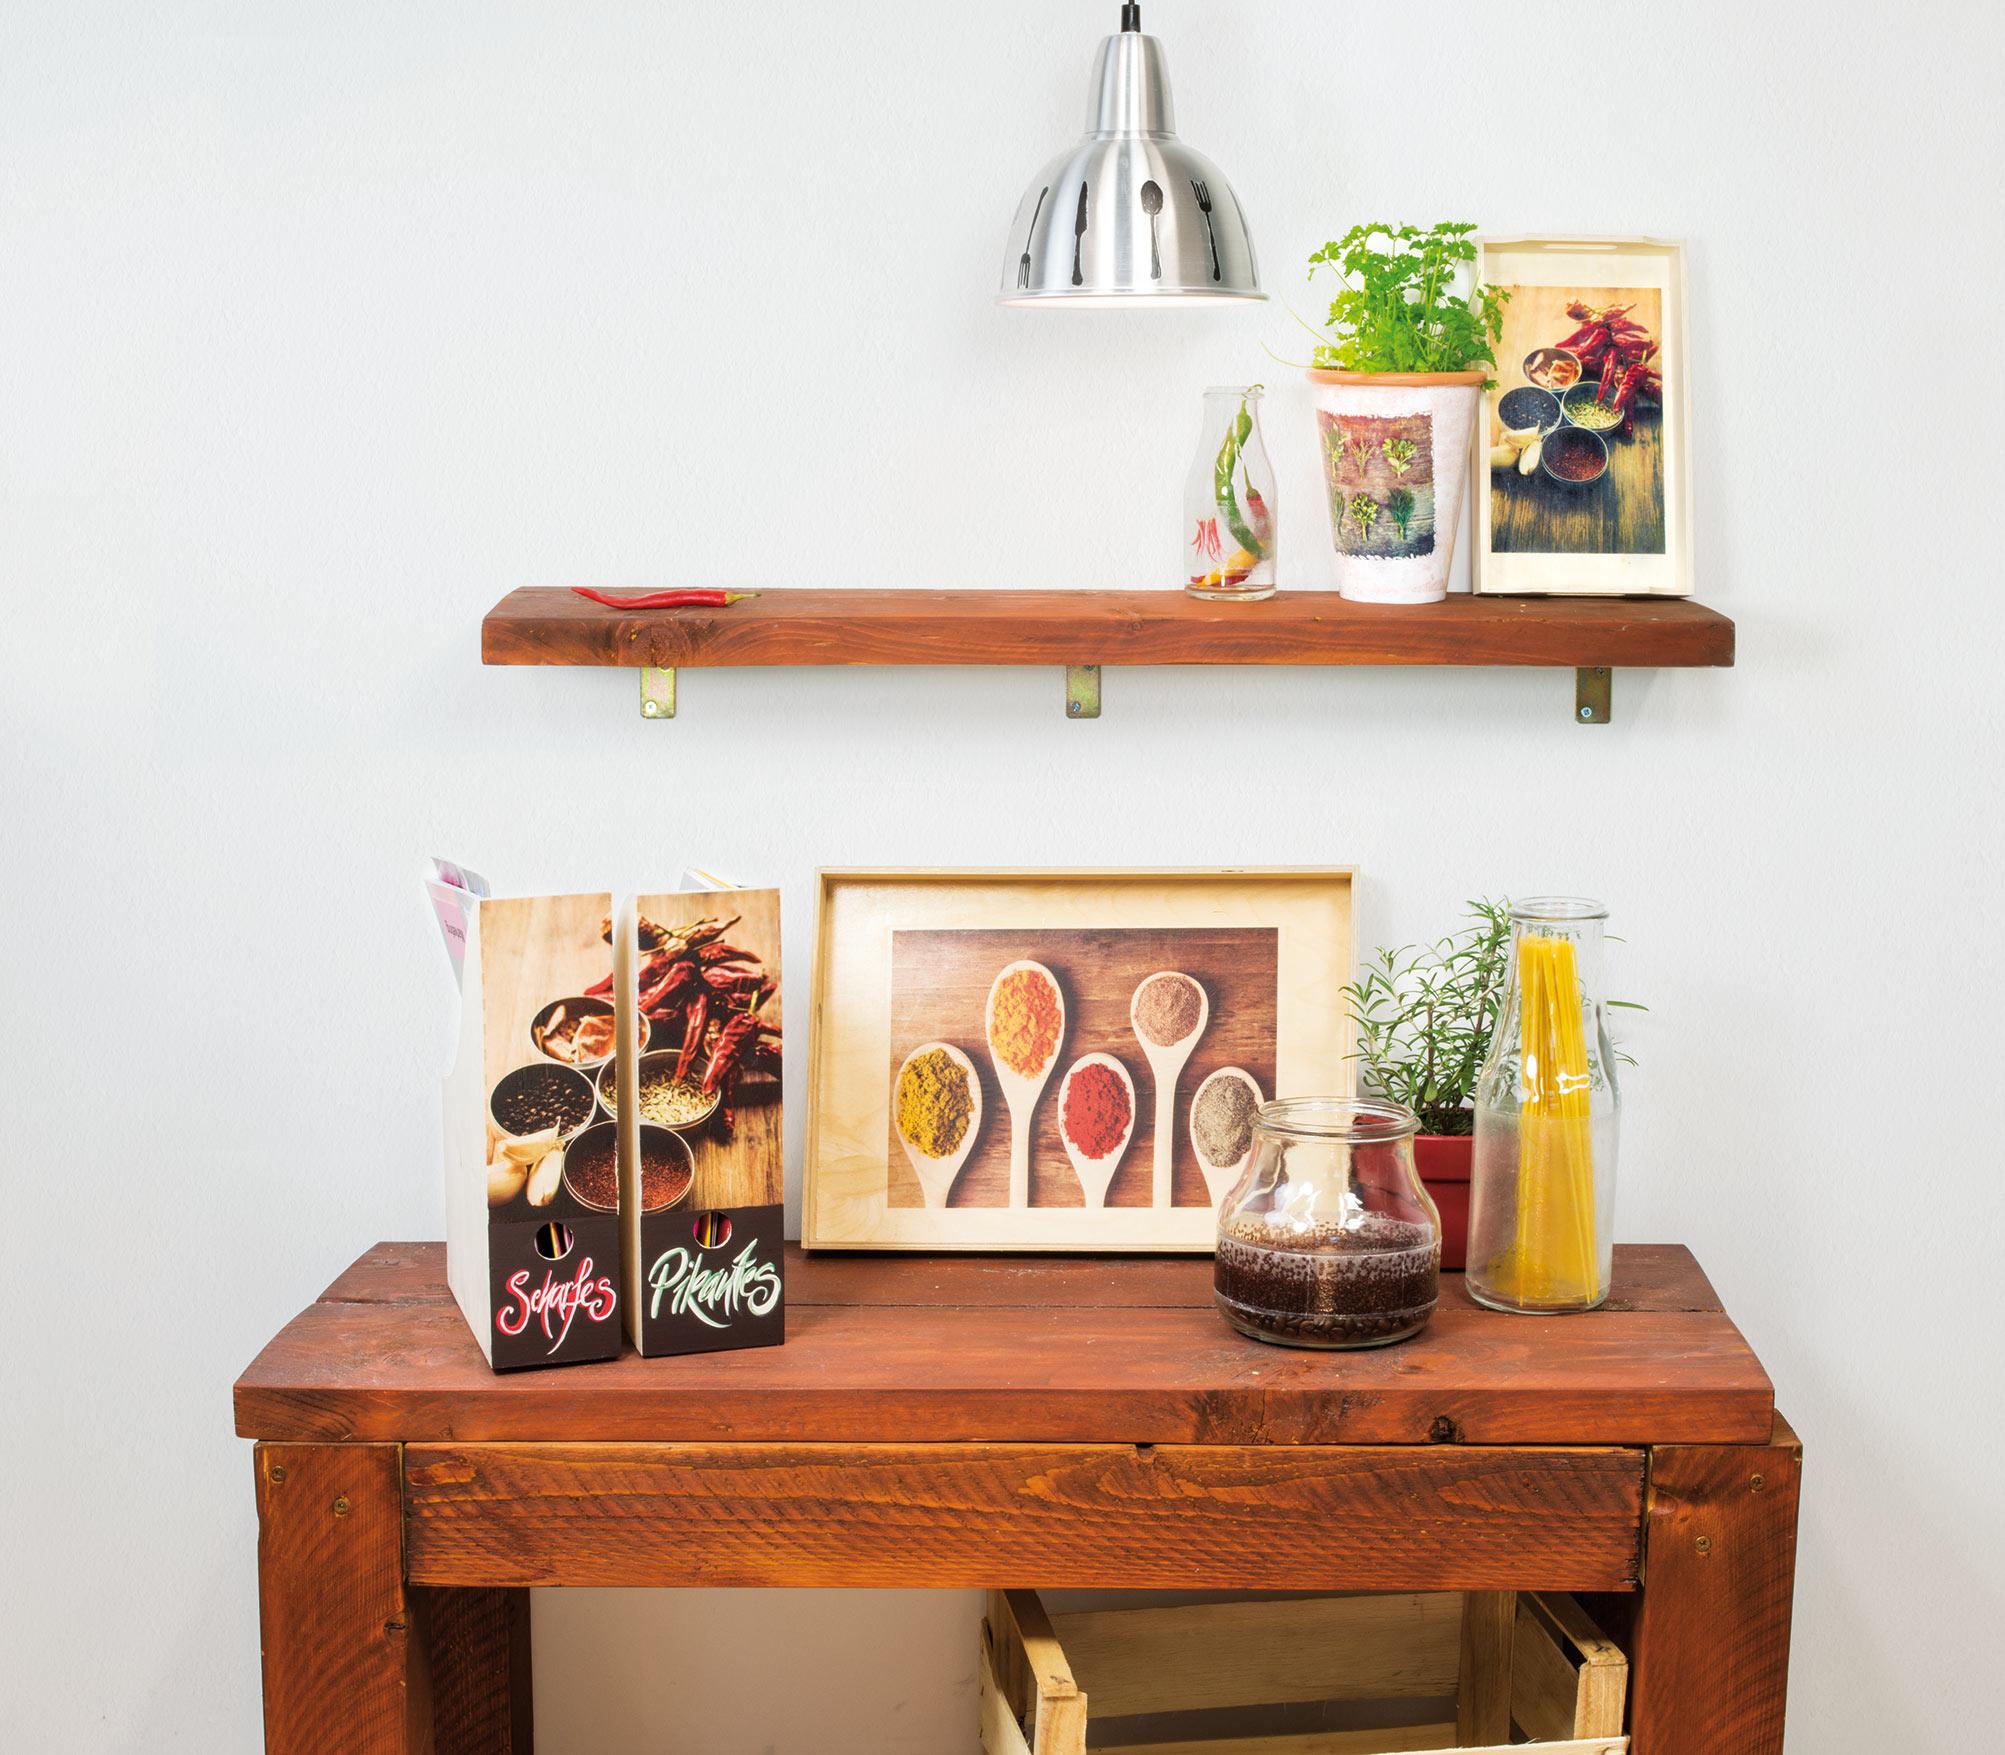
What is photo transfer media?
The word describes quite well what it is: a means by which you can transfer the colors from a photo. It is often referred to as a photo transfer pot or potch for short. As transferring photos to a wide variety of materials is a very specific manual process, the term "potching" has become established among fans of the crafting technique.
Creative possibilities with photo transfer media
Almost anything can be personalized with your photos - be it porcelain, ceramics, wood, canvas, metal or glass. You can even decorate candles with photo transfer pots, using a flame-retardant varnish. Fabrics can also be designed, provided they are free of finishes and are then cleaned by hand only .
Creative tips:
You can combine different techniques and create collages or work with stencils and various wiping techniques on stretched canvas, cans or home accessories. You can find an example on this canvas collage:

Here, photo elements have been spotted onto painting board , perfect for capturing vacation memories. Also try using old newspaper articles or clippings from fashion or home magazines instead of photos. Travel magazines or vacation catalogs also offer interesting possibilities.

Show off your creativity by designing personal sayings and pottering them onto bags, tins, cushions and more:

The beauty of potting is the slightly shimmering background, which gives the image a unique texture. The grain is particularly visible on wood, and the texture also remains visible on canvases and stretched canvas .


Individual cell phone covers and cases can be easily designed with the transfer medium. The cover should be firm and smooth. It doesn't always have to be a photo - try using your favorite saying. You can find more inspiration here . There are lots of ideas for potting on the Kreul blog, and you can take part in a contest until the end of May. Upload a photo of your potted work and keep your fingers crossed!
Instructions: This is how potting works
Potting is easier than it sounds, but requires a little patience and practice. The process consists of five steps:
Don't forget that the drying phase should ideally take a day.
Step 1: Create a printout
Select your photo and mirror it in an image editing program. Print it out with a laser printer on normal Paper . Alternatively, you can create laser copies of existing photos. Determine the placement of the photo and mark it with a pencil or marker pen.
Step 2: Now it's time to potch!
Quickly cover the photo motif and the marked area with the transfer medium (also known as potch) using a napkin brush. Wet everything thoroughly, otherwise the photo will not transfer completely. Then quickly place the picture page on the marked area and smooth it out with a scraper smooth. Any adhesive residue may need to be removed with water.
Step 3: Dry well with the hot air dryer!
Take your hot air dryer and dry the photo for about ten minutes on the highest setting. Then leave the photo to cool down thoroughly, preferably for a day, before continuing. For candles, use the cold setting and air dry them for a day.
Step 4: Tension as with scratch cards
When everything has cooled down completely, moisten the photo and rub off the softened Paper until only white fibers remain.
Step 5: Final coat of varnish
Apply another layer of transfer medium. This makes the white paper fibers disappear and gives the photo a silky gloss finish. A special wax-based flame-retardant varnish is used for candles.
For beginners who do not yet have scraper, napkin brushes and similar utensils, we recommend the complete set. Start your own photo transfer project right away!


