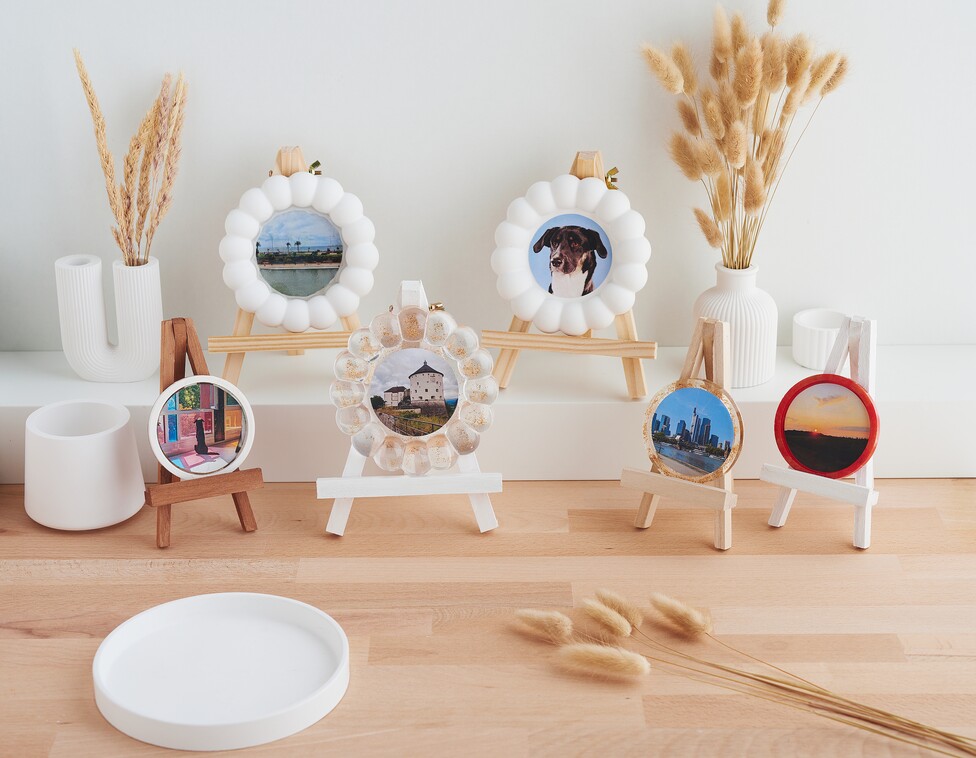
Are you looking for a contemporary and individual way to turn your favorite photos into unique works of art? Then these creative photo castings are just the thing for you! We'll show you how to make your photos shine with casting resin and a little creativity. The finished pieces are not only only wonderful decorations but also unique gift ideas.
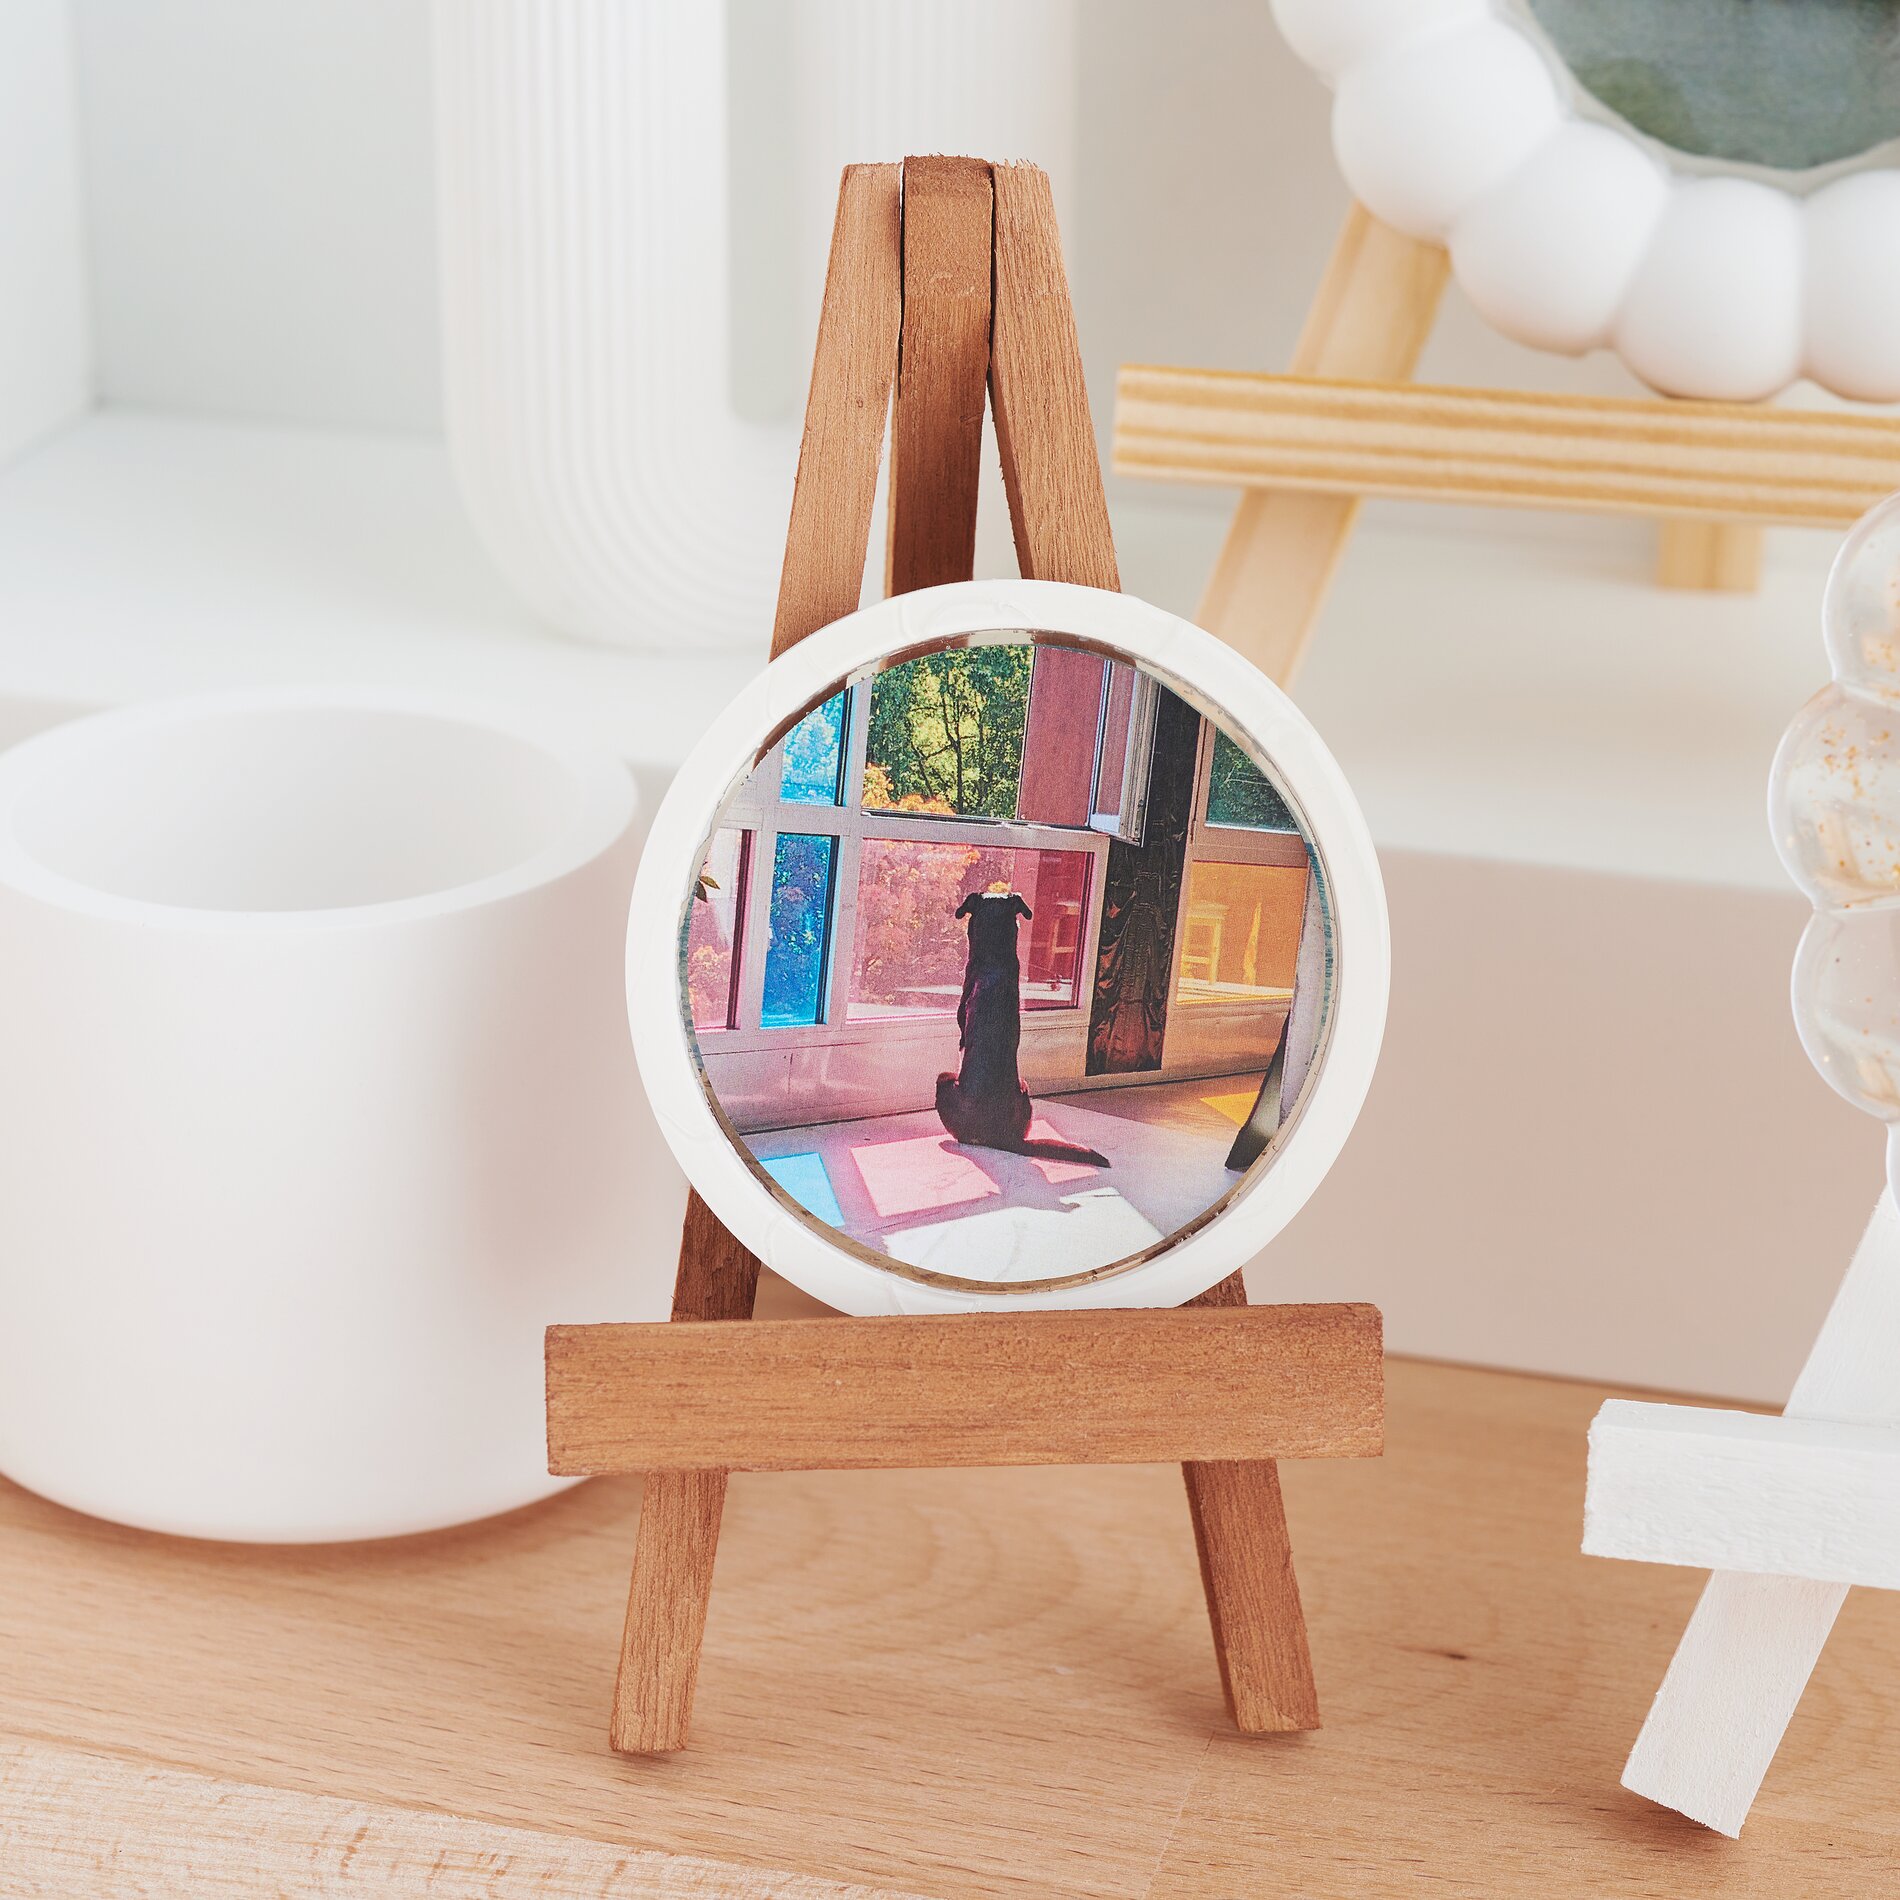
Prepare your photo for the design Print out photos of your choice. Find a round object with a diameter of about 6.5 cm. We have used a terracotta-saucer for this. Place this on the photo and outline it. Then cut out the circle.
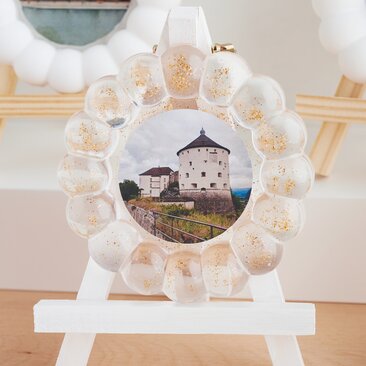
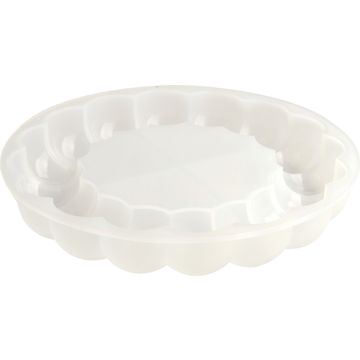
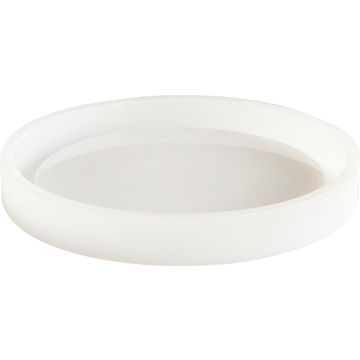
How to cast your picture frames Protect your workstation with a base. Mix some casting resin according to the instructions on the pack and pour a thin layer into the casting mold. Allow this to dry completely (approx. 12 hours). This layer of casting resin will later form the smooth surface of your miniature picture. Place the photo in the center of the casting mold. You can sprinkle some glitter flakes around it. Once you have spread everything out, mix the epoxy resin again. Now slowly pour it into the casting mold until it is filled. After approx. 24 hours Time to dry: you can remove your castings from the mold.
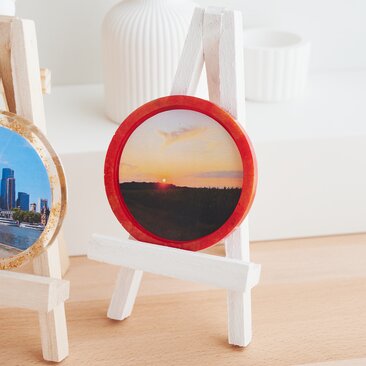
Colored picture frames Do you prefer a colored picture frame made of casting resin? Once you have poured the thin first layer of casting resin into the mold, add some resin tinting paint to the remaining amount and stir again. Mix other colored casting resins in this way. Another way to achieve special color effects is to use a silicone color mixing cup. This color mixing cup consists of different chambers that can be individually filled with color. Depending on the effect you want to achieve, you can fill different numbers of chambers. You then pour the cup over the side that comes together and the colors mix. You can use a chopstick to draw lines or shapes in the colors afterwards. Alternatively, the paint can be made to flow using an embossing dryer to create additional effects.
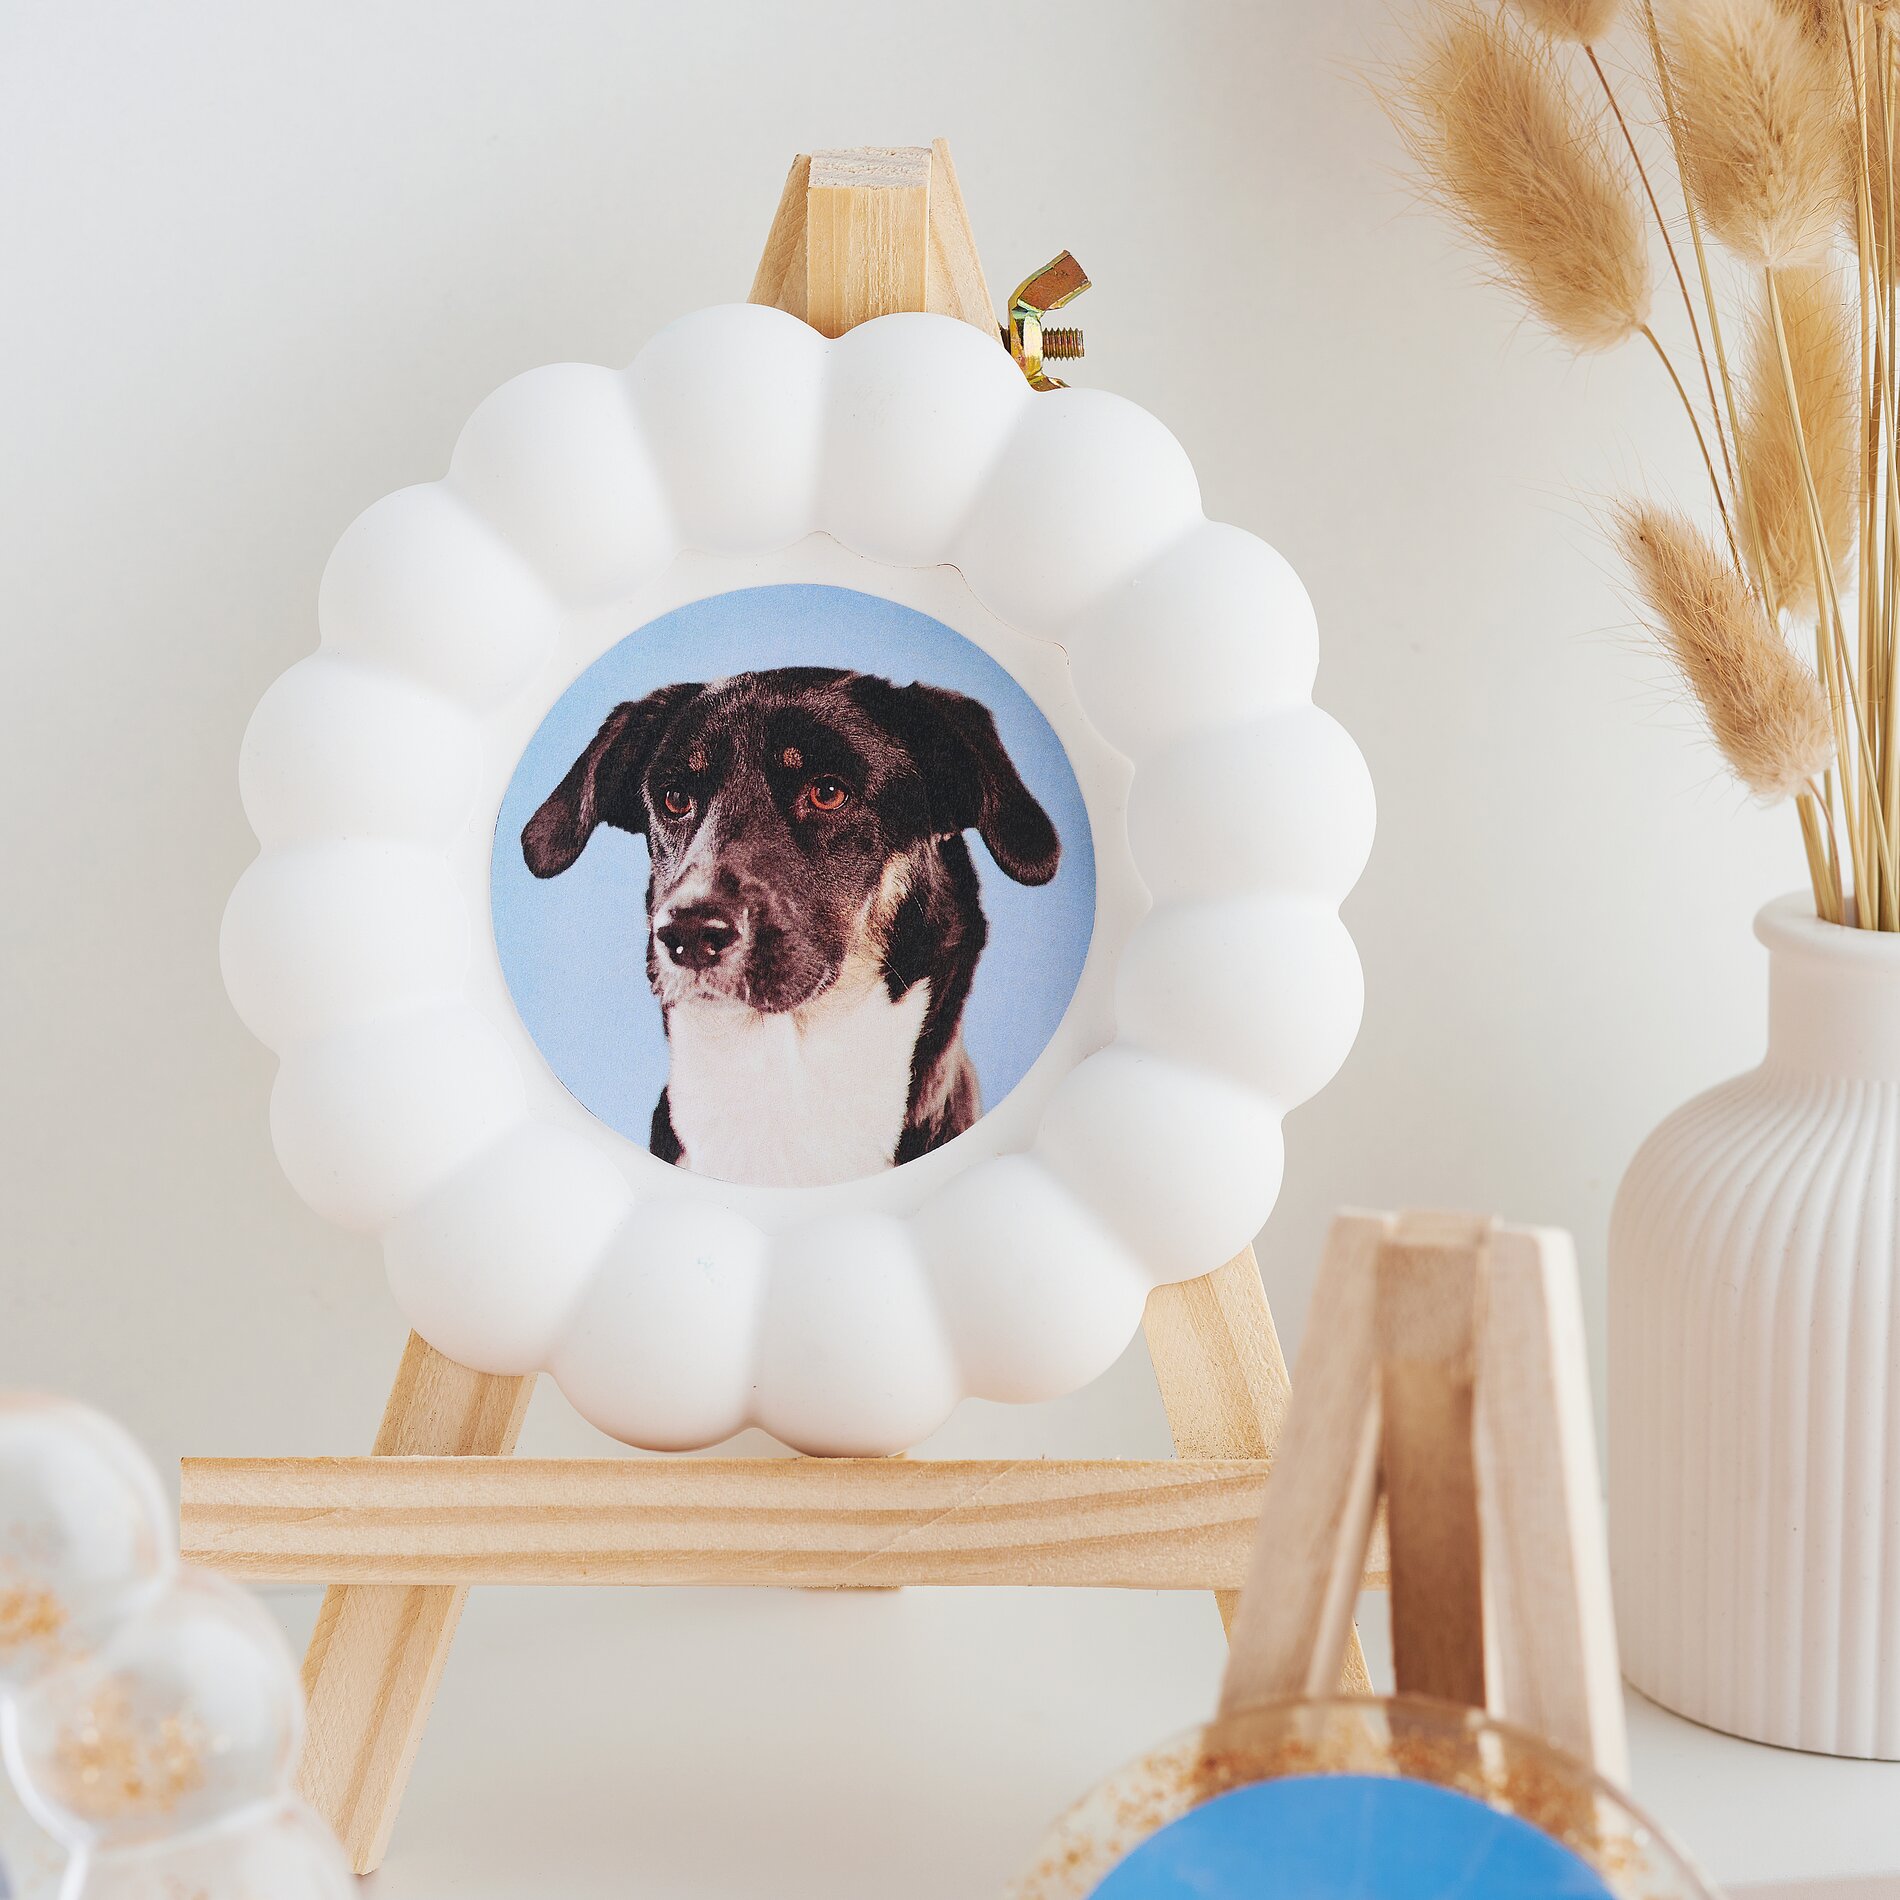
Combine casting resin with white creative casting compound It is also possible to fill a mold first with casting resin and then with Keraflott or vice versa, depending on the result you want to achieve. And of course you can also only form a picture frame from white creative casting compound and then stick it in the middle of your casting using double-sided adhesive tape .
Tip: The resin remover is the ideal cleaning agent for all hobbyists and enthusiasts DIY-Enthusiasts. With its strong dissolving power, it effortlessly removes uncured resin residues and residues of polyester, epoxy resin or cold glaze - from skin, clothing and tools.
Finally, paint the easels with handicraft paint. DIY-Picture frames are not only an eye-catcher for your home, but also a lovely way to give personal photos as gifts to friends.
Take advantage of this idea and order all the materials you need for your own creative project today! Have fun crafting and designing!