Casting a Hand Mold from Casting Compound
Prepare your work surface with a protective mat and the necessary materials, and have the silicone mold ready. Silicone is naturally flexible and non-stick— nature —which is exactly why castings come out of the mold so easily later on. To ensure the surface of your hand mold turns out nice and even, it’s a good idea to briefly level the mold on a flat surface before filling it.
Pour the casting powder into a mixing cup and gradually add water. Stir thoroughly until a smooth, creamy consistency forms. The reason for this: A uniformly mixed casting mixture spreads evenly in the “ silicone mould ” mold and results in a fine, dense surface later on. If you add too much water too quickly, the mixture will become too thin and may be less stable after curing.
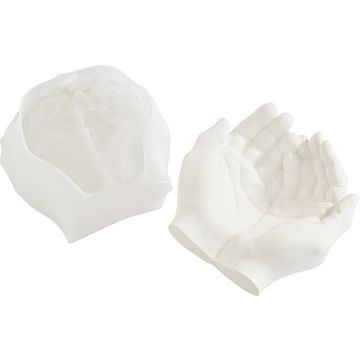
Carefully pour the mixed mixture into the “Hands Bowl” silicone casting mold. Pour slowly and evenly so that the casting mixture settles into all the recesses and the mold is completely filled. This will give you a sturdy hand bowl with cleanly defined contours.
Gently tap the filled mold several times on the work surface so that any trapped air bubbles rise to the top and escape. Try not to lift the mold while doing this to prevent spillage. This step ensures that your cast bowl won’t have any small holes or rough spots later on.
Let the casting compound cure undisturbed. After about 6 hours, you can carefully remove the cast piece from the silicone mould . Gently pull the silicone away from the edge instead of tugging on the bowl itself. This keeps the edges and details intact.
Even if the hand cast is already firm, it should be allowed to dry completely afterward. This makes the material more durable and gives the surface a more pleasant feel. If you notice any rough edges, carefully smooth them out with fine-grit sandpaper ( sandpaper. ). Apply only light pressure so that the shape of the hands looks natural and the mold retains its sleek, modern look.
Filling with Candle Sand
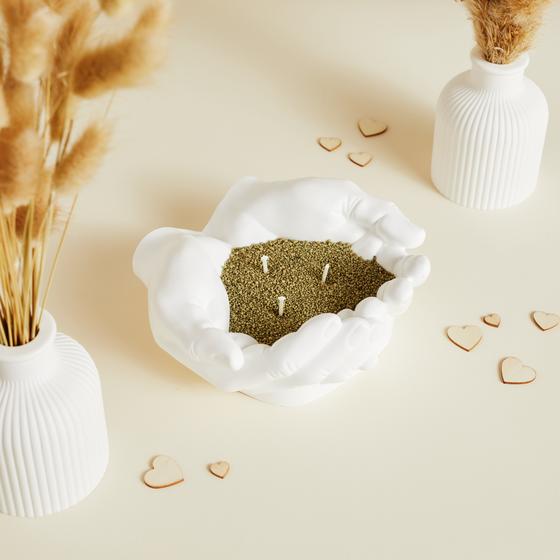
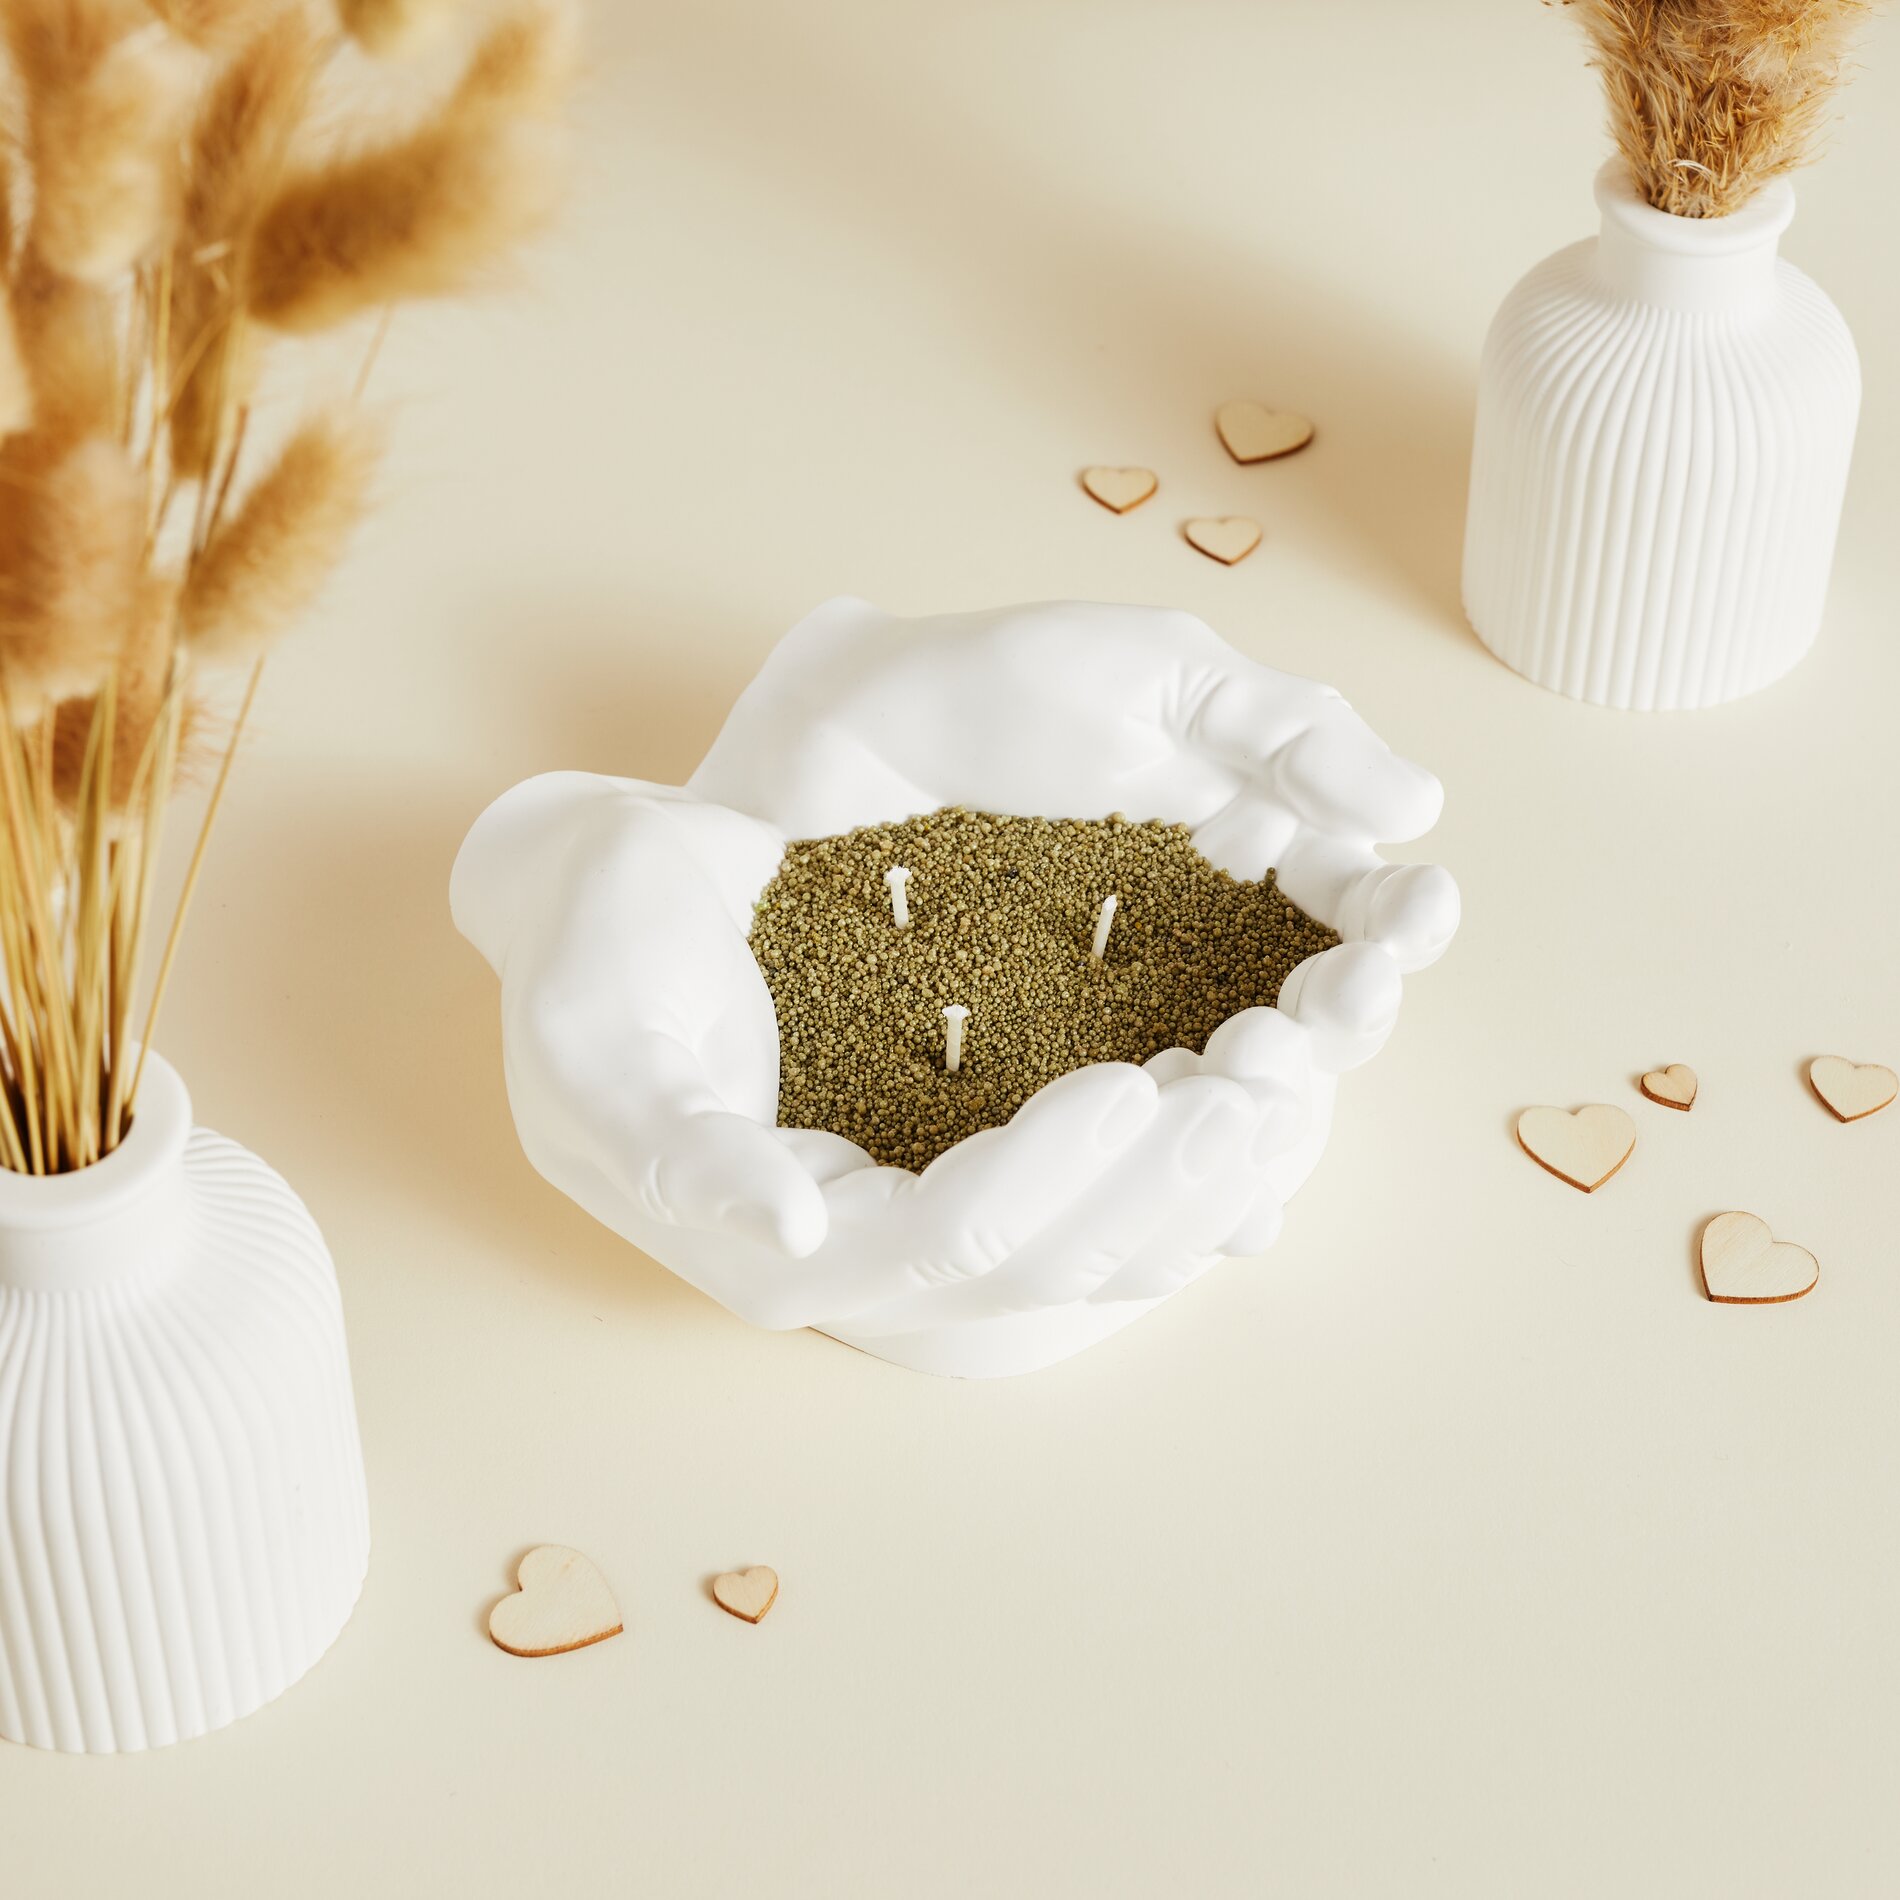
Fill the finished hand mold with candle sand and insert the wicks. Make sure the wicks stand securely and protrude slightly. The advantage of candle sand: You can adjust the amount as needed, place multiple flames, and refill the mold again and again. For a harmonious result, distribute the sand evenly and space the wicks slightly apart.
Your finishing touch: decorate seasonally and mix and match
The hand-shaped bowl looks particularly elegant on its own and complements many interior styles year-round. For fall decor, you can complement it all around with dried flowers, grasses, or small decorative accents without overloading its clean shape. If you’re in the mood for a change, simply swap out the candle sand or rearrange the wicks—this way, your DIY-decorative piece will last a long time.
Now it’s your turn! Get the right silicone mold and everything you need for pouring, sanding, and decorating conveniently from our online shop—and bring your hand-shaped bowl to life during your next craft afternoon.