- Secure order
- Easy return shipment
- Service-Hotline 03 69 61 69 10
Instructions No. 3605
Difficulty: Beginner
Working time: 4 Hours

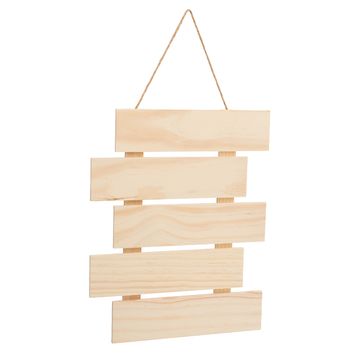
Start by applying a coat of VBS Chalky Color in the color olive on your wooden sign. This first coat should dry thoroughly so that the next coat adheres optimally. Give the sign the necessary Time to dry:, to achieve perfect results.
Creating the antique lookAfter the first coat of paint has dried, apply the medium evenly Chalky Medium evenly. After the Time to dry: for the medium, apply another coat VBS Chalky Color in the color creame. Let this layer dry completely as well. To achieve the popular antique effect, take sandpaper and work on the layers of paint as you wish. In this way, you can create specific wear marks that give your work the desired vintage look.
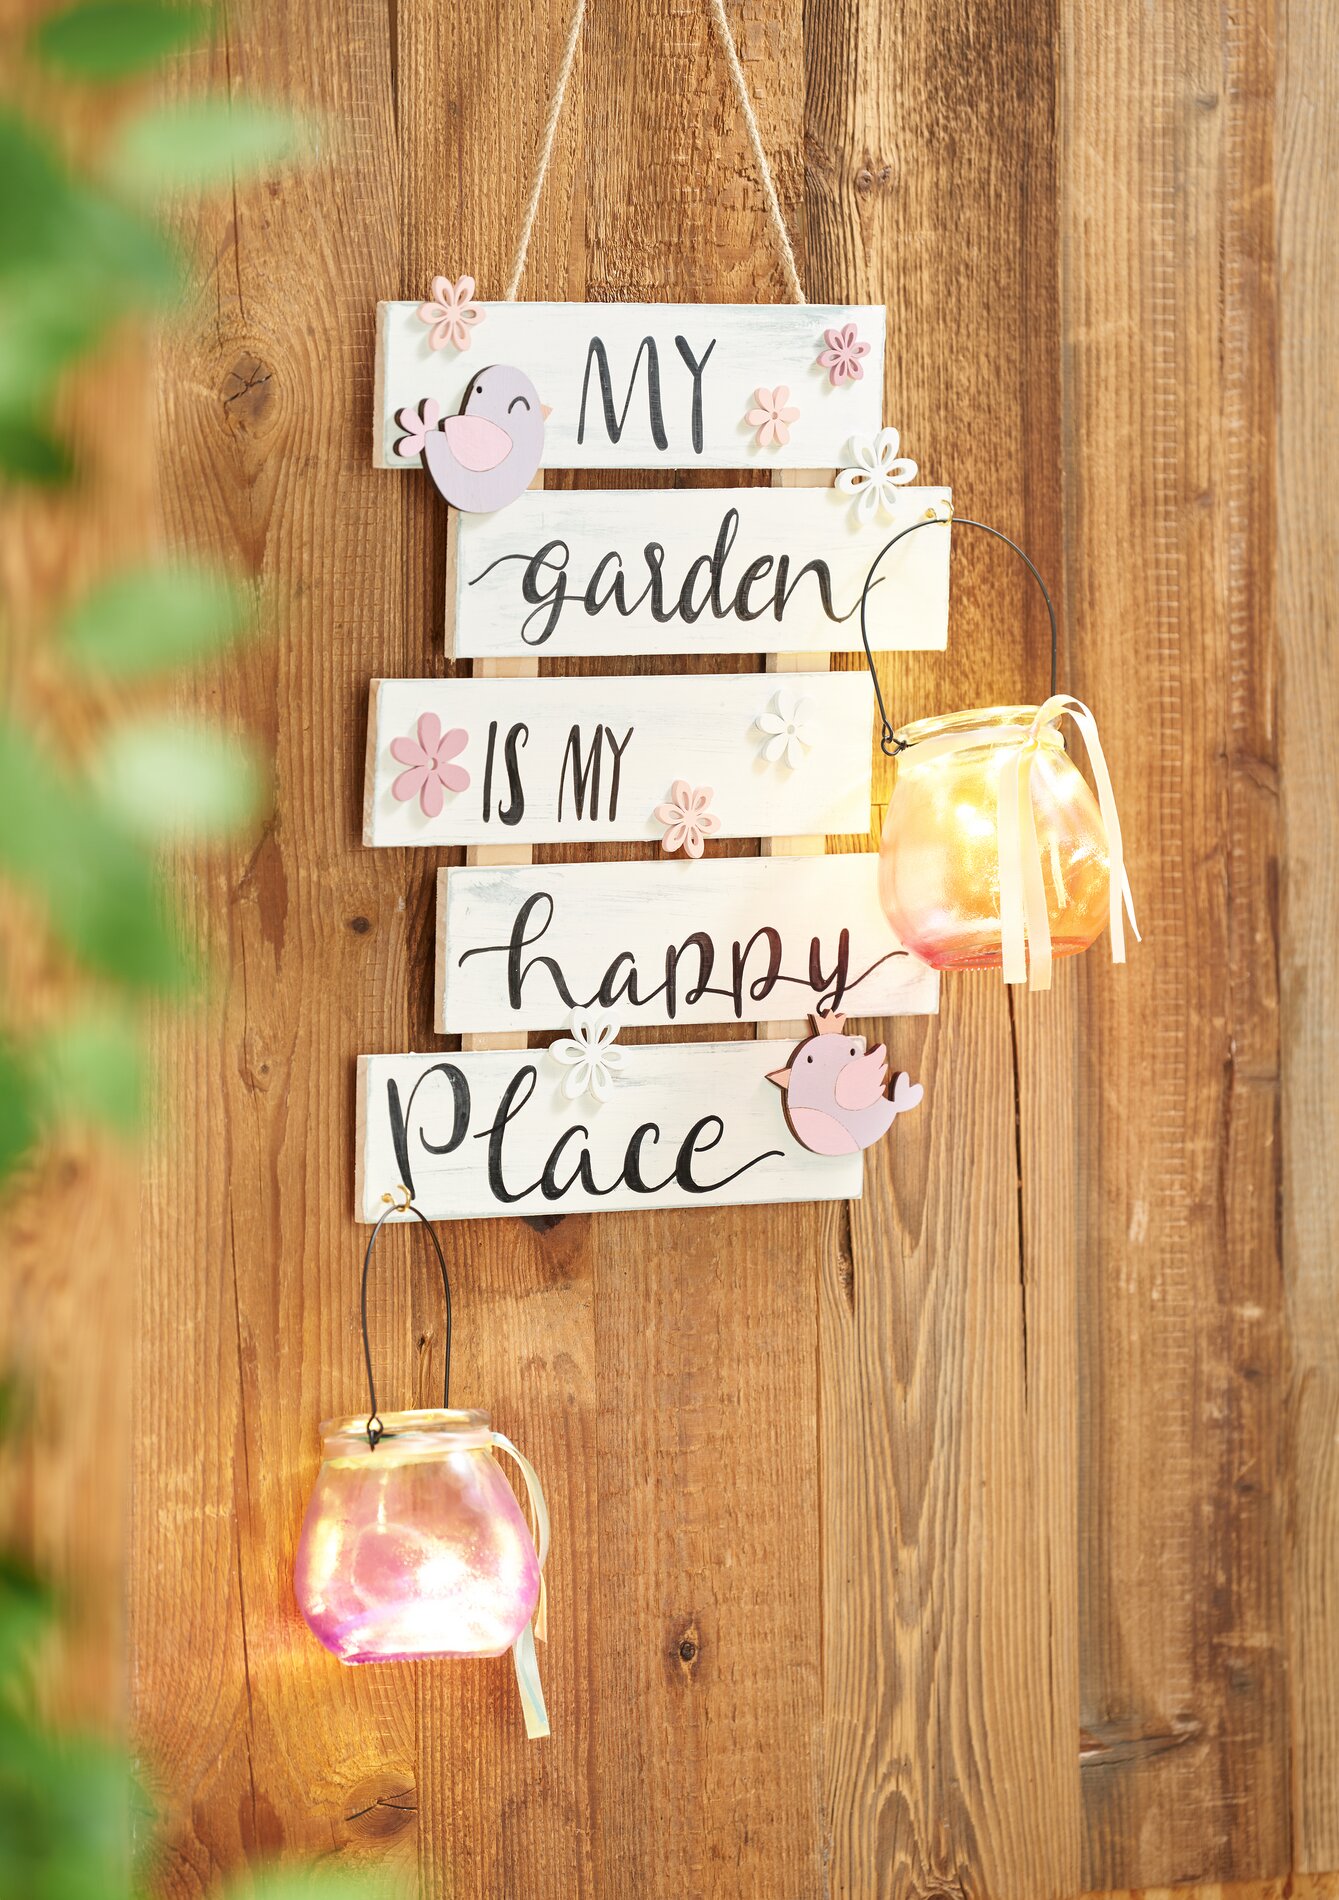
Lettering your signNow it's time to personalize your sign. Use a marker for the lettering. If you need a little guidance, you can print out our template and easily transfer it to your sign using graphite paper.
To preserve the colors for a long time, seal your work with VBS Chalky Varnish. This step ensures that your work of art does not lose its color and that you can enjoy it for a long time.
Designing the lanternsNow it's time for the lanterns. Use glass and porcelain paint to decorate the lanterns in spots. Although the paint appears milky at first, it becomes transparent after drying. Leave the painted lanterns to dry for about 4 hours. Then place them in a cold oven to bake. Set the temperature to 160 °C and leave the paint to bake for 90 minutes. Leave the lanterns to cool slowly in the switched-off oven before cleaning and using them again.
AssemblyAttach two screw hooks to your signpost sign. Hang the lanterns from these. To complete the look, you can fill the jars with chains of lights, tea lights or candle sand.
Final decorationFor the final decoration, paint the birds and flowers with the matching craft paints. Let these dry completely and stick them securely to the sign with VBS handicraft glue securely to the sign.
With your new, homemade signpost sign and the unique lanterns, you have created a wonderful way to add character to your home. Now it's your turn! Take a look at the materials list to find all the materials you need for this creative project and let your creativity run wild. Have fun crafting!