- Secure order
- Easy return shipment
- Service-Hotline 03 69 61 69 10
Instructions No. 3642
Difficulty: Beginner
Working time: 1 hour


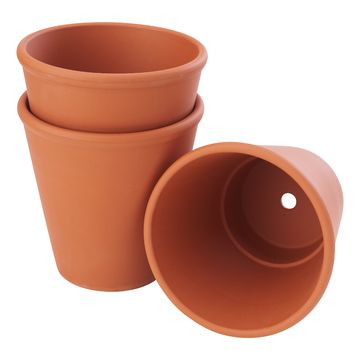
Start by painting the outside of the rose pot completely with the white Chalky Color from the outside. Chalky Color is a matt chalk colour, that adheres particularly well to rough surfaces and creates a charming, antique look. Apply the paint evenly and make sure to cover all corners and edges well. Allow the paint to dry completely to achieve the best result.
Accentuating the potOnce the first layer of paint has dried, take a colored Chalky Color of your choice and paint the lower part of the pot. This contrasting combination gives your pot depth and personality. Again, patience is required, allow the paint layer to dry thoroughly before moving on to the next step.
Preparing the hemisphereNow it's time to paint the hemisphere that will later serve as the nose. Use the white Chalky Color to create a harmonious overall look. Allow this layer to dry well too.
Creating and attaching the glassesTake a pair of wire cutters and cut out two wire rings of the same size to form the glasses of the pot. Place the rings so that they look like glasses and glue them and the nose to the pot using hot glue. Be careful when using the hot glue to avoid burning yourself.
Add detailsTo complete the face of your pot, use a Posca-marker to draw two dots for the eyes on the pot. The Posca-marker is known for its bold, opaque colors that are ideal for subtle, decorative accents.
Now it's your turn!
Put the finished terracotta-pot on display and watch how it enriches the ambience of your surroundings. Fancy more creative projects? Visit our online store to purchase all the materials you need and discover a variety of other inspiring DIY-Products for your next crafting adventure!
Personalize your home with individual craft projects and let your creativity run wild!