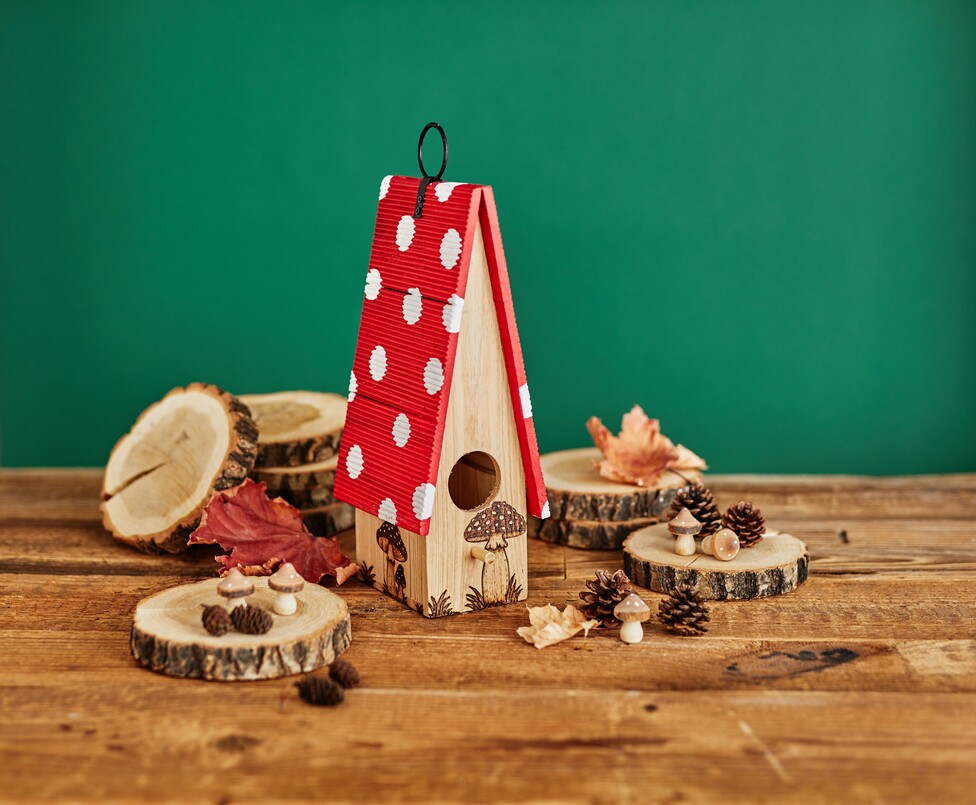
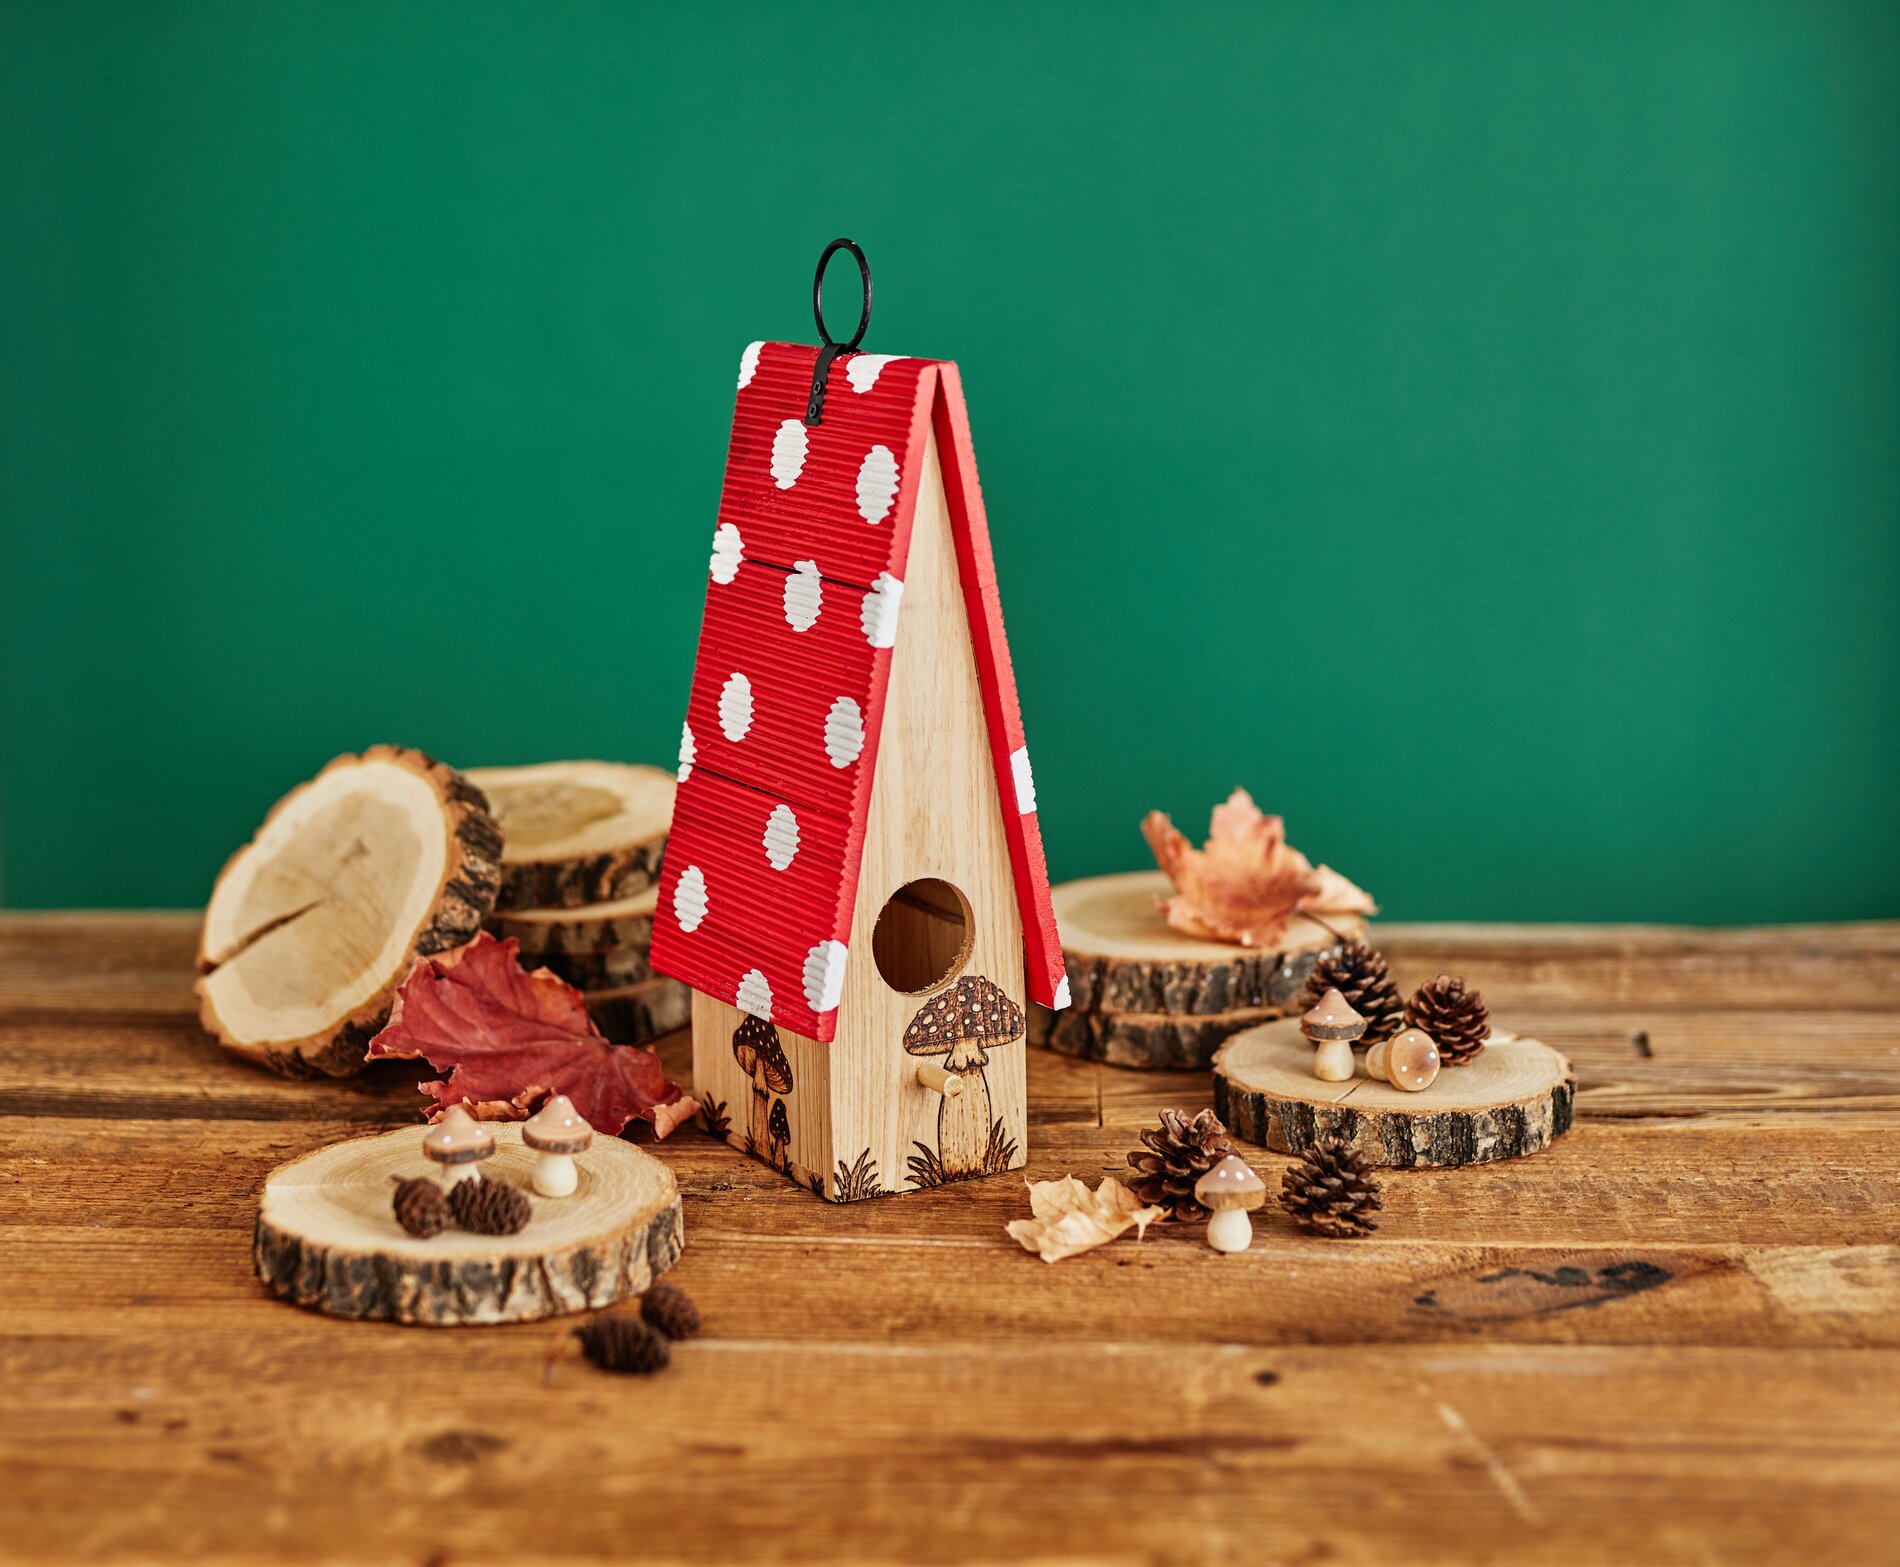
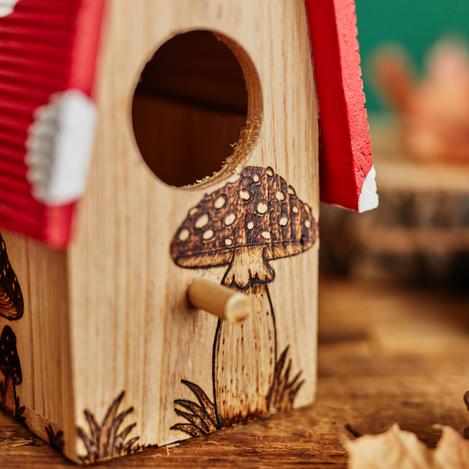
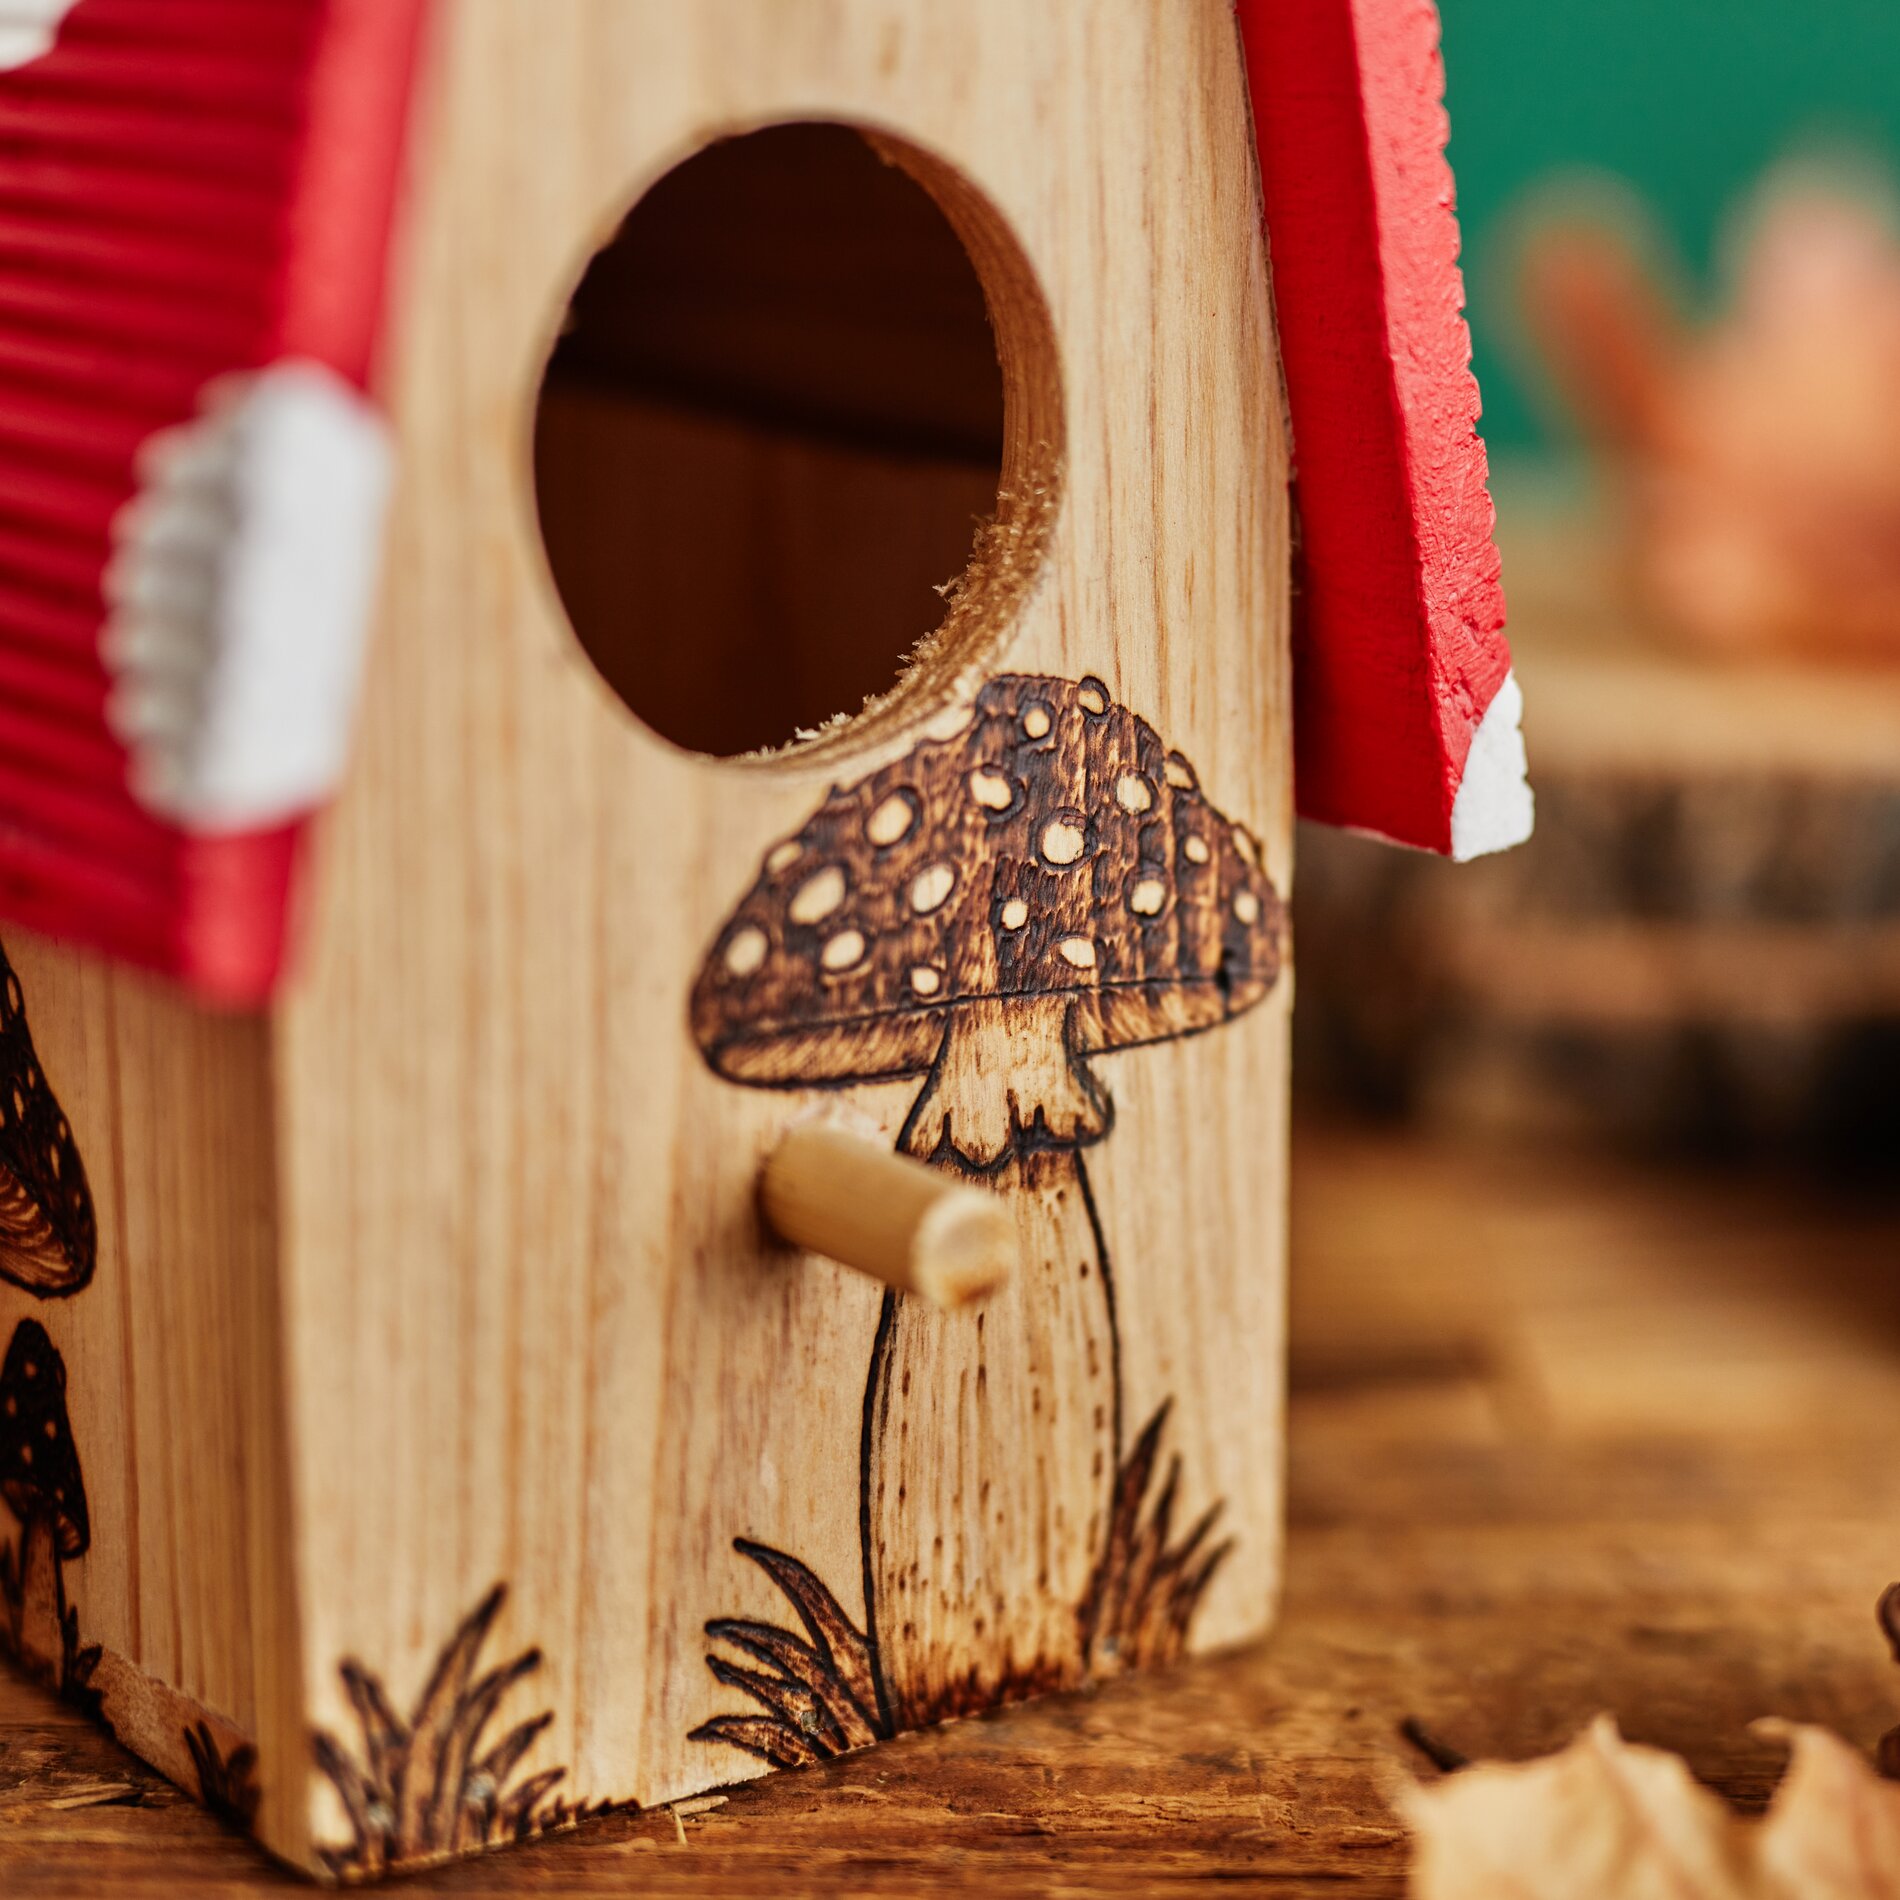
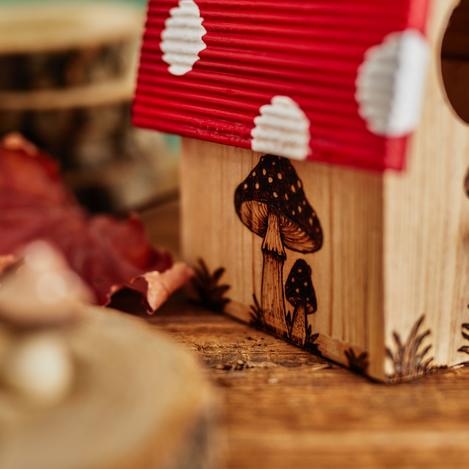
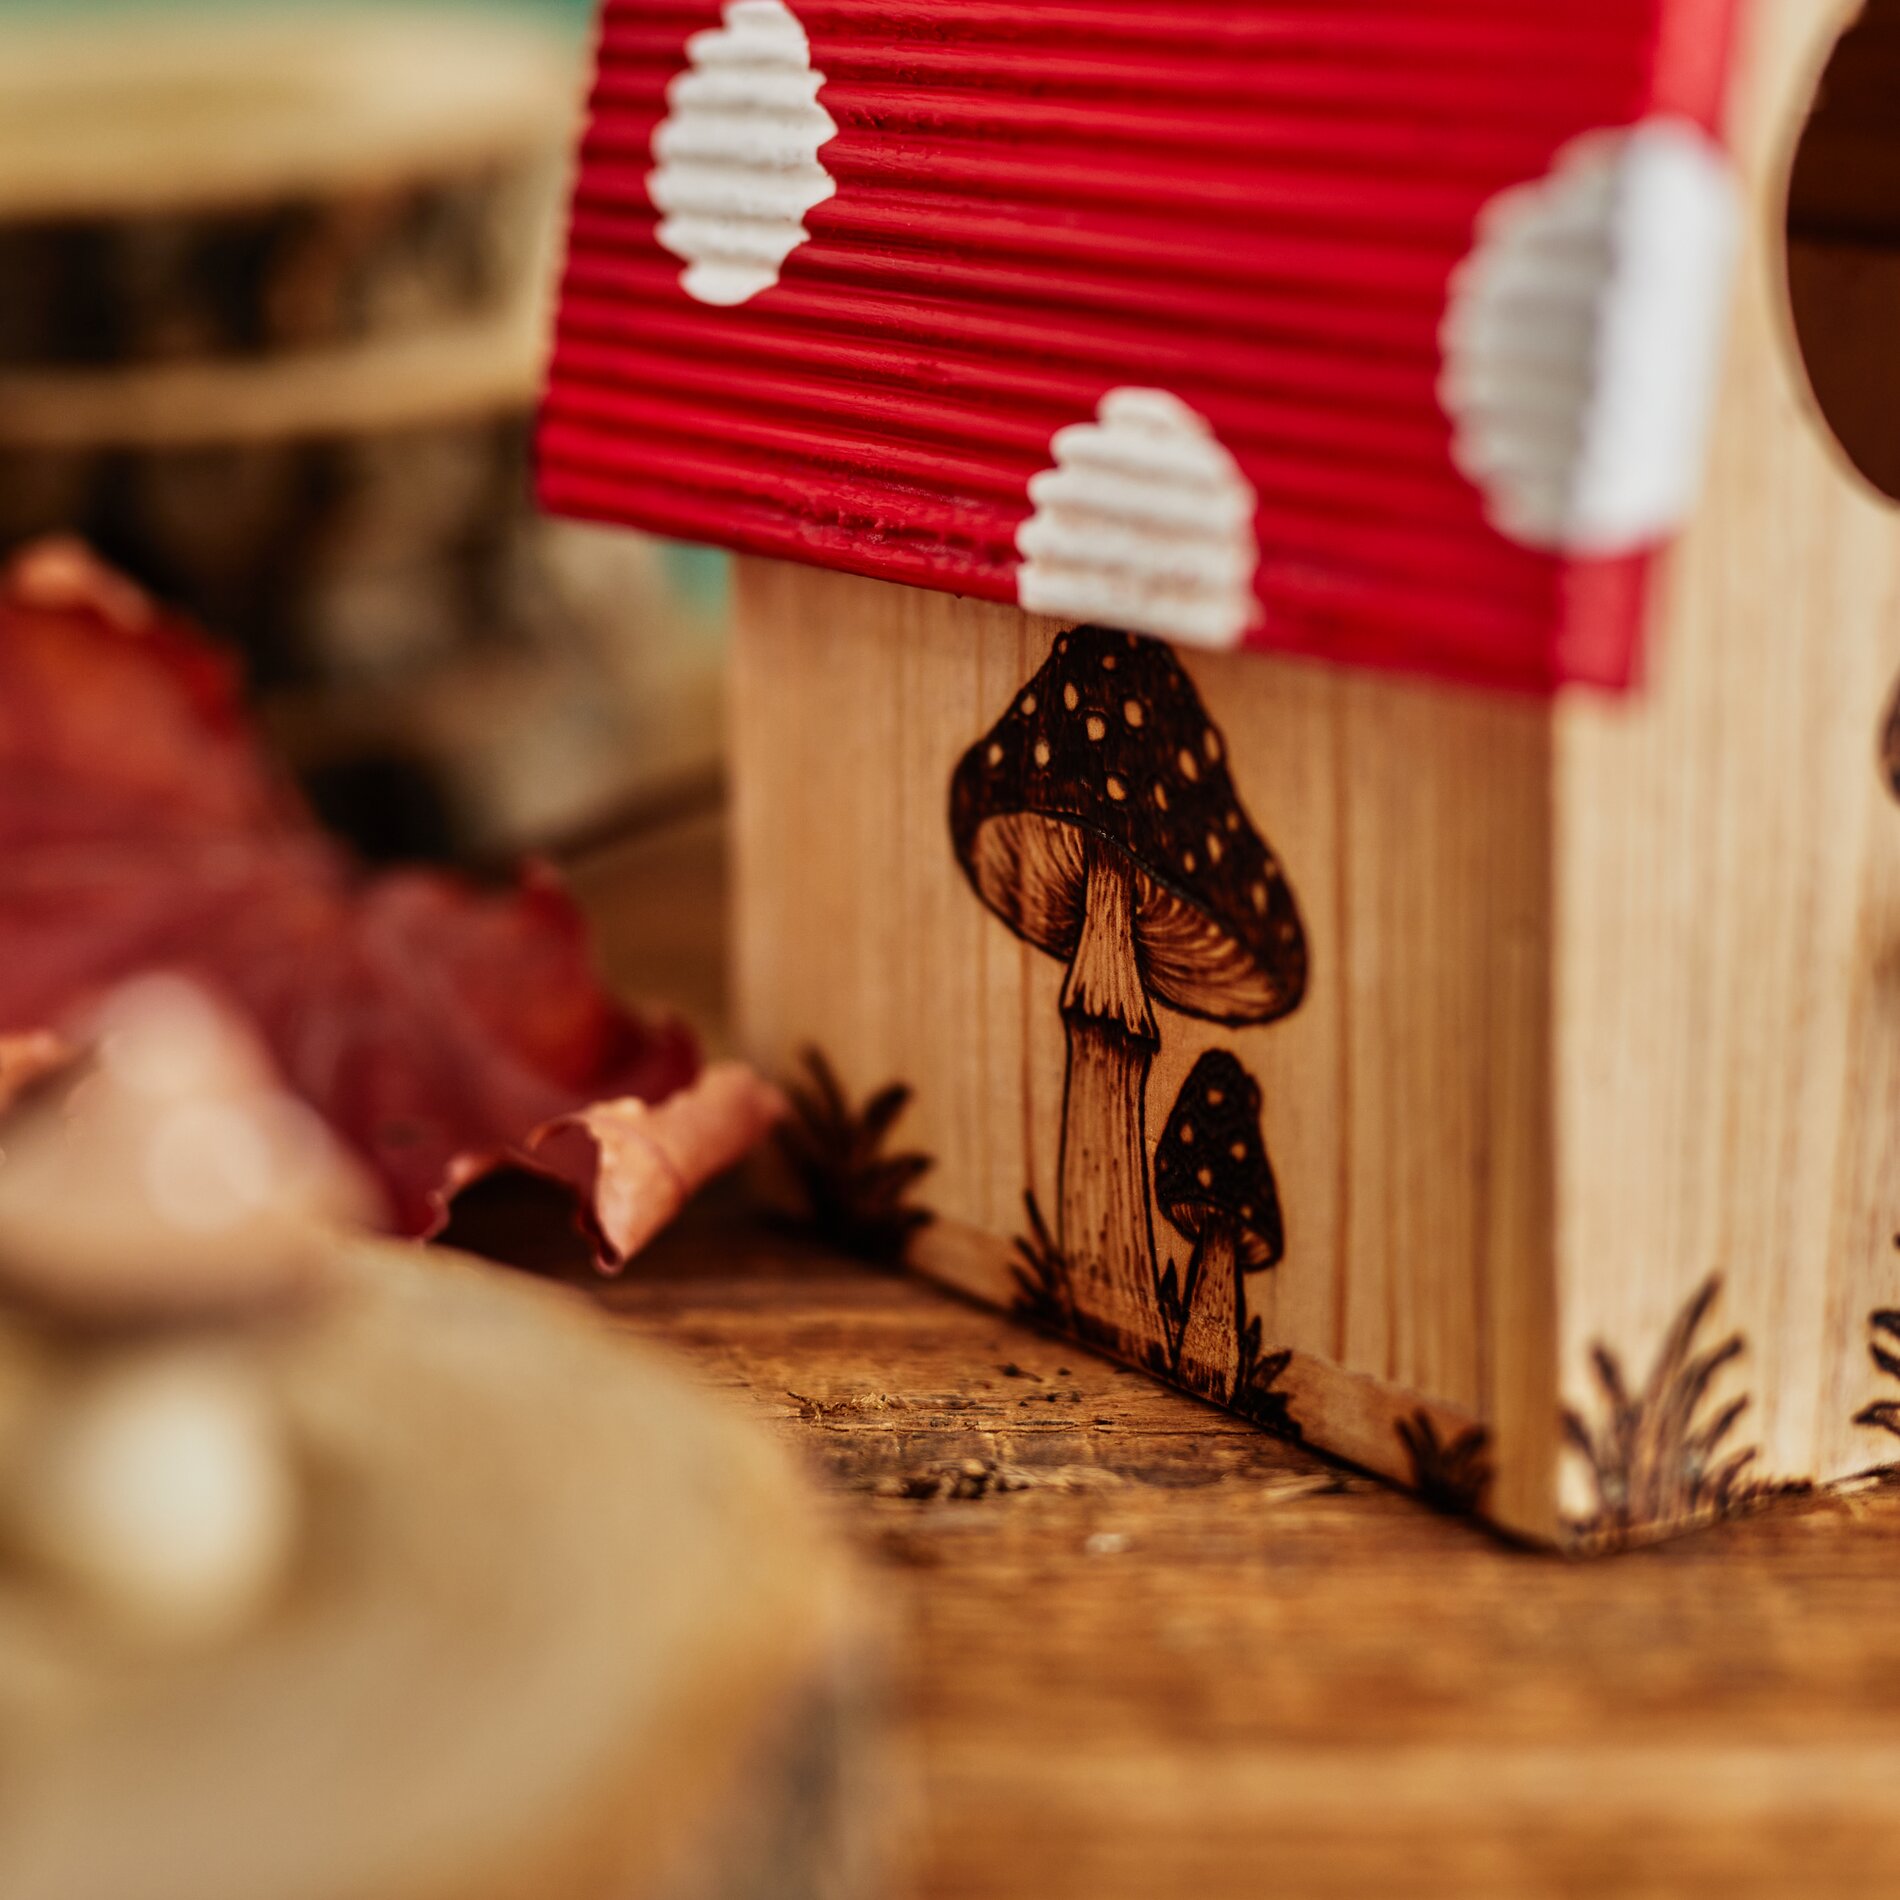
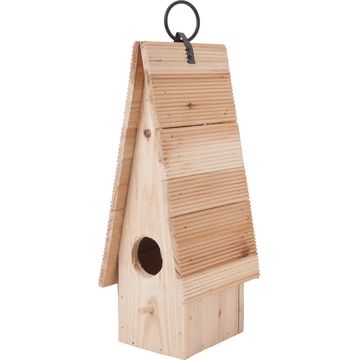
Place the spruce wood birdhouse on a protected surface. If the wood feels rough, carefully smooth the surfaces with fine-grit sandpaper ( sandpaper. ). This will ensure that the " handicraft paint " and acrylic varnish adhere evenly later on, and your " wooden burning " will turn out clean and clear.
Step 1: Paint the roof with red —for a bold fall accent
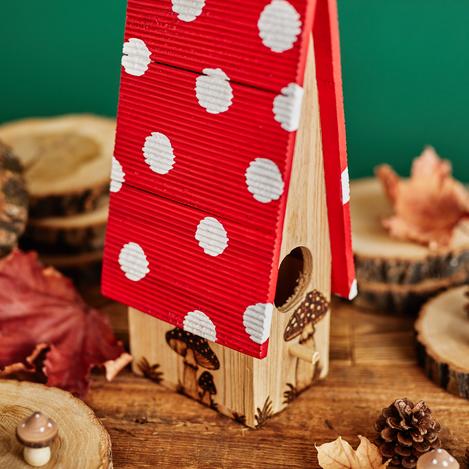
Apply a full coat of red “ handicraft paint ” to both sides of the roof. Let the paint dry completely so that the next layer of paint—with the white dots—will adhere well to the dry surface.
Step 2: Dab on white dots – mushroom look with a dabbing sponge
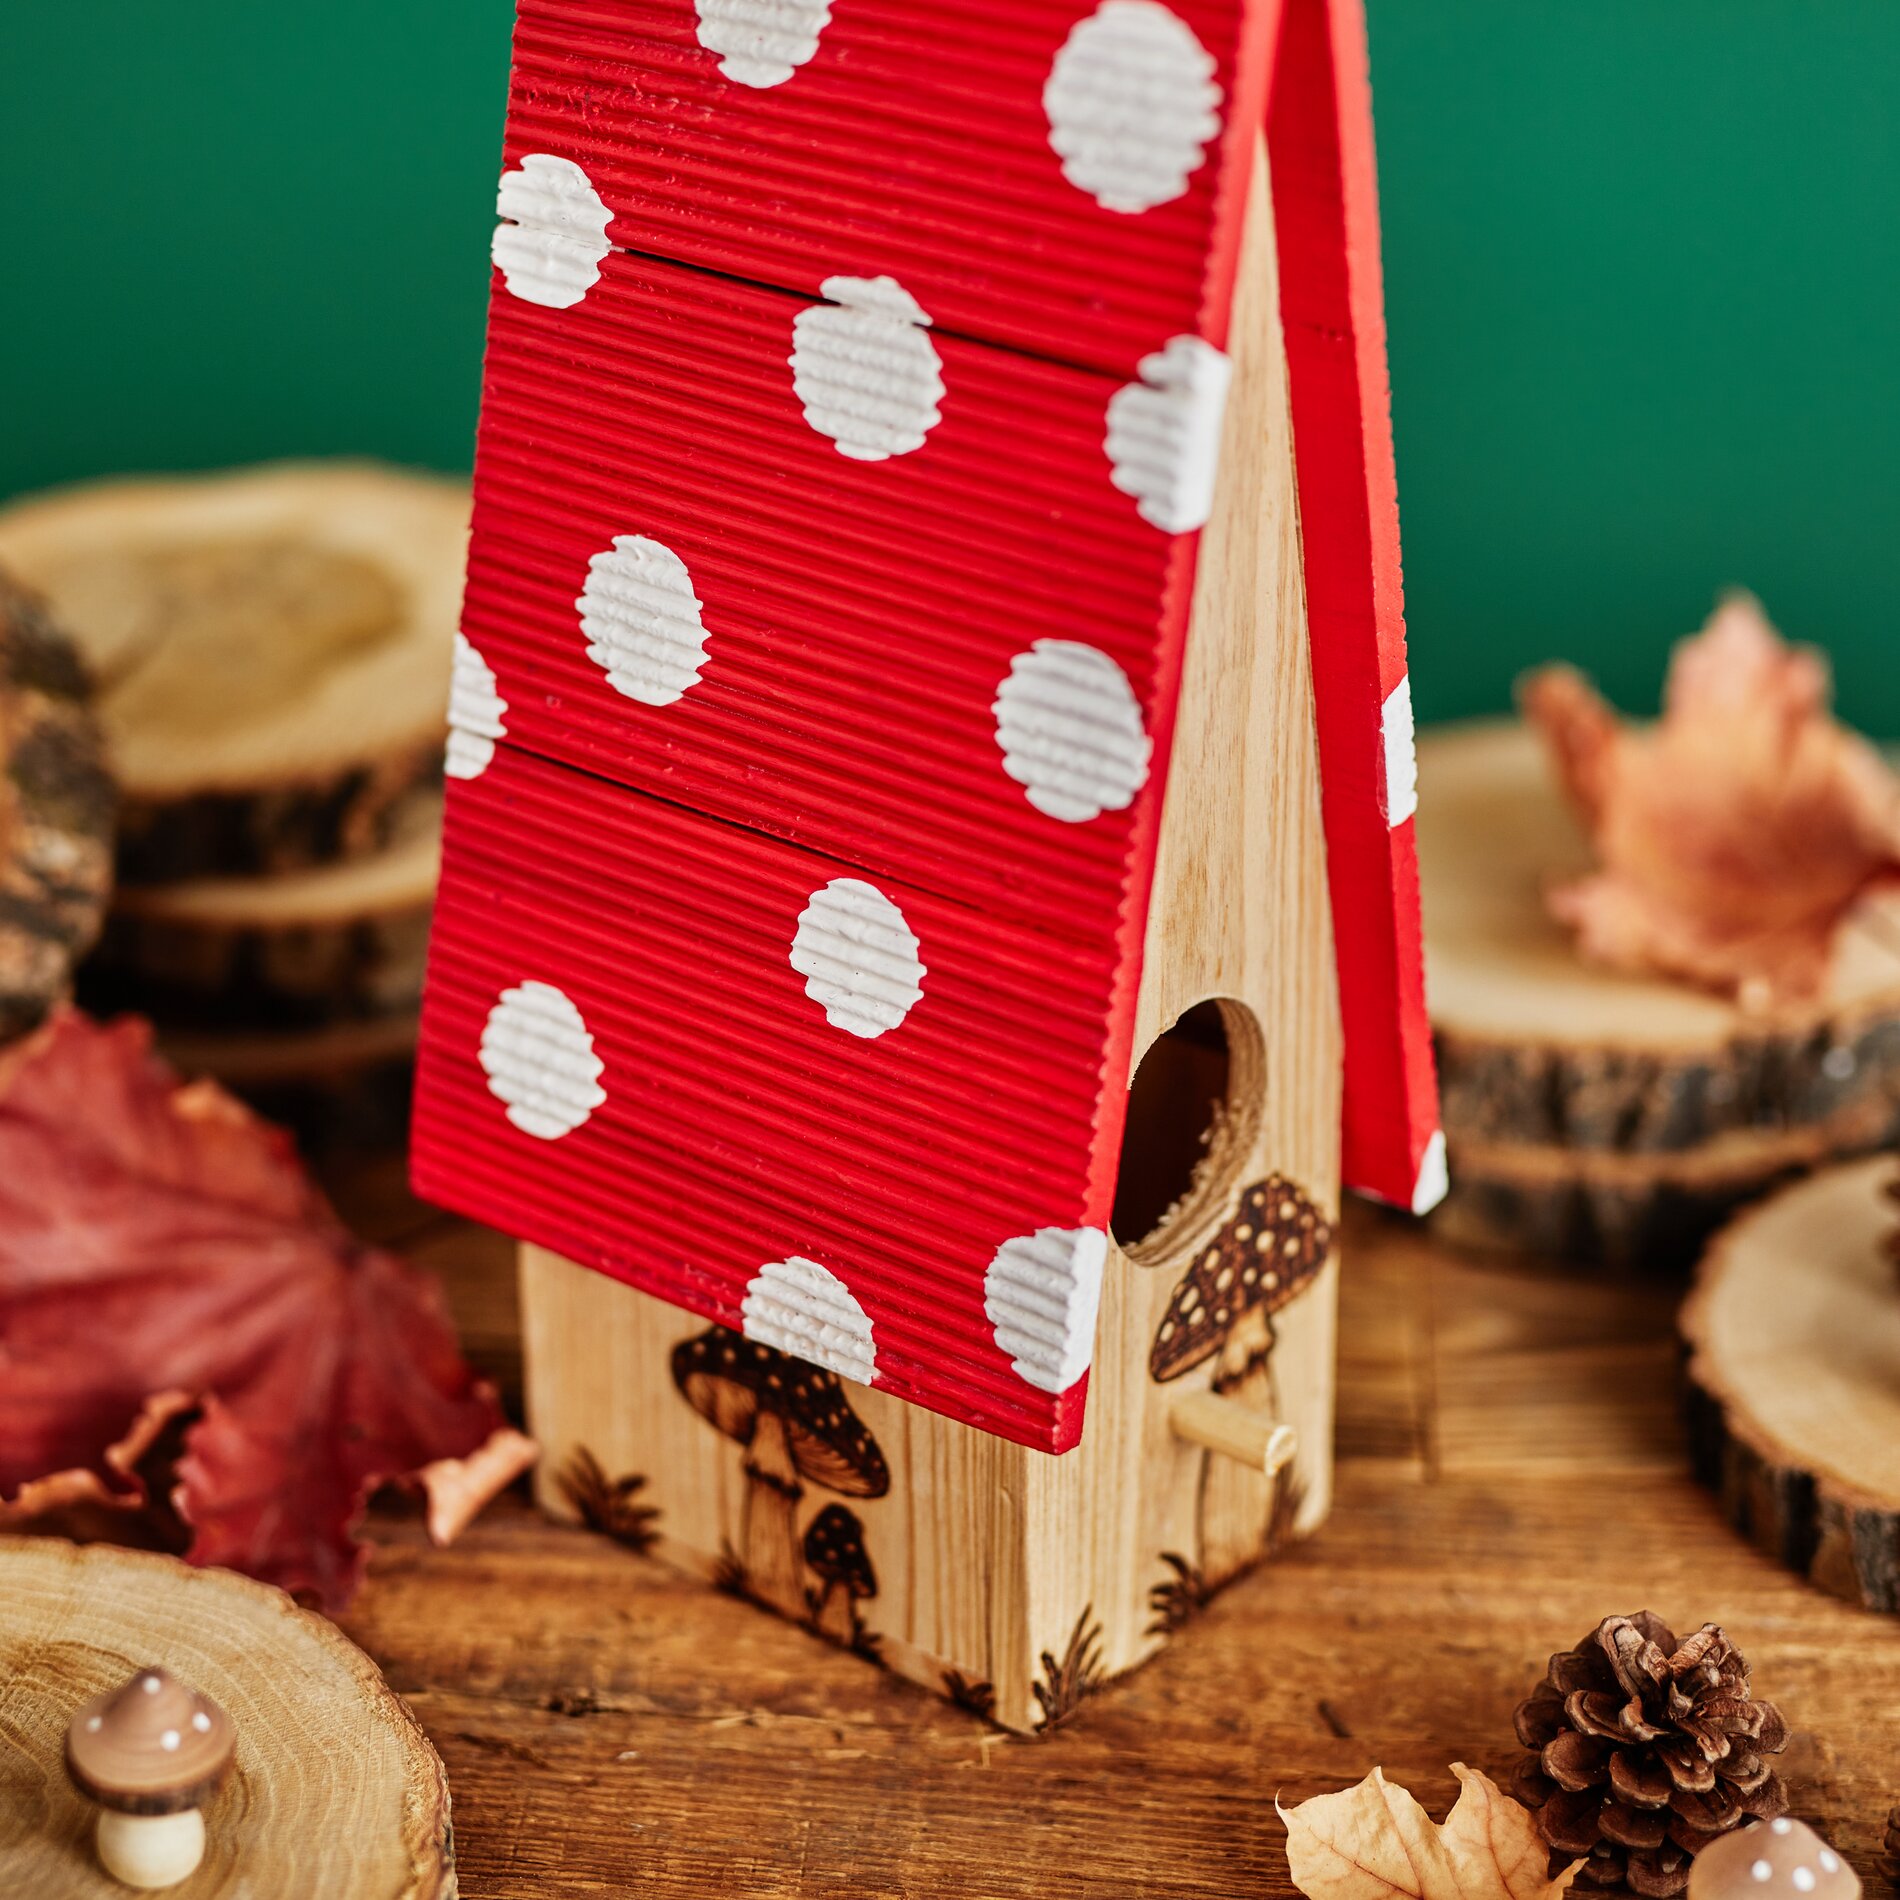
Place some white “ handicraft paint ” on a palette or a piece of plastic wrap and pick up a small amount with a dry dabbing sponge. Use it to dab small dots onto the roof. The dabbing sponge creates soft edges and a natural, lively dotted texture. Let this layer of paint dry thoroughly as well, so nothing smudges as you continue working.
Did the dotted paint application turn out a little imperfect? If so, feel free to carefully touch up the white paint with a fine brush.
Step 3: Transfer the mushroom design—trace neatly with graphite paper
Print out the template and position it on the birdhouse. Place graphite paper between the template and the wood, then trace the lines with a pencil. This creates a clear outline on the wood without having to sketch freehand. Make sure the template doesn’t slip so that the outlines look consistent when you burn them in later.
Step 4: “ wooden burning ” – Burn in the lines and add details
Burn in the transferred lines using the pyrography kit. “ wooden burning ” means using a hot tip to etch the design into the wood’s surface. Work slowly and evenly to ensure the lines are smooth and not spotty. For added depth, you can also burn small tufts of grass and fine textures into the wood. This gives your autumnal design character and complements nature-themed birdhouses particularly well.
Step 5: Apply a protective coat – acrylic varnish for a weather-resistant finish
Finally, apply a coat of clear acrylic varnish. The varnish seals the handicraft paint and protects the wooden burning from the elements, ensuring the birdhouse stays attractive for a long time. Apply the varnish evenly, without going over the same spot too often, to avoid brush marks. Then let the acrylic varnish dry thoroughly.
Step 6: Finishing Touches—Check, Touch Up, and Hang
Once dry, check the edges and roof surfaces. If you’d like even more contrast, you can carefully trace individual pyrography lines or add small dots. After that, your painted birdhouse, available at wooden burning , is ready for its spot in the garden or on the balcony. Browse the online shop for matching paints, pyrography supplies, and varnishes so you can get started on your next fall project right away.