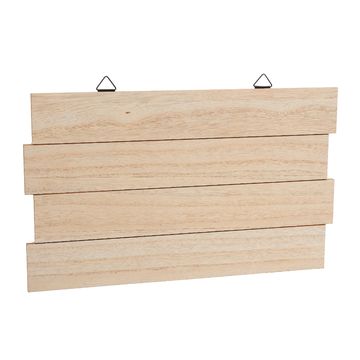
Use a wooden panel as the basis for your decorative sign. It serves as the perfect background to show off the lettering and decoration. Position the wooden board on a flat work surface.
Shape the lettering
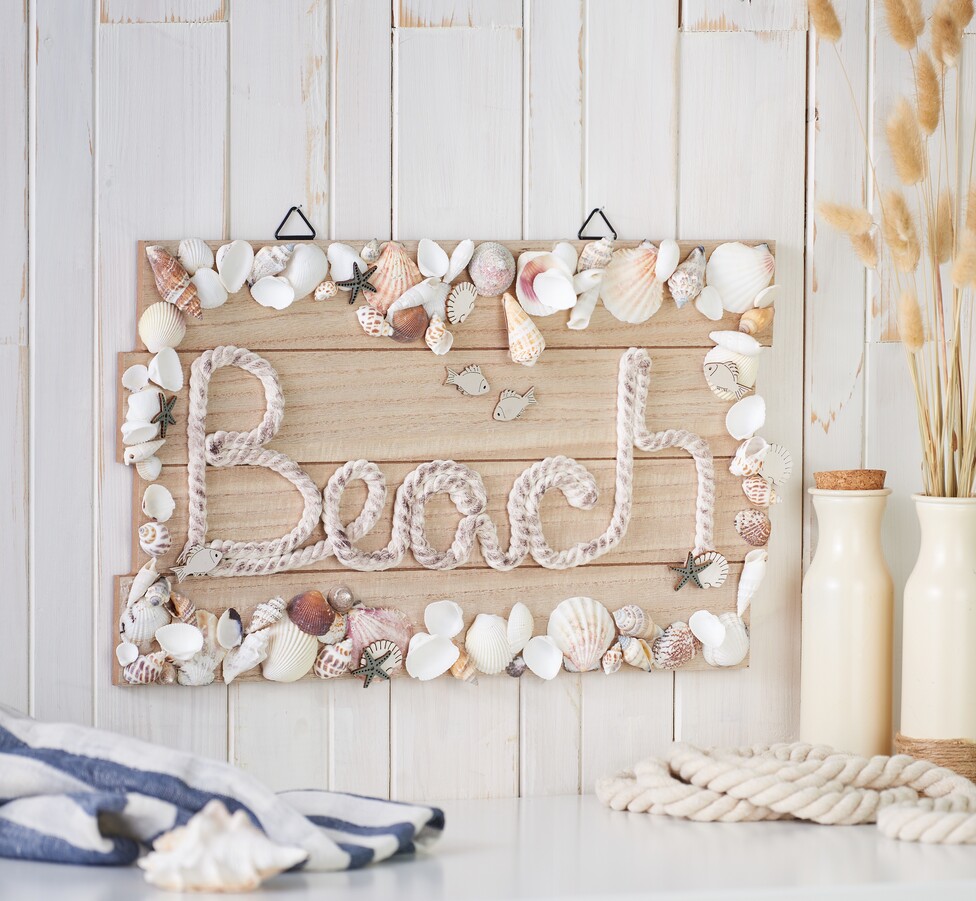
Take a cotton rope and use it to form the word "Beach" on the wooden board. You can be creative and make the lettering either straight or curved, depending on your individual style. Make sure to lay the rope evenly so that all the letters are clearly recognizable.
To give the lettering a personal touch, you can color the cotton rope with a ink pads either beforehand or afterwards. Choose a color that matches your nautical theme. The ink pads gives the rope a subtle color nuance that makes it even more appealing.
Glue your lettering to the wooden panel using hot glue.
Decorate with shells and sprinkles
Now it's time to get creative! Frame the lettering with shells and small scattered pieces that are reminiscent of the beach. Arrange the shells loosely around the word 'beach' and add small scatter decoration to give your beach wall sign more structure and dimension. Fix all the decorative elements with hot glue.
Final touch
check your artwork from different angles. Also check that all parts are firmly in place. Use some more hot glue or handicraft glue, to fix the loose elements. Let the sign dry well.
Start your DIY-adventure now!
Your personalized maritime decorative sign is ready! It's not only only a beautiful eye-catcher, but also adds a personal touch to your home. Fancy creating your own decorative sign? Buy the materials you need right here in our online store and bring that beach feeling into your living room!