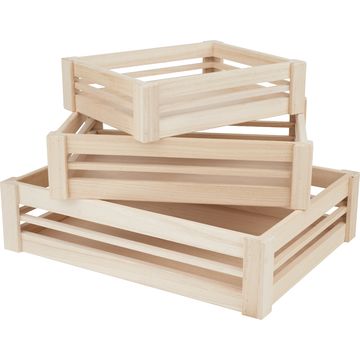
Hanging herb rack
Instructions No. 2094Create your own herb garden: the hanging shelf takes up little space and fits just as well on the balcony or terrace as in the kitchen.
Labeling and painting
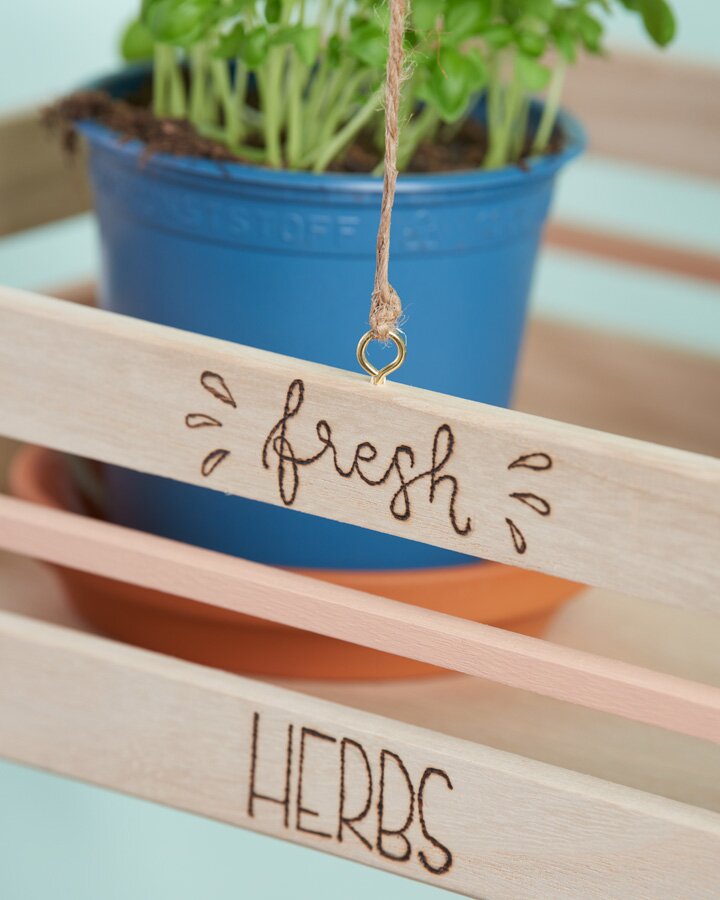
For an individual inscription on the hanging trays, creative design with brand painting is suitable.To do this, first sketch on a paper and transfer your design with the help of graphite paper on the wood. Draw the transferred contours with a branding pen.
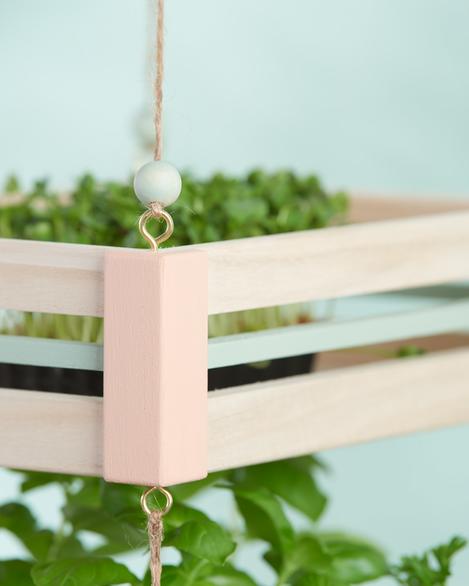
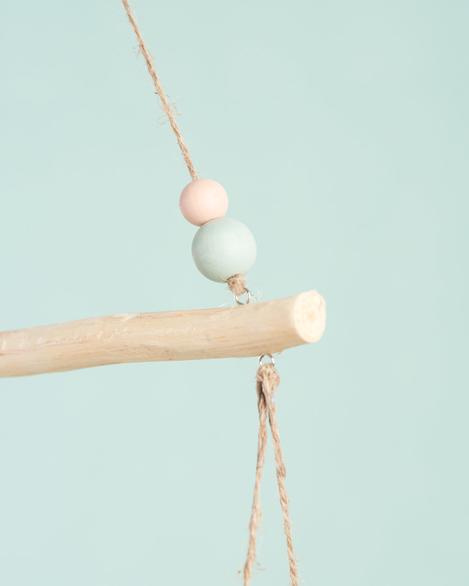
Paint according to personal taste the wooden boxes, matching wooden balls. To preserve the natural look, our decoration example was painted with only a little paint in skin colors and olive green.
Suspension
Twist eyelets into the wooden boxes as follows: for the small wooden box, in each corner on the top and also on the bottom; for the large wooden box, in the corners on the top as well as in the middle on the longitudinal brace.Hang the branch by threading balls onto a piece of jute ribbon and securing it to the top eyelets.
Then tie a sisal cord to each of the eyelets on the small box. Pull 1 wooden ball on each cord, thread the ribbons to the left eyelet of the branch and tie all four threads into a knot.
String one wooden ball each on long jute cords and use them to attach the two remaining corners of the lower wooden crate to the decorative branch. With this attachment, you can plumb the two boxes.
By using the leftover grommets of the small (bottom corners) and large wooden crate (middle braces) to connect them with two jute cords of equal length, you will give the hanging shelf further stability.
Finally, hang the shelf in the designated place in your home and stock it with herb pots of your choice.