- Secure order
- Easy return shipment
- Service-Hotline 03 69 61 69 10
Instructions No. 3360
Difficulty: Beginner
Working time: 1 hour
When the evenings get longer and darkness falls, Halloween is not far away. Now is the perfect time to decorate your home with spooky lights. In this guide, I'll show you how to create stunning Halloween-tealight holders with little effort.
Halloween tea lights - instructions
Step 1: Making the banderole
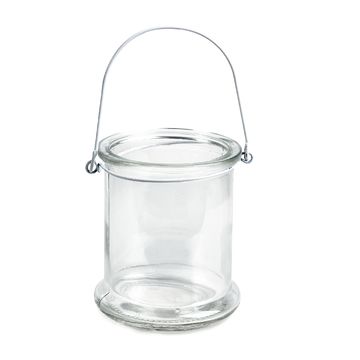
For the banderole, cut a rectangle measuring approx. 25.5 x 7.5 cm from the straw silk paper . If you are using a different wind light or would like a little more straw silk paper to overlap, adjust the width. Attach the double-sided adhesive tape to the end of the rectangle. Place the banderole as tightly as possible around the glass, remove the protective film from adhesive tape and stick the straw silk paper in place. If you have difficulties, you can also fix the banderole directly to the glass with the adhesive tape .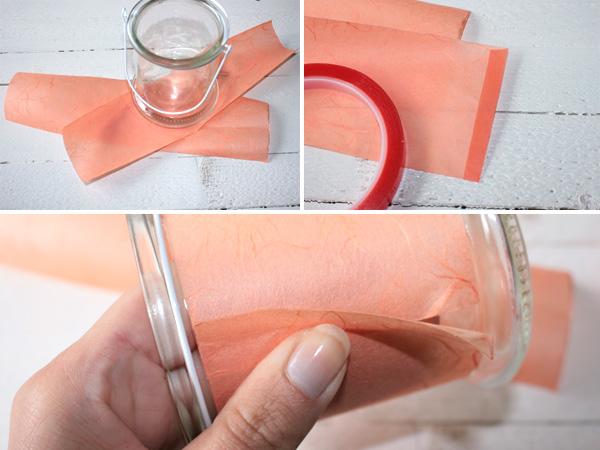
Step 2: The decoration
To decorate your lanterns, you can either use our template or make your own designs. Make sure that the size of the motifs matches wind light . transfer the templates to the black craft cardboard sheet and cut them out. You can glue the motifs completely onto the straw silk paper or partially so that some parts stick out.


Step 3: Final lighting
Finally, place the lit LED tea lights in the glass and create an instant Halloween atmosphere. This homemade decoration is not only only simple, but also an absolute eye-catcher.
Have fun being spooky! :)
Fancy more DIY-projects?
Discover our extensive range of craft materials and creative ideas in our online store. Let your creativity run wild!