- Livraison gratuite dès 75 € en France
- Retour facile
- Service-Hotline 03 69 61 69 10
fiche créative n° 3261
Degré de difficulté : Débutants
Durée de réalisation : 3 heures

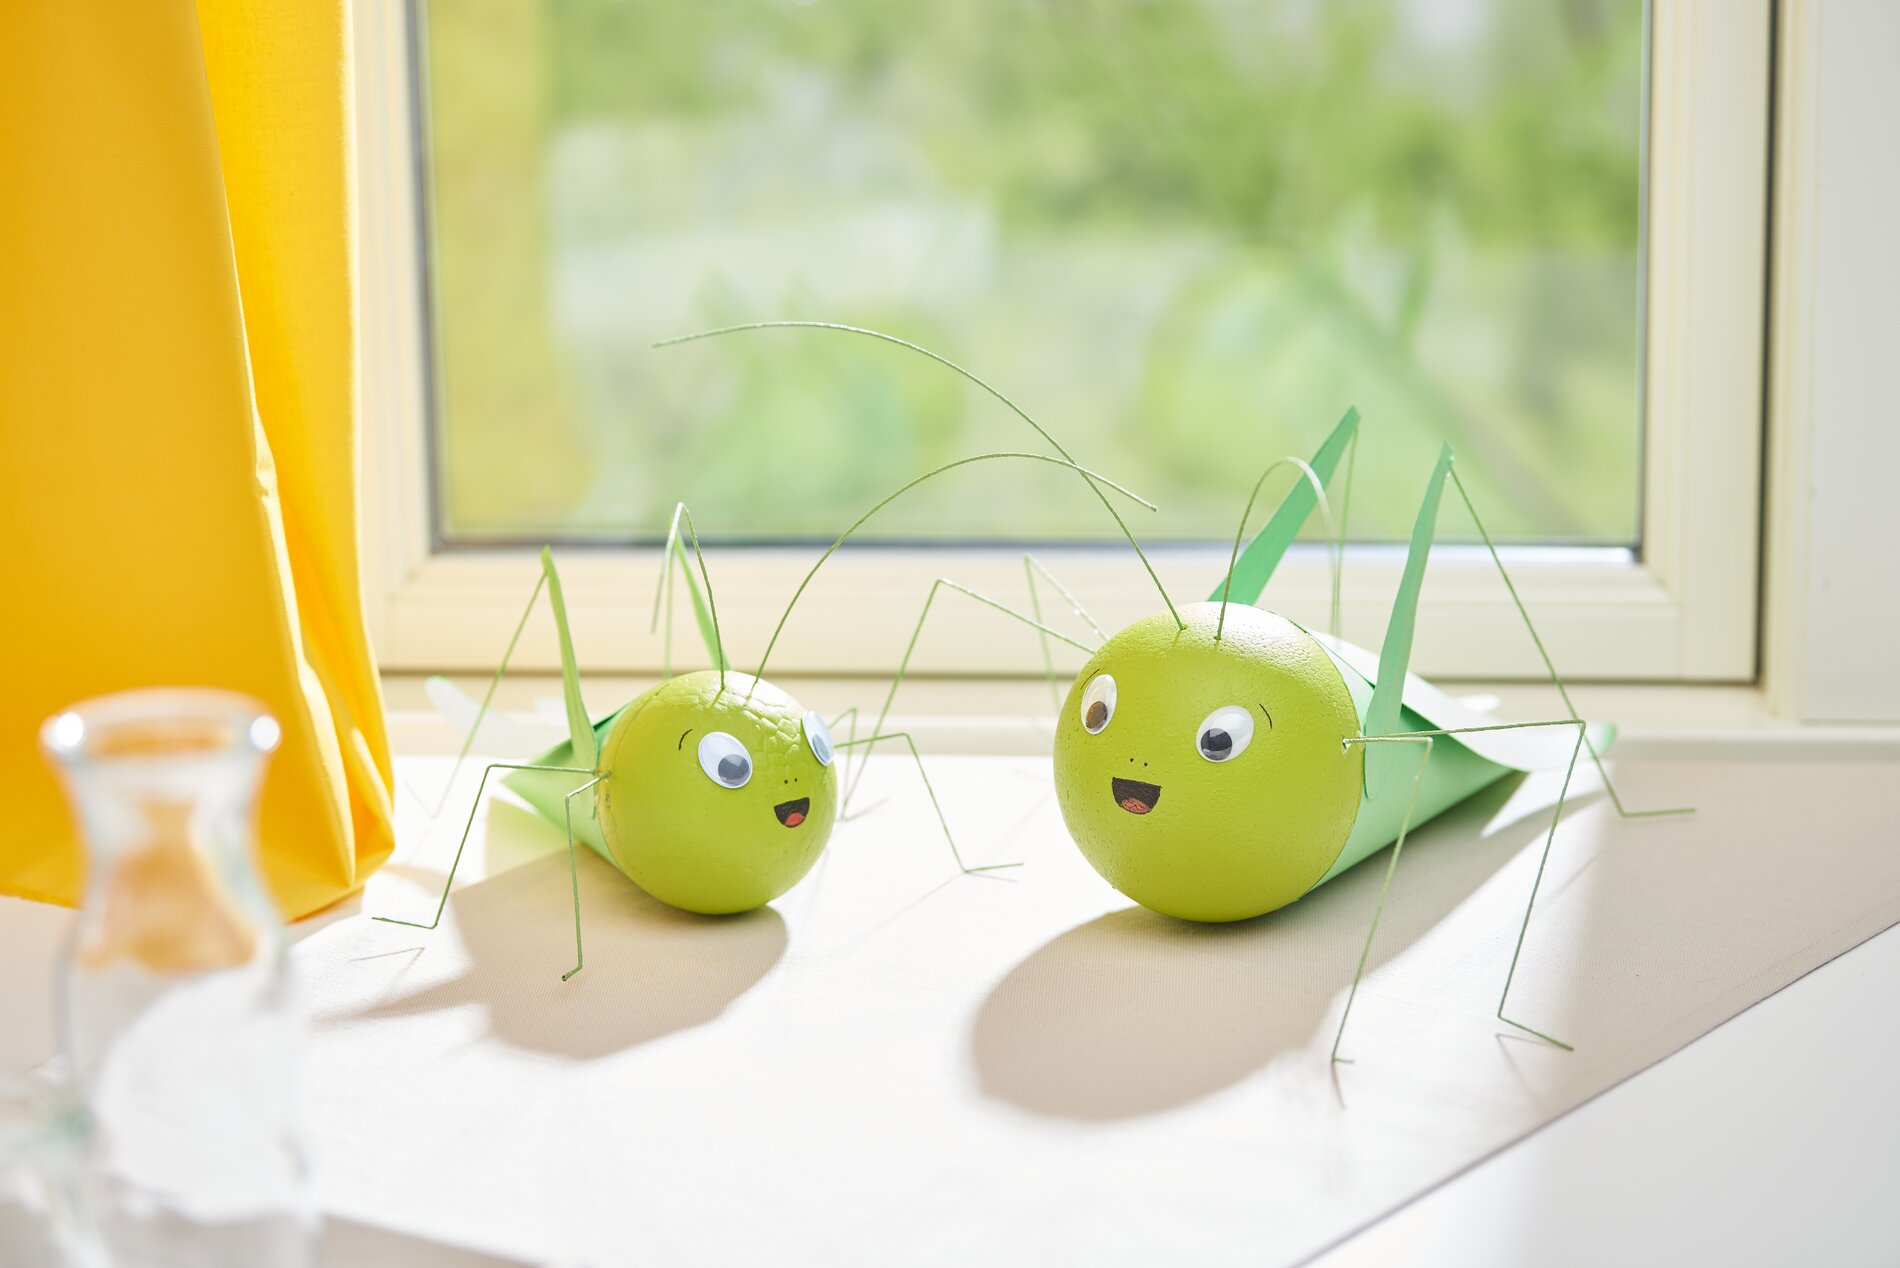
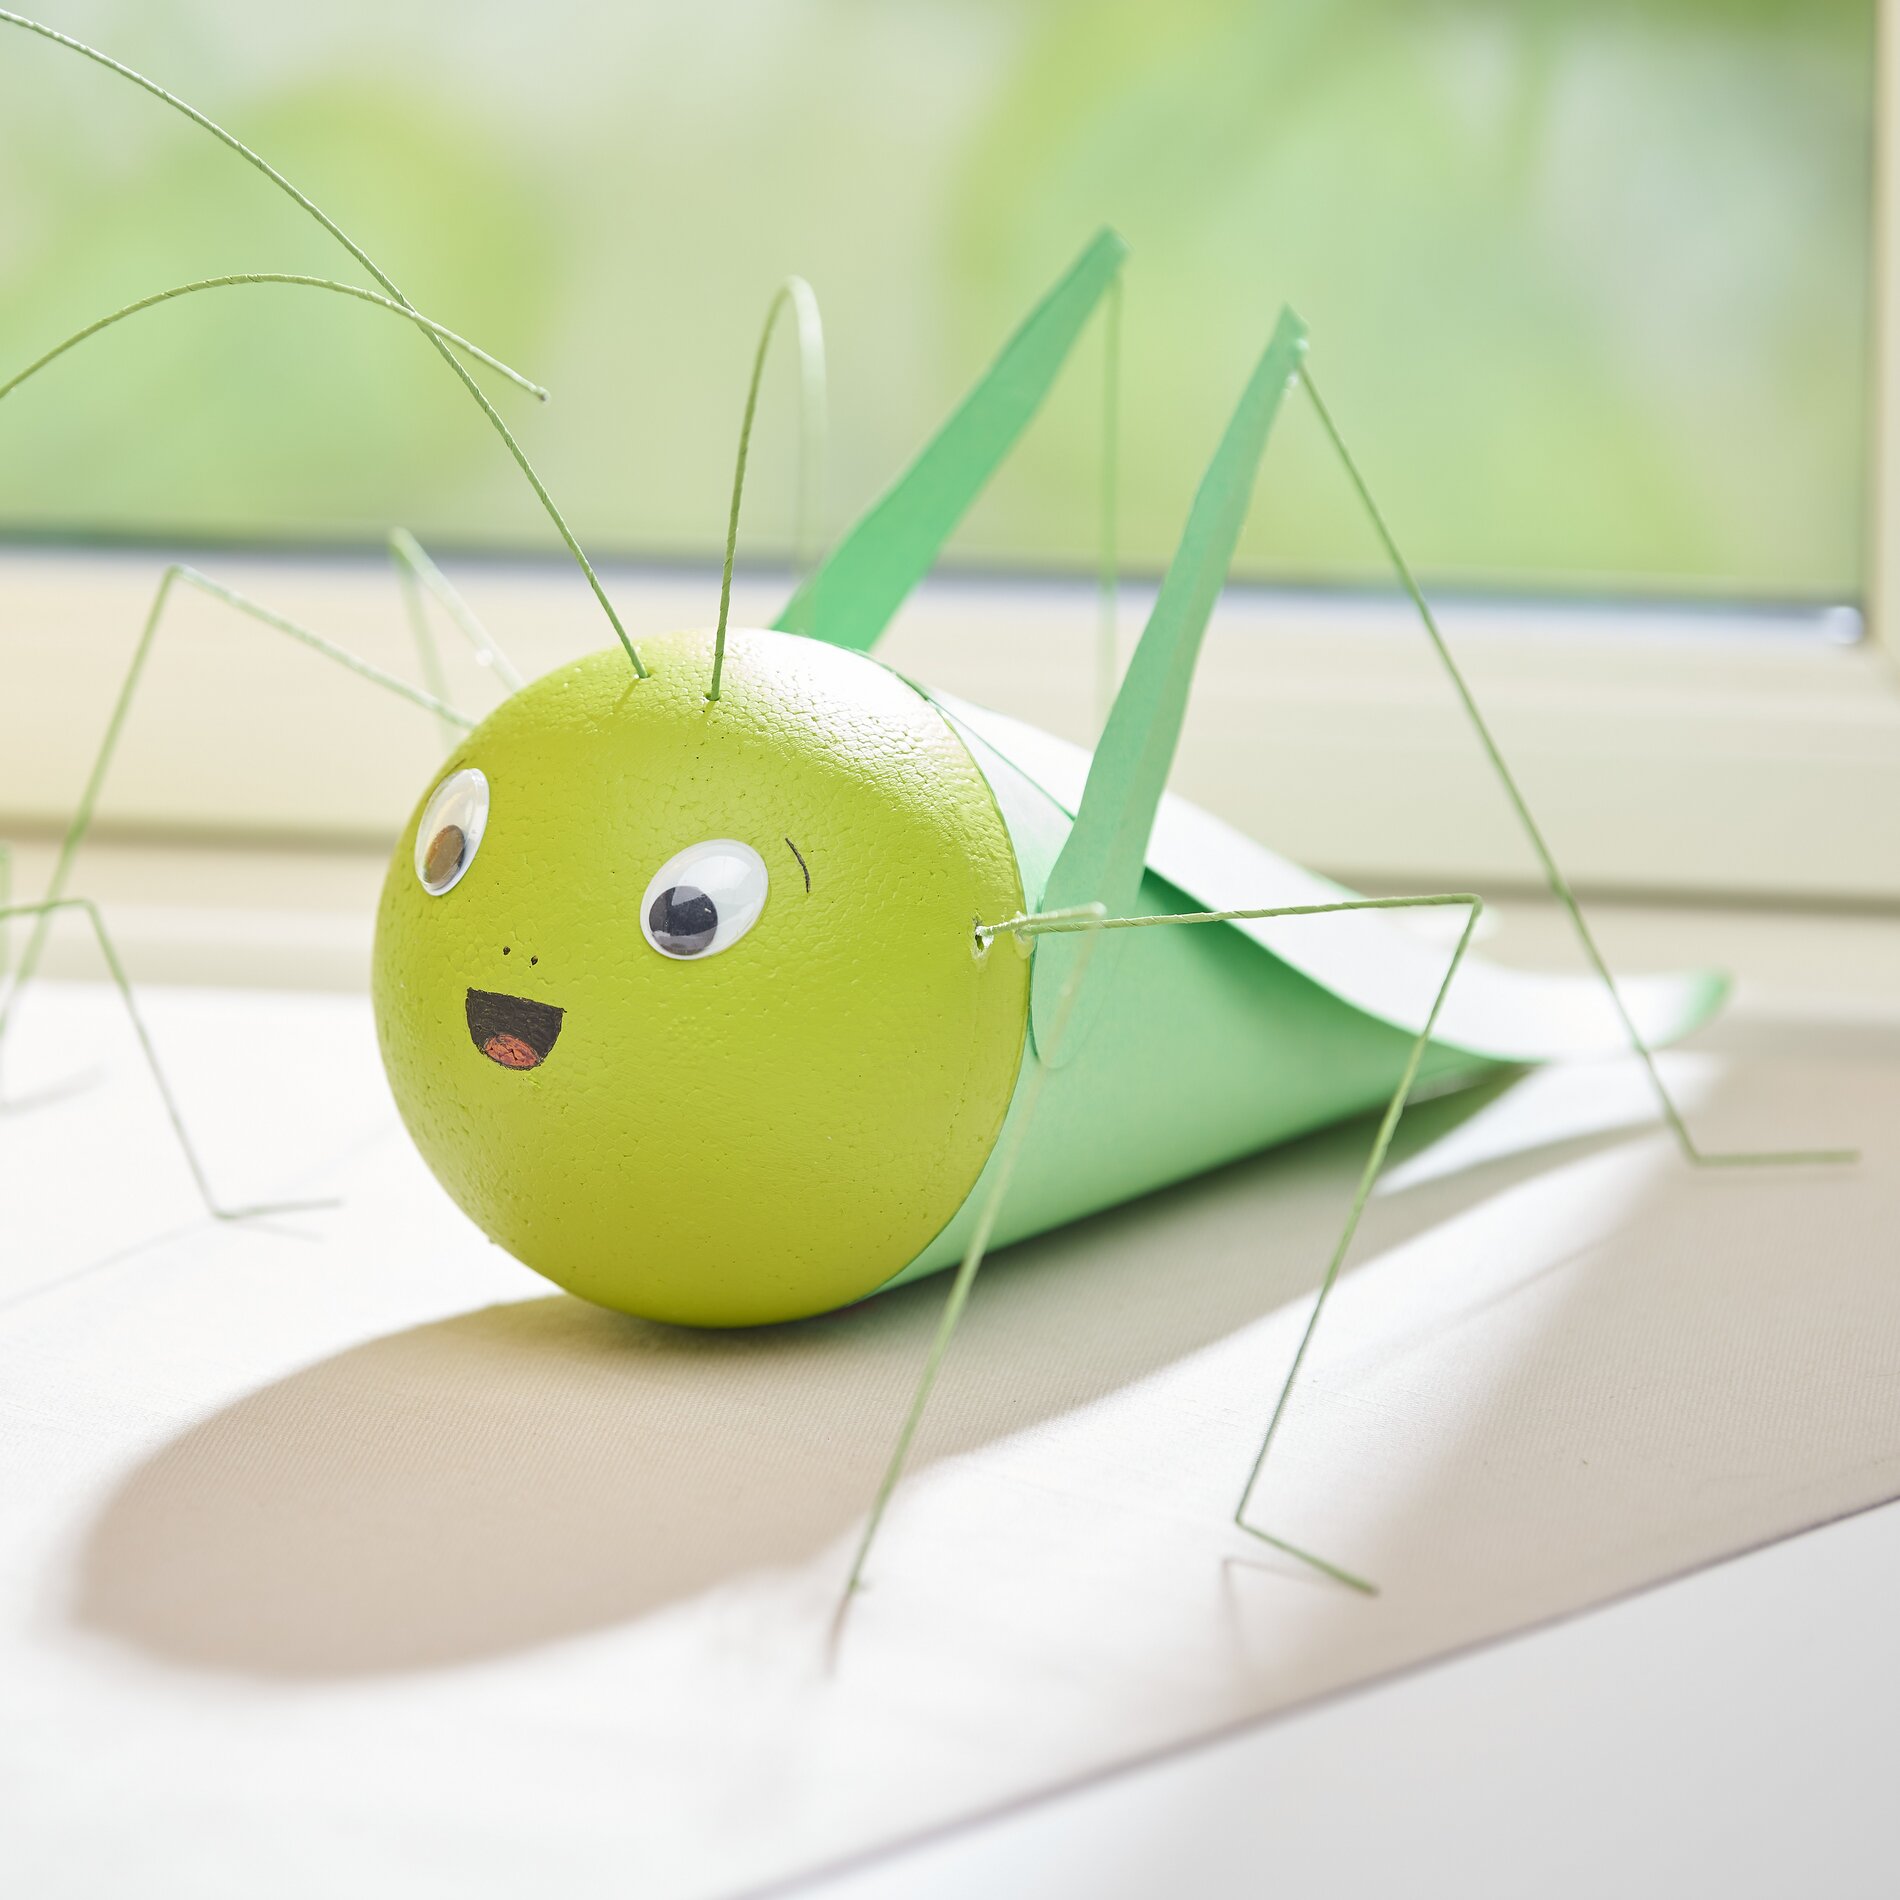
Pour commencer, reporte les modèles de la sauterelle sur le site carton teinté. Découpe soigneusement toutes les pièces.
Forme ensuite un cône avec le site carton teinté , qui servira de corps à la Sauterelle. Le modèle E est pour le corps de la grande sauterelle et le modèle F pour la petite. Veille à bien fixer le bord collant et à laisser sécher le tout pour que ton cône soit stable. Maintenant, place à la couleur !
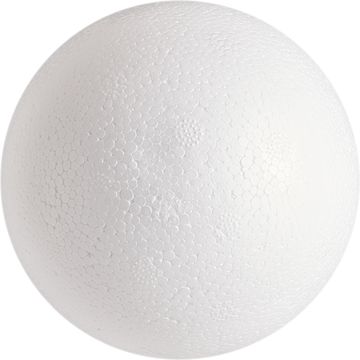
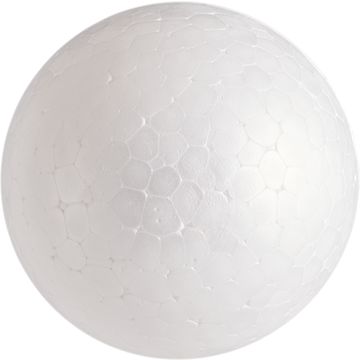
Peins le site boule en polystyrène dans un vert frais de mai. Comme la peinture doit être bien couvrante, plusieurs couches sont nécessaires. Laisse bien sécher chaque couche avant d'en appliquer une autre.
Applique de la colle sur le bord du cône et fixe boule en polystyrène comme tête de la sauterelle. Une fois que cela a séché, colle les yeux et dessine un visage joyeux sur la boule. Laisse libre cours à ton imagination pour la conception !
Colle maintenant les ailes sur le corps. Le modèle A est celui de la grande sauterelle et le modèle B celui de la petite. Avant de les fixer, forme un léger arc dans les ailes avec ton doigt pour leur donner plus de relief et de dynamisme.
Crée maintenant les antennes avec du fil de fer pour fleurs. Coupe le fil en deux et insère-le dans les pattes boule en polystyrène.
Pour les pattes arrière, les longueurs sont différentes : environ 23 cm pour la petite sauterelle et 27 cm pour la grande. Utilise une pince pour plier le fil de fer à la bonne forme.
Introduis la moitié supérieure dans deux cuisses préparées (modèle C pour la grande et modèle D pour la petite) en carton teinté et colle-les sur les côtés du corps.
Pour les quatre pattes avant de la petite sauterelle, il faut couper un fil de fer en quatre, le plier en forme et l'insérer sur le côté de la tête. Pour la grande sauterelle, le fil de fer est divisé en deux.
Cette leçon de bricolage t'a inspiré ? C'est parti - donne vie à ton esprit créatif et crée tout de suite ta propre sauterelle !